Aesthetic Nails With Smiley Face Details
Welcome to the happiest, most uplifting corner of the nail art world! If you have been scrolling through your favorite social media feeds lately, you have probably noticed a major shift in manicure trends. We are moving away from overly serious, uniform looks and diving headfirst into the world of dopamine dressing for your fingertips. Incorporating fun, whimsical elements into your beauty routine is the ultimate mood booster, and what better way to do that than with aesthetic nails featuring smiley face details?
Smiley face nail art is incredibly versatile. Whether you are deeply obsessed with the minimalist clean girl aesthetic or you prefer bold, maximalist Y2K vibes, there is a happy little design waiting for you. The beauty of this trend lies in its adaptability. You can ask your nail tech for a subtle, hidden smile that only you know is there, or you can go all out with vibrant, contrasting colors that scream positivity. Not only does this trend look incredibly cute, but looking down at your hands while typing on your keyboard or holding your iced coffee is guaranteed to give you a tiny burst of joy.
Before you book your next appointment or pull out your at-home gel polish kit, we have curated the ultimate guide to mastering this cheerful trend. From proper nail prep to choosing the best top coat for a lasting finish, we are covering all the bases. Get ready to screenshot these ideas, because we are breaking down exactly how to wear the smiley face trend flawlessly.
1. Retro Groovy Swirls and Smiles
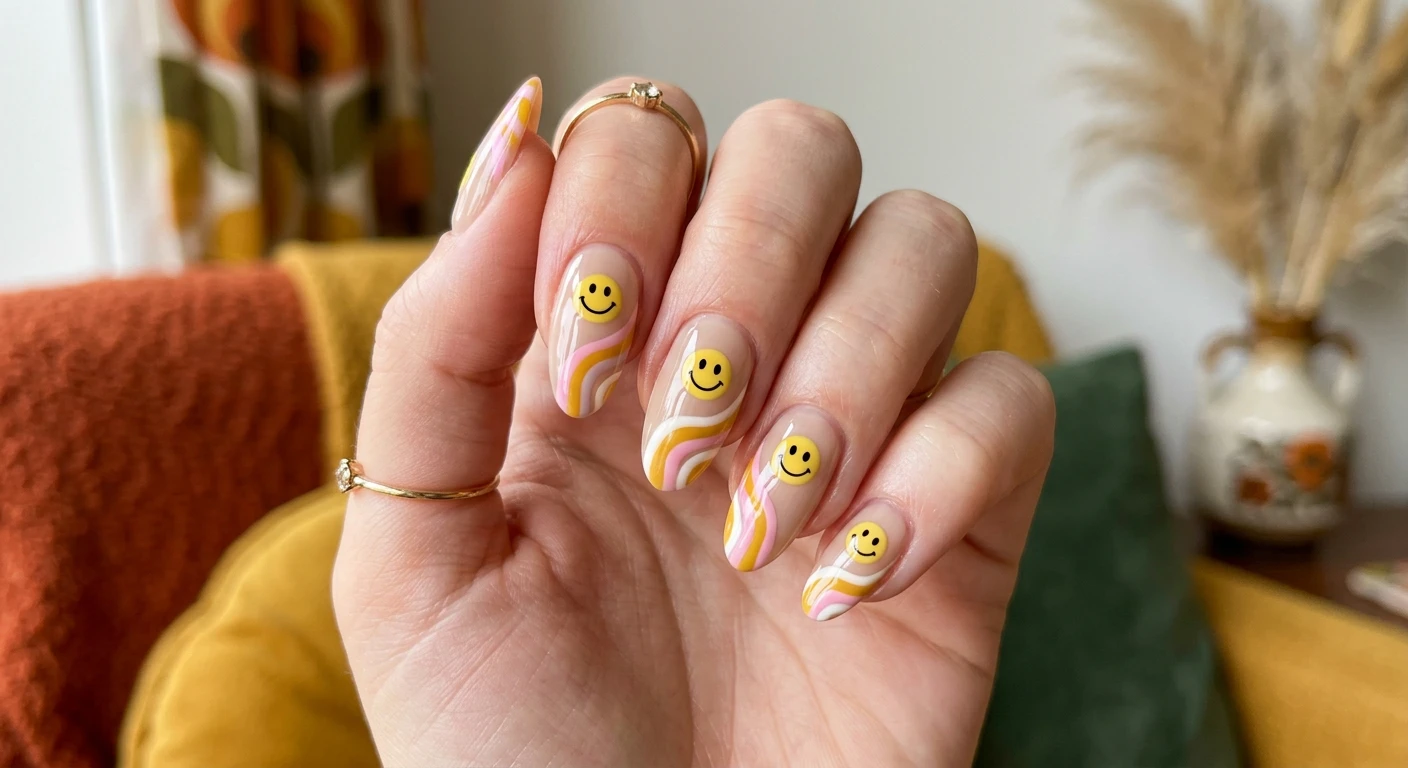
If you are captivated by the recent resurgence of 70s fashion and retro aesthetics, this groovy design is absolutely calling your name. The combination of wavy, abstract lines with cheerful icons creates a dynamic, eye-catching look that feels both vintage and incredibly modern. The secret to making this design work is utilizing negative space—leaving portions of your natural nail visible under a sheer, healthy-looking base polish. This keeps the bold colors from feeling too heavy or overwhelming on the hands.
This style works brilliantly on almost any nail shape, but it truly shines on a medium-length almond or a soft oval. The rounded edges of the nail complement the fluid, organic curves of the swirling patterns. When requesting this look at the salon, ask your nail artist to use a highly pigmented gel paint rather than standard polish for the linework. Gel paint is thicker and won’t bleed, ensuring your swirls and smiles stay crisp and sharp until your next fill.
Please enter product(-s) ASIN(-s)!Why This Trend is Everywhere
The retro swirl trend has dominated the aesthetic manicure space because it elongates the fingers and offers endless color combinations. To ensure your groovy manicure stays flawless, keep these expert tips in mind:
- Prep the canvas: Ask for a thorough dry manicure to ensure your cuticles are perfectly clean, allowing the swirls to start seamlessly near the nail bed.
- Invest in a good brush: If you are trying this at home, a high-quality fine liner brush is non-negotiable for painting precise, sweeping lines.
- Build the apex: Use a builder gel to create a strong structure and a smooth surface, so your nail art doesn’t look bumpy or uneven.
Nail Details: A vibrant mix of pastel pink and mustard yellow wavy swirls over a sheer neutral beige base coat. Each nail features a perfectly round, classic yellow smiley face with black eyes and a wide, cheerful grin positioned near the cuticle or off-center. The finish is a high-gloss top coat that makes the retro colors pop beautifully.
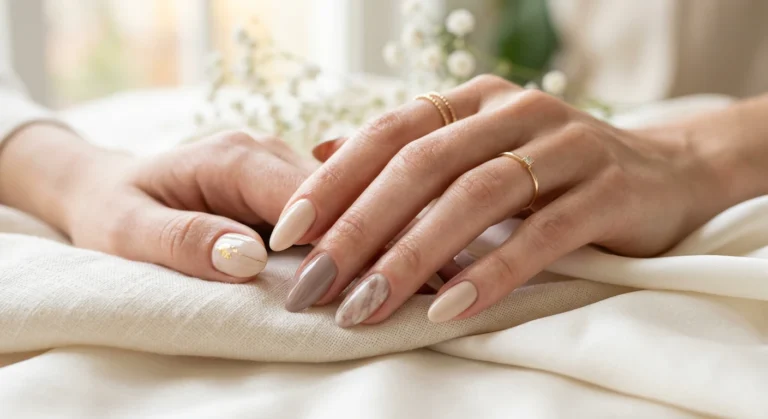
2. Minimalist Micro Smiles on Neutral Bases
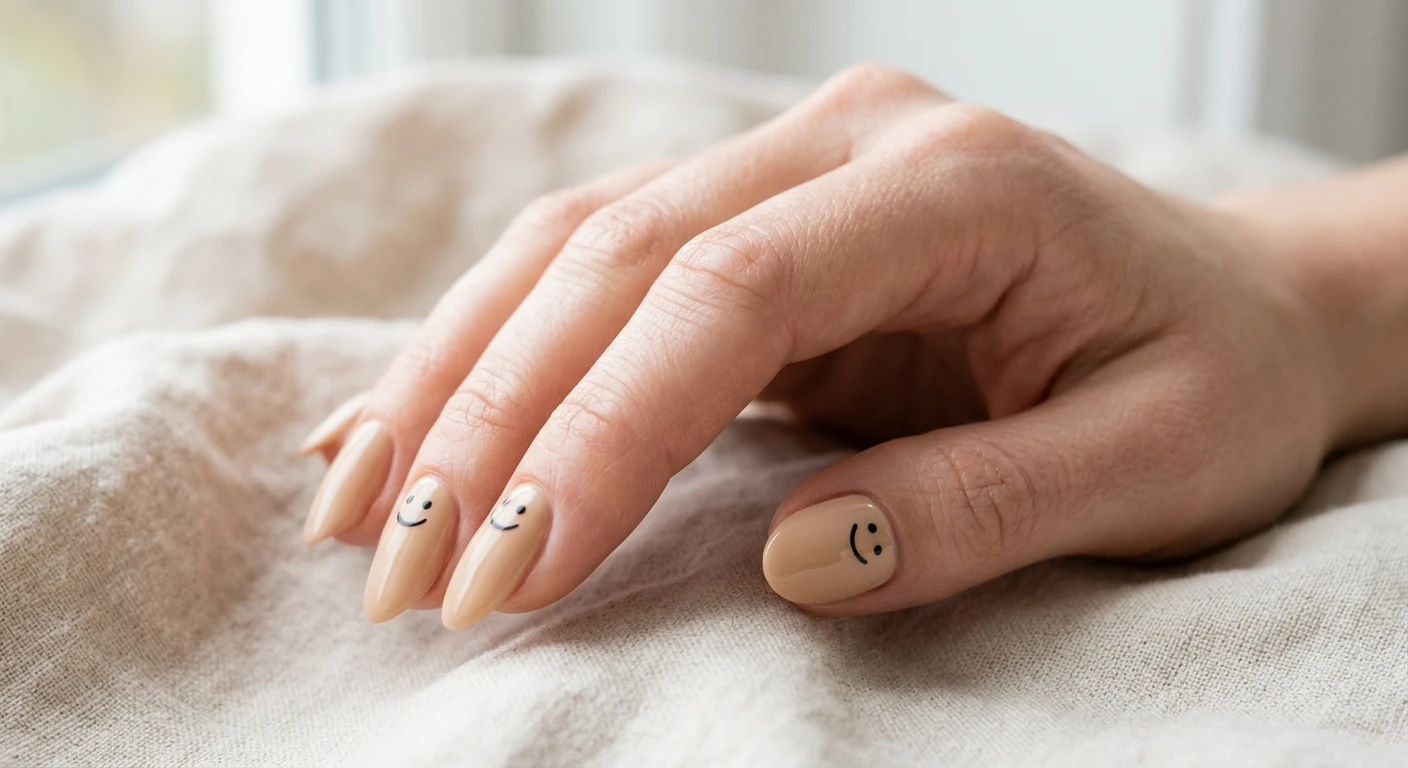
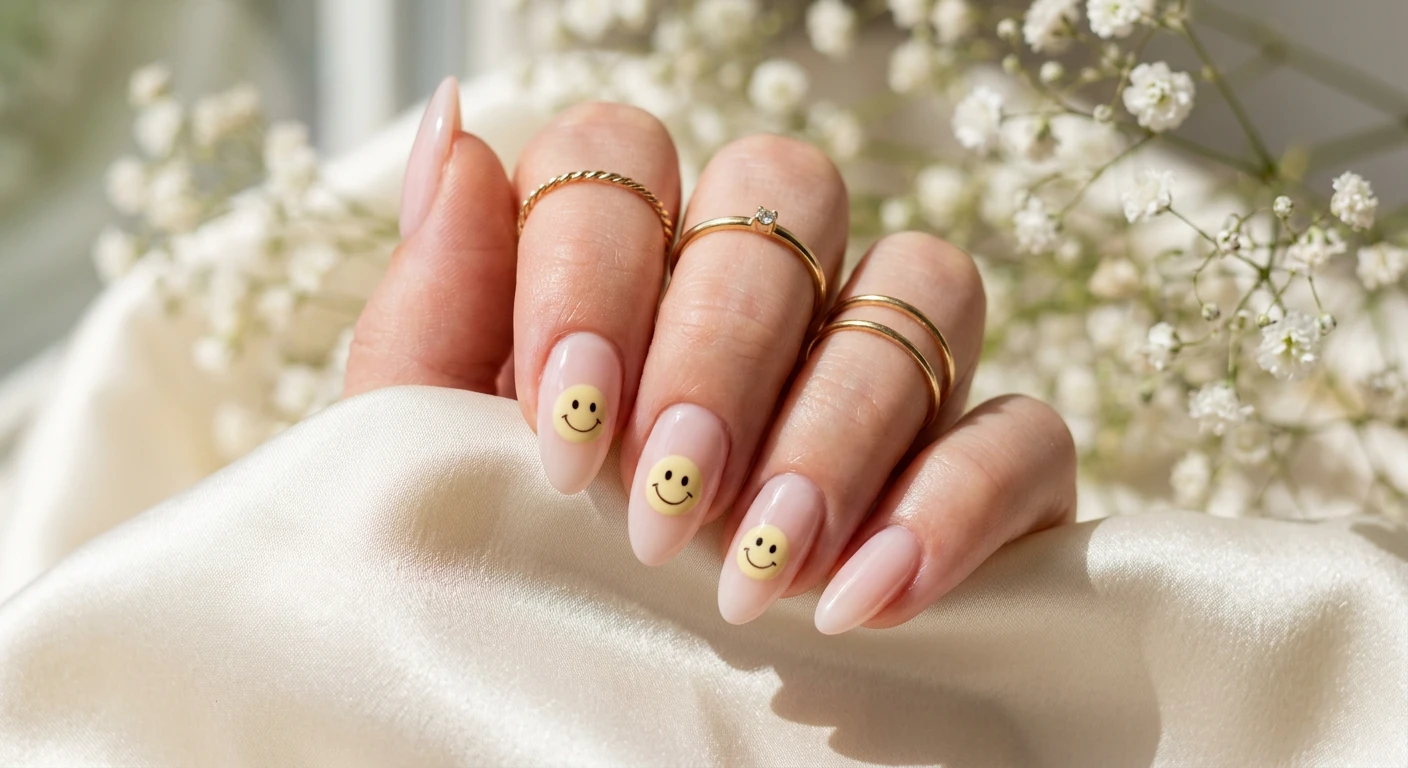
For those who love a subtle, sophisticated vibe, the minimalist micro smile is the ultimate go-to. This design proves that you don’t need loud colors or complicated patterns to make a statement. By keeping the artwork incredibly tiny and placing it thoughtfully over a clean, creamy background, you achieve a look that is entirely office-appropriate but still packs a punch of personality. It is the manicure equivalent of a delicate, hidden tattoo.
To pull this off perfectly, the health and preparation of the natural nail must be flawless. Because the design is so simple, any imperfections in the shaping or polish application will be immediately visible. This is where a meticulously applied base coat and careful cuticle work come into play. A soft, creamy tan or a gentle beige serves as the perfect foundation, creating a blurring effect that mimics the look of a flawless complexion for your nails.

- High-Quality Press-On Nail Kit: All Glamnetic Press-On Nail Sets offer high-quality salon style and feature protective U…
- French Top Natural Almond Nails – Each nail features a tapered fit towards the cuticle to give you the most natural look…
- Premium Durability with Up To 2 Weeks Per Wear – High-quality is our middle name. This customizable nail set can be trim…
Mastering the Clean Girl Aesthetic
Minimalism requires precision. When your nail art is stripped back to the basics, execution is everything. Here is how to nail the understated aesthetic:
- Perfect the shape: Stick to short, well-filed squoval or neat oval nails. A refined free edge is crucial for minimalist designs.
- Use the right tools: A tiny dotting tool is your best friend here. It allows for the creation of perfectly uniform, microscopic eyes and smiles without the shakiness of a brush.
- Hydration is key: Keep your manicure looking fresh by applying cuticle oil twice a day. Minimalist nails look best when the surrounding skin is deeply moisturized and healthy.
Nail Details: A flawless, creamy tan base polish applied cleanly across all nails with a soft almond shape. On the ring finger and thumb of each hand, there is a tiny, meticulously hand-painted black smiley face placed delicately right near the cuticle line. The overall look is ultra-minimalist, chic, and sealed with a velvet matte top coat for a sophisticated texture.
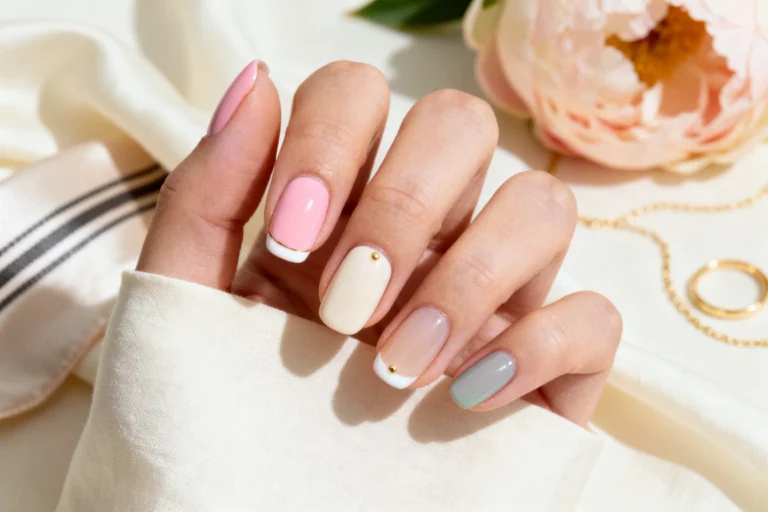
3. Pastel French Tips with Happy Accents
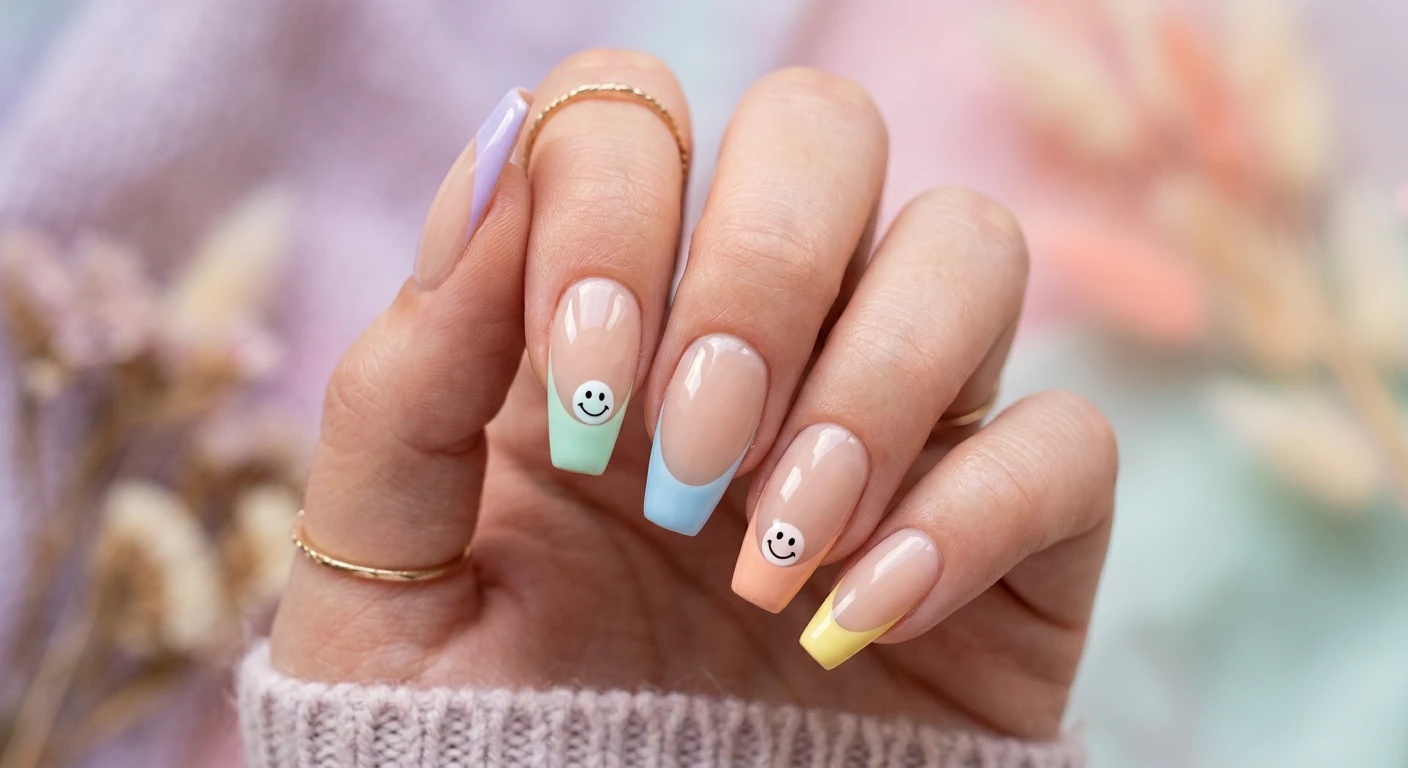
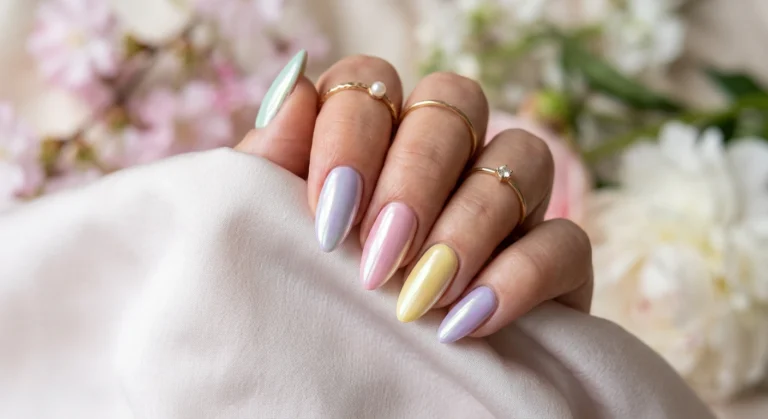
The classic French manicure has officially been upgraded, and Gen Z has fully embraced the colorful French tip. By swapping out the traditional stark white for an array of soft, dreamy pastels, you instantly modernize the look. Adding tiny, contrasting smiley faces resting right on the curve of the tip bridges the gap between elegance and playful street style. This design is highly aesthetic and photographs beautifully for your grid.
If your natural nails aren’t quite long enough to accommodate a dramatic tip, this is the perfect opportunity to experiment with soft gel extensions. Products like Apres Gel-X provide instant length and a perfectly uniform shape across all ten fingers, giving your nail technician a pristine canvas to map out the perfect smile line. The juxtaposition of sophisticated French tips with childlike happy faces is exactly the kind of ironic beauty trend dominating fashion right now.

- A classic formula top coat to seal and protect nail color with a non-yellowing, clear finish
- Long lasting and chip resistant formula with up to 7 days of wear when used with our 3-step system
- Pro-wide nail polish brush hugs nails for smooth, even coverage sans streaking or bubbling
Updating the Classic French Manicure
Achieving the perfect colored French tip requires a steady hand and an understanding of nail geometry. Keep these professional insights in mind:
- Define the smile line: A deep, sweeping curve on your French tip (the smile line) creates the illusion of longer, more slender nail beds.
- Use a clean-up brush: Dip a flat, angled brush in pure acetone to carve out the base of the French tip before curing, ensuring the line is razor-sharp.
- Balance the colors: When using alternating pastels (skittle nails), make sure they all have the same undertone and opacity so the manicure looks cohesive, not chaotic.
Nail Details: A sheer sand-colored base with alternating pastel-colored French tips in lavender, mint green, baby blue, peach, and lemon yellow on a classic coffin nail shape. Resting exactly on the smile line of the French tip on the middle and pinky fingers are small, contrasting smiley faces in stark white with black line-art features. Finished with a super shiny, plump gel top coat.
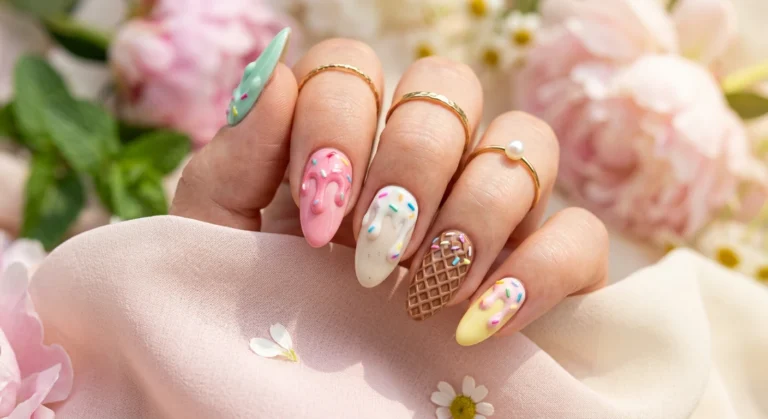
4. Neon Checkered Board Joy
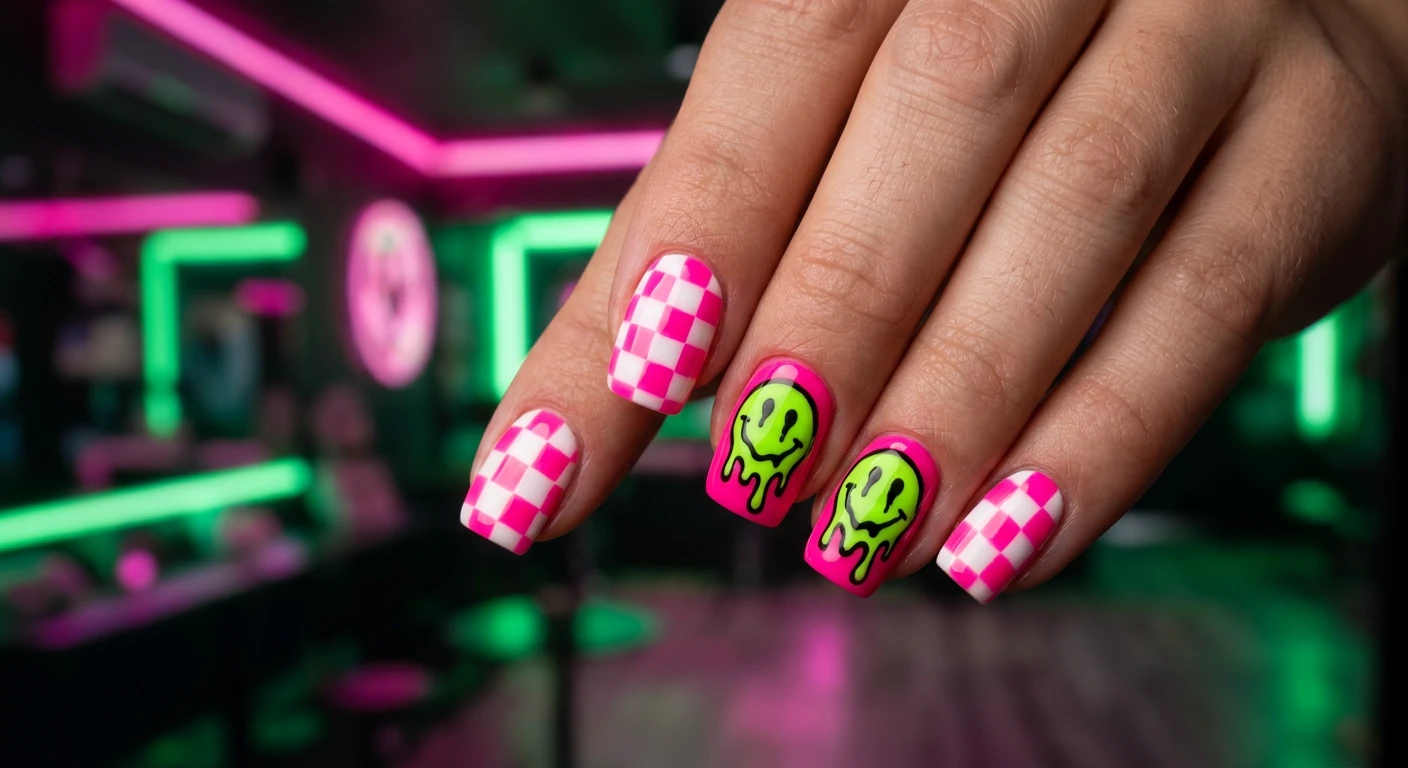
For the bold, the brave, and the lovers of maximum impact, this streetwear-inspired design is a showstopper. Mixing a rigid, geometric checkerboard pattern with the fluid, organic shape of a melting, dripping smiley face creates an edgy contrast that demands attention. This style pulls heavily from skater culture, rave aesthetics, and Y2K nostalgia, making it the perfect accessory for festival season or a vibrant night out.
Working with neon polishes can sometimes be tricky, as they tend to be slightly translucent or prone to streaking. A vital insider trick is to lay down a layer of opaque white polish before applying your neon shades. This acts as a primer, reflecting light back through the fluorescent color and making it look impossibly bright. Furthermore, when working with intricate details like a melting drip effect, applying a thin layer of blooming gel can help the colors disperse naturally, though a skilled hand with a liner brush works just as well.

- SUPER STRONG – Salon Professional Nail Glue for Nail Tips, Press On Nails, Acrylic Nails and Fake Nails
- QUICK DRY – Water Resistant, Super Strong, Reliable and Long-Lasting Salon Professional Nail Glue
- BRUSH ON – Built-In Fine Precision Brush Applicator for Quick, Effortless, Accurate Application
For the Bold and the Brave
Maximalist nail art requires patience and proper layering to ensure longevity. Here is how the pros make complex manicures last:
- Flash curing: When painting checkerboards, utilize the flash cure technique under your UV/LED lamp for 10 seconds between each square. This prevents the neon polish from bleeding into the white sections.
- Encapsulate the art: For designs with heavy hand-painting, seal the work with a thin layer of clear builder gel before your final top coat. This encapsulation protects the intricate artwork from chipping.
- Play with texture: Consider making the melting smiley face 3D by using a thick sculpting gel, creating a raised, tactile element on the nail.
Nail Details: A bold, hand-painted checkered pattern using neon pink and crisp white squares covering the index and pinky fingers on a short square nail shape. The middle and ring fingers feature a solid bright neon pink base topped with a large, melting smiley face in electric lime green with dripping black eye and mouth details. The look gives an edgy, street-style aesthetic with a glossy, durable finish.
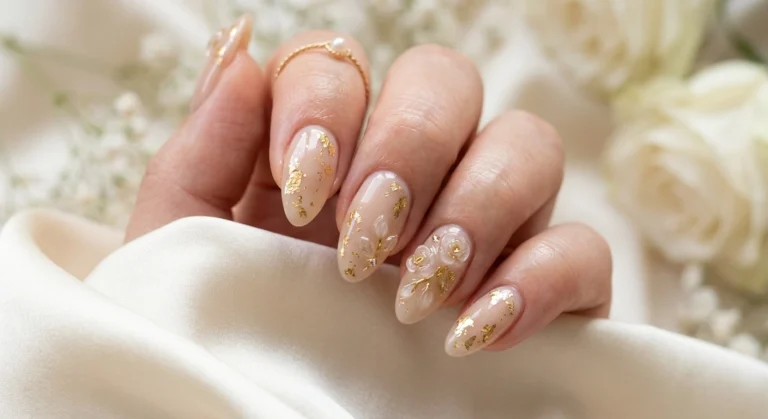
5. Daisy Floral Smiles in the Garden
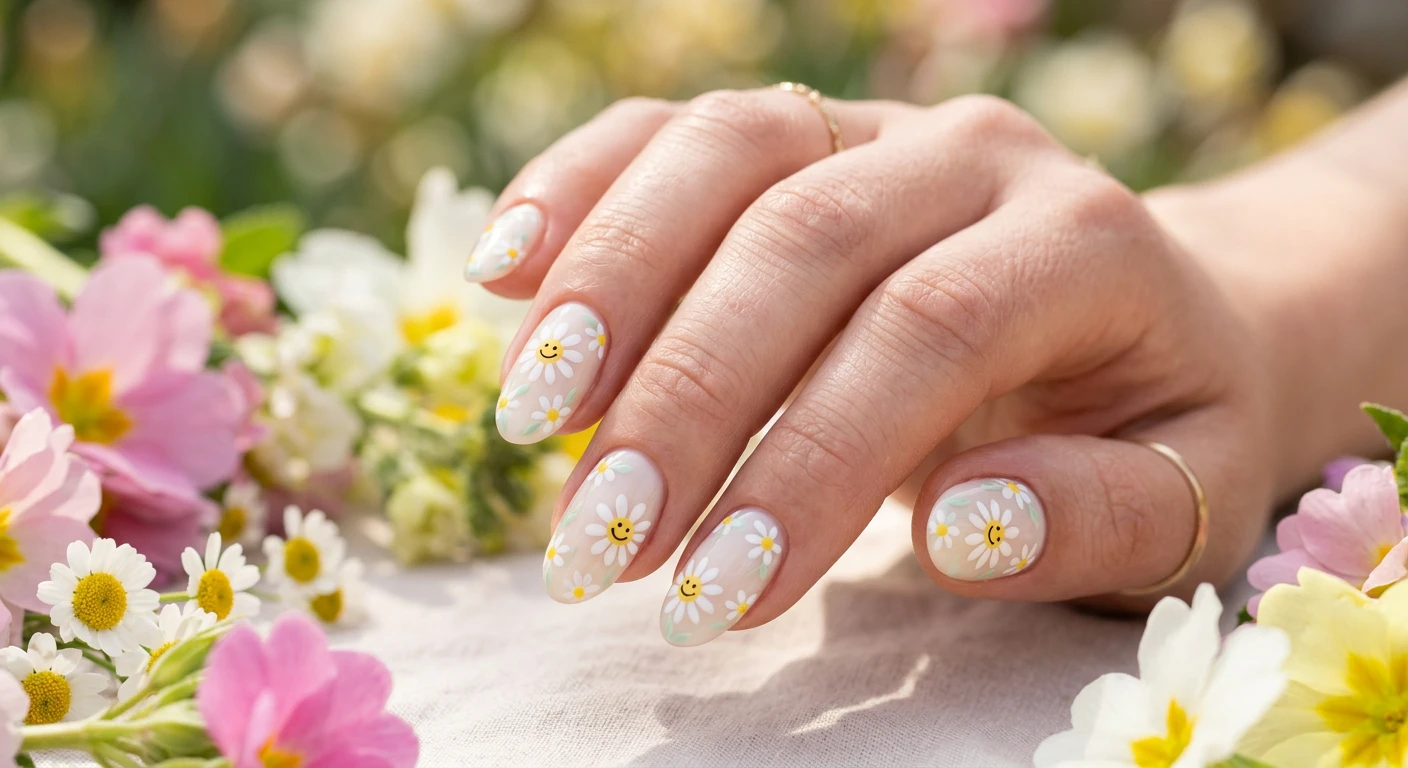
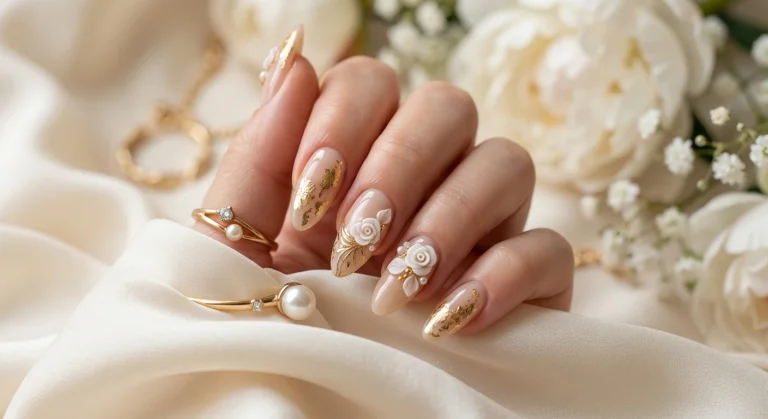
If your aesthetic leans more toward cottagecore, romantic picnics, and soft girl vibes, you will fall in love with this delicate floral take on the trend. By seamlessly blending the cheerful nature of a smiley face into the center of a hand-painted daisy, you get a manicure that is whimsical, sweet, and perfectly suited for spring and summer transitions. This design feels organic and airy, proving that character nail art doesn’t have to look cartoonish.
The base for this look is heavily influenced by the viral “milky bath” trend. Instead of a sheer beige or a stark white, the background is a translucent, milky cream that makes the nails look incredibly healthy and pristine. Adding tiny touches of luxury, such as a dusting of gold foil, elevates the entire manicure from a simple floral design to a high-end salon masterpiece. It is delicate, detailed, and wildly aesthetic.

- Package Contains:24 pieces false nails,1 piece nail file,36 grain jelly.
- Natural and Work well:Almond press on nails lasts for about 14 days.
- Easy to Use:Gold fake nails with glue strcker can get your favorite manicure in just 5 minutes without waiting at the na…
Blooming with Positivity
Floral nail art is timeless, but adding happy faces gives it a fresh, modern update. To execute this soft, garden-inspired look, remember these crucial styling points:
- Layering opacity: Use a sheer jelly polish in a soft milky tone to build up the base color gradually, ensuring it remains slightly translucent rather than chalky.
- Foil application: When applying metallic accents, use a silicone tool or a pair of tweezers to gently press the gold foil into the tacky inhibition layer of your cured base gel before sealing it.
- Stagger the sizes: Paint your daisies in varying sizes—some large and fully visible, others partially trailing off the side of the sidewalls—to create a more natural, cascading floral effect.
Nail Details: A soft, sheer milky cream base coat over medium-length oval nails. Scattered across the nails are delicate, hand-painted white daisy flowers with bright yellow centers. Inside the yellow center of the largest daisy on each nail is a tiny, delicate black smiley face. Accented with tiny pale green leaves and subtle gold foil flakes scattered in the negative space, all locked under a thick, glassy top coat.
In conclusion, aesthetic nails featuring cheerful details are so much more than just a fleeting beauty fad; they are a daily reminder to embrace positivity and not take life too seriously. Whether you find yourself drawn to the subtle chicness of microscopic minimal designs, the loud and proud energy of neon checkerboards, or the romantic whimsy of milky floral scenes, there is a happy face manicure tailored perfectly to your personal style. Remember that beautiful nail art always starts with healthy natural nails, so stay diligent with your hydration and proper removal techniques. Now that you are armed with the best manicure terminology, styling tips, and design inspirations, it is time to treat yourself. Bring these ideas to your next salon appointment or unleash your inner artist at home, and let your fingertips do the smiling for you!