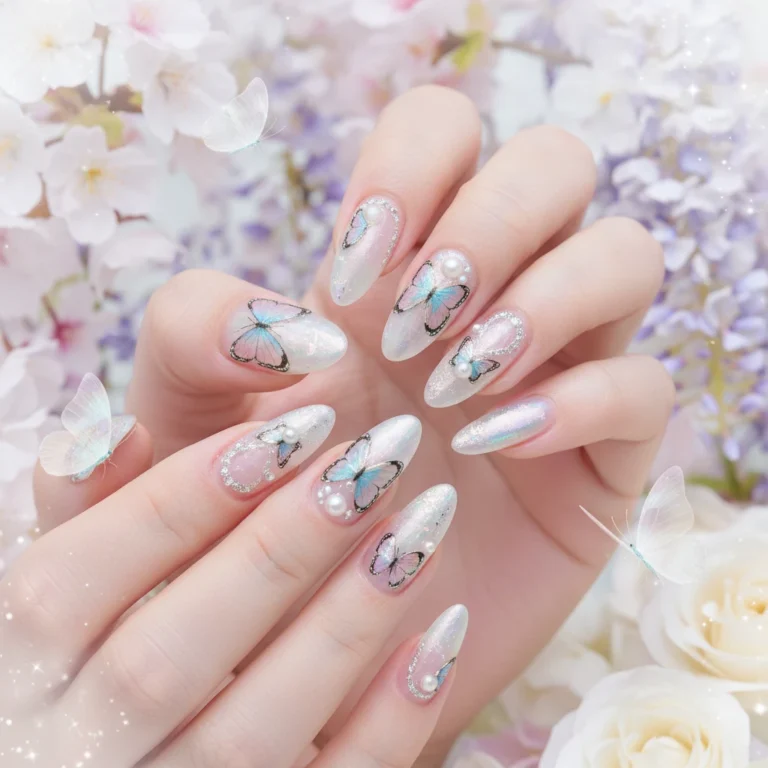
5 Nail Art Tools You Need for Easter Nails Design Spring
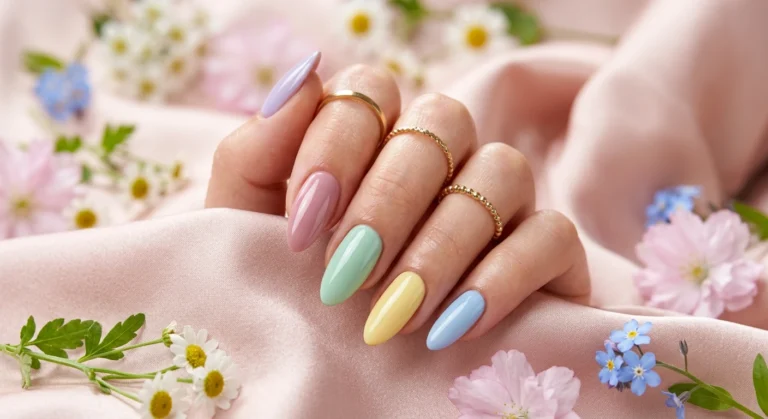
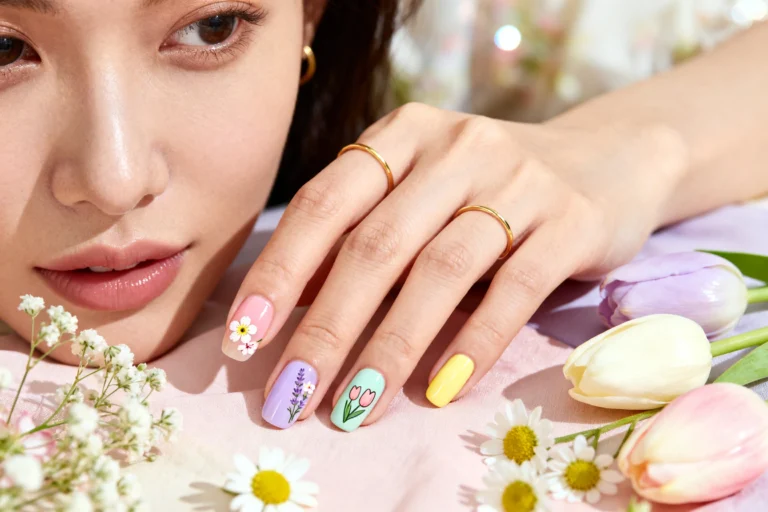
Spring is the season of soft color palettes, candy tones, and whimsical details—and Easter nails are your perfect excuse to play with all of the above. Whether you’re all about delicate florals or love graphic, glossy shapes, this list brings you five fresh designs inspired by the tools that make them pop. We’ll pair expert salon tips with clear, image-friendly descriptions so you can visualize each look and recreate it at home. Think pastel power, glossy topcoats, and just the right amount of sparkle.
1. Pastel Dotter Confetti
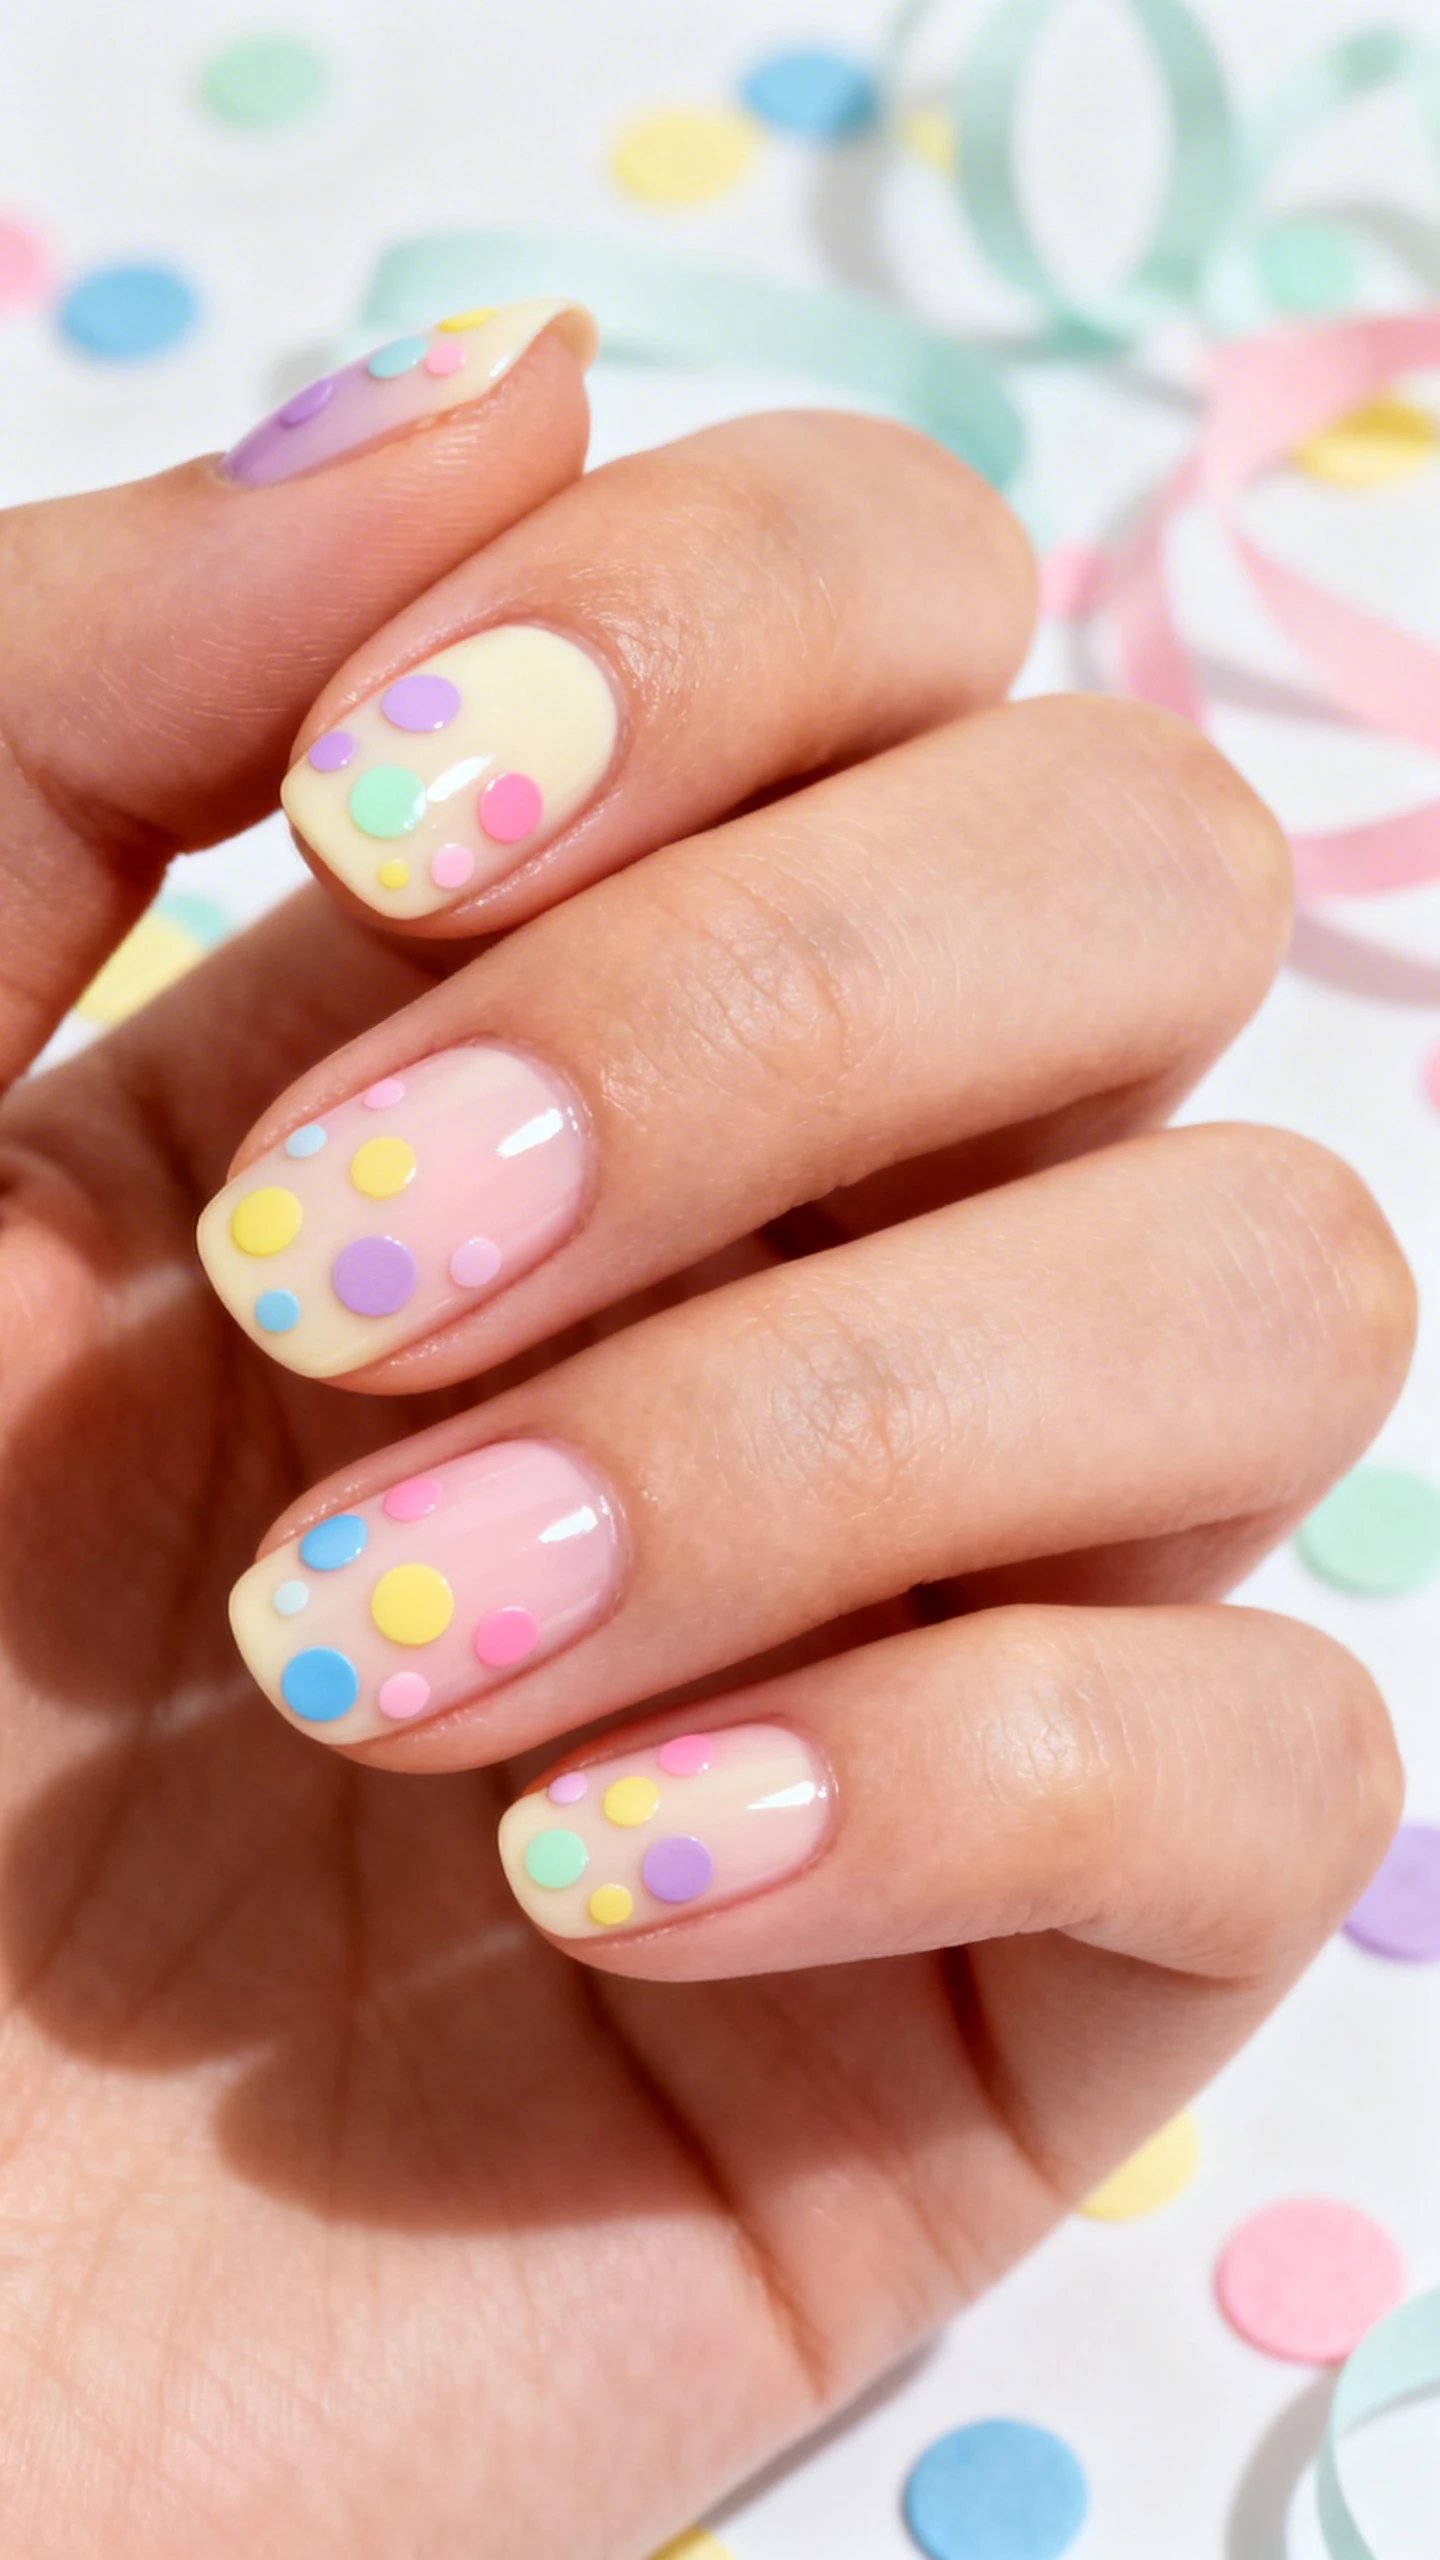
Confetti dots are a spring essential because they’re joyful without being chaotic—and a dotting tool is the secret weapon. This design gives you a playful sprinkle of Easter energy with super clean, round dots that feel intentional, not random. It’s ideal if you want a cheerful, low-commitment upgrade that looks pro with very little effort.
Use a range of dotting sizes for dimension and keep your palette tight—three to five complementary pastels look elevated instead of busy. The result reads like a chic sprinkle cake for your fingertips, perfect for brunch photos and egg hunts alike.
Pro Tip
Anchor the look with a glossy, sheer base so your dots float and glow. If you have shorter nails, concentrate dots near the tips to elongate the nail visually.
Nail Details: Short to medium, rounded or squoval nails. Sheer, glossy base in soft cream or pale pink. Multi-sized dots placed in scattered clusters across each nail. Dot colors: pastel lavender, mint, lemon yellow, cotton-candy pink, and sky blue. Dot distribution: larger dots (2–3 per nail) toward the center, smaller dots (4–6 per nail) sprinkled around the edges. Optional accent: single metallic gold micro-dot near the cuticle on ring fingers. Finish: ultra-glossy topcoat to smooth texture and intensify color.
2. Bunny-Tip French with Detailing Brush
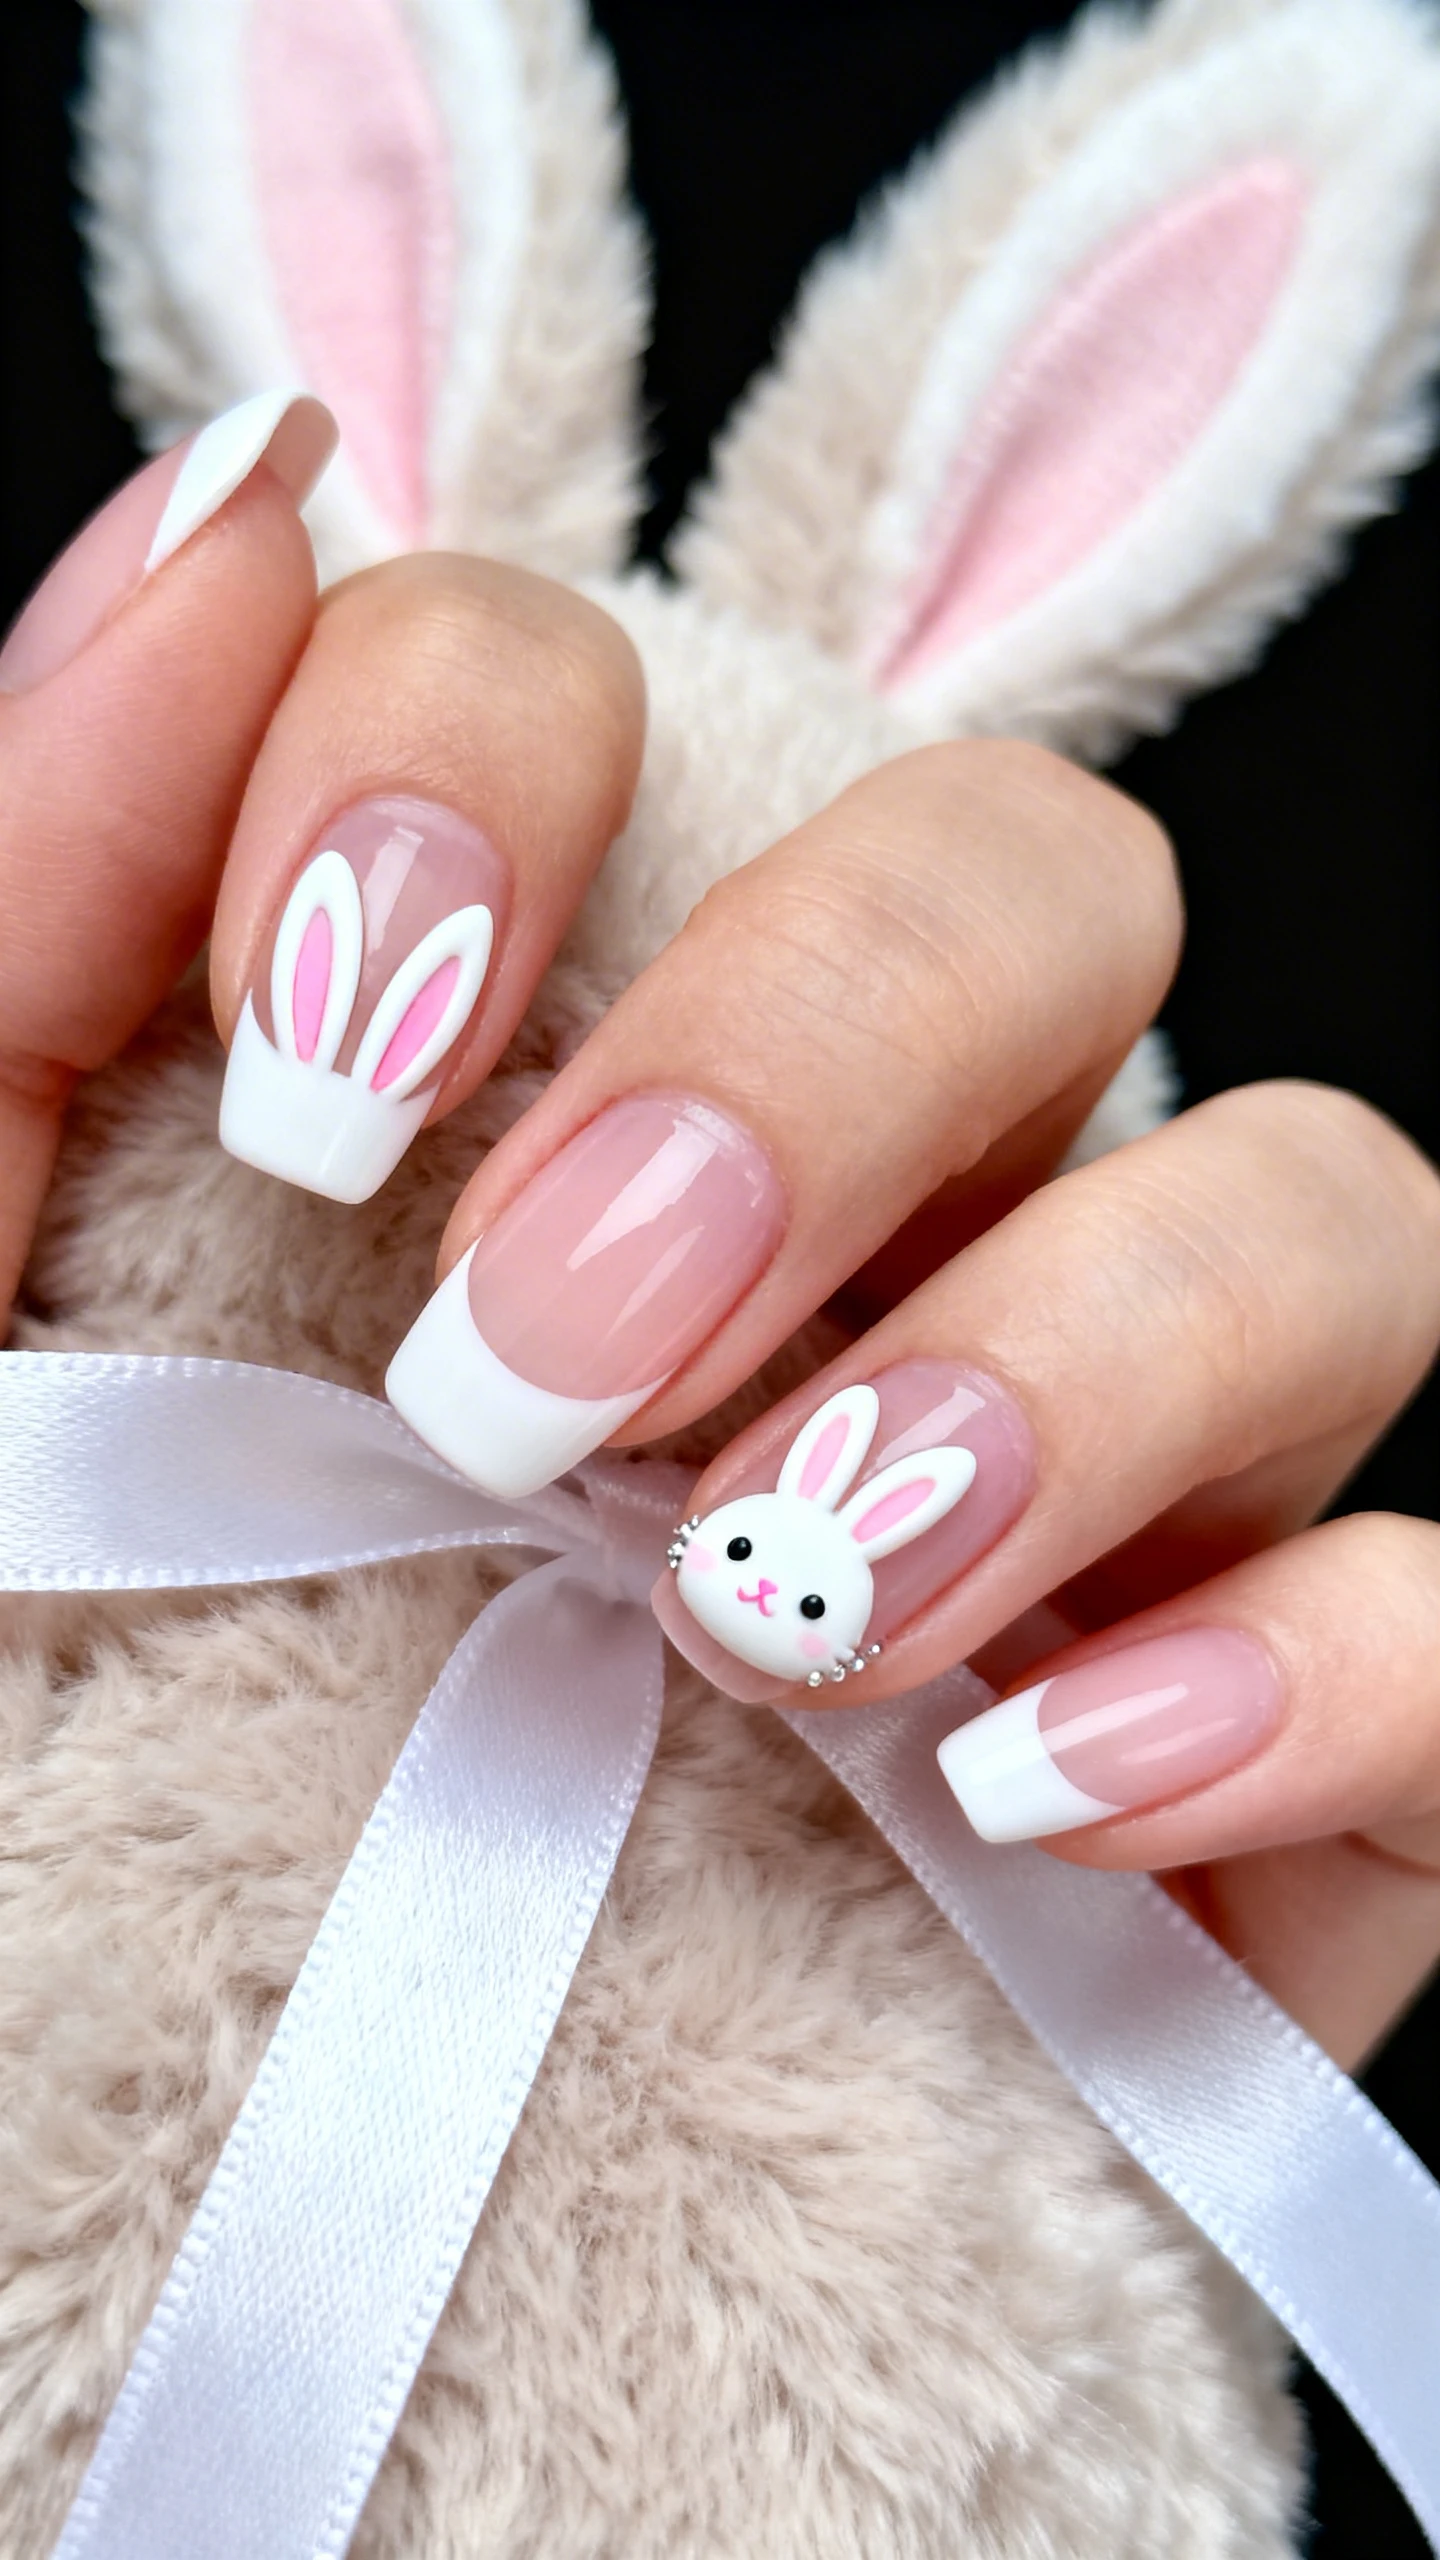
Meet the spring remix of a French: tiny bunny ears perched at the tips. A fine detail brush lets you create crisp outlines and expressive ears that feel cute, not cartoonish. This style is minimal enough for everyday wear but special enough to feel seasonal, blending negative space with crisp white for a polished aesthetic.
The charm is in the proportions: slim ear shapes elongate the finger, while a micro-French base keeps it polished. Choose one or two accent nails for full bunny faces and keep the others ear-only for balance.
Pro Tip
Sketch the ear shapes in soft pencil on a practice tip first to perfect symmetry. Use a thin, highly pigmented white gel for line work to avoid wobble.
Nail Details: Medium almond nails. Base: sheer pink or translucent beige. Micro-French tip in crisp white, about 1–2 mm thick. At the center of each tip, two elongated white bunny ears pointing upward; ear interiors painted with pastel pink. Accent nails (ring fingers): small white bunny face at the tip border with two dot eyes (charcoal gray) and a micro heart-shaped nose (pastel pink). Optional whiskers: two fine gray lines on each side. Keep remaining nails ear-only. Finish: high-shine topcoat; edges sealed for longevity.
3. Speckled Egg Ombre with Makeup Sponge
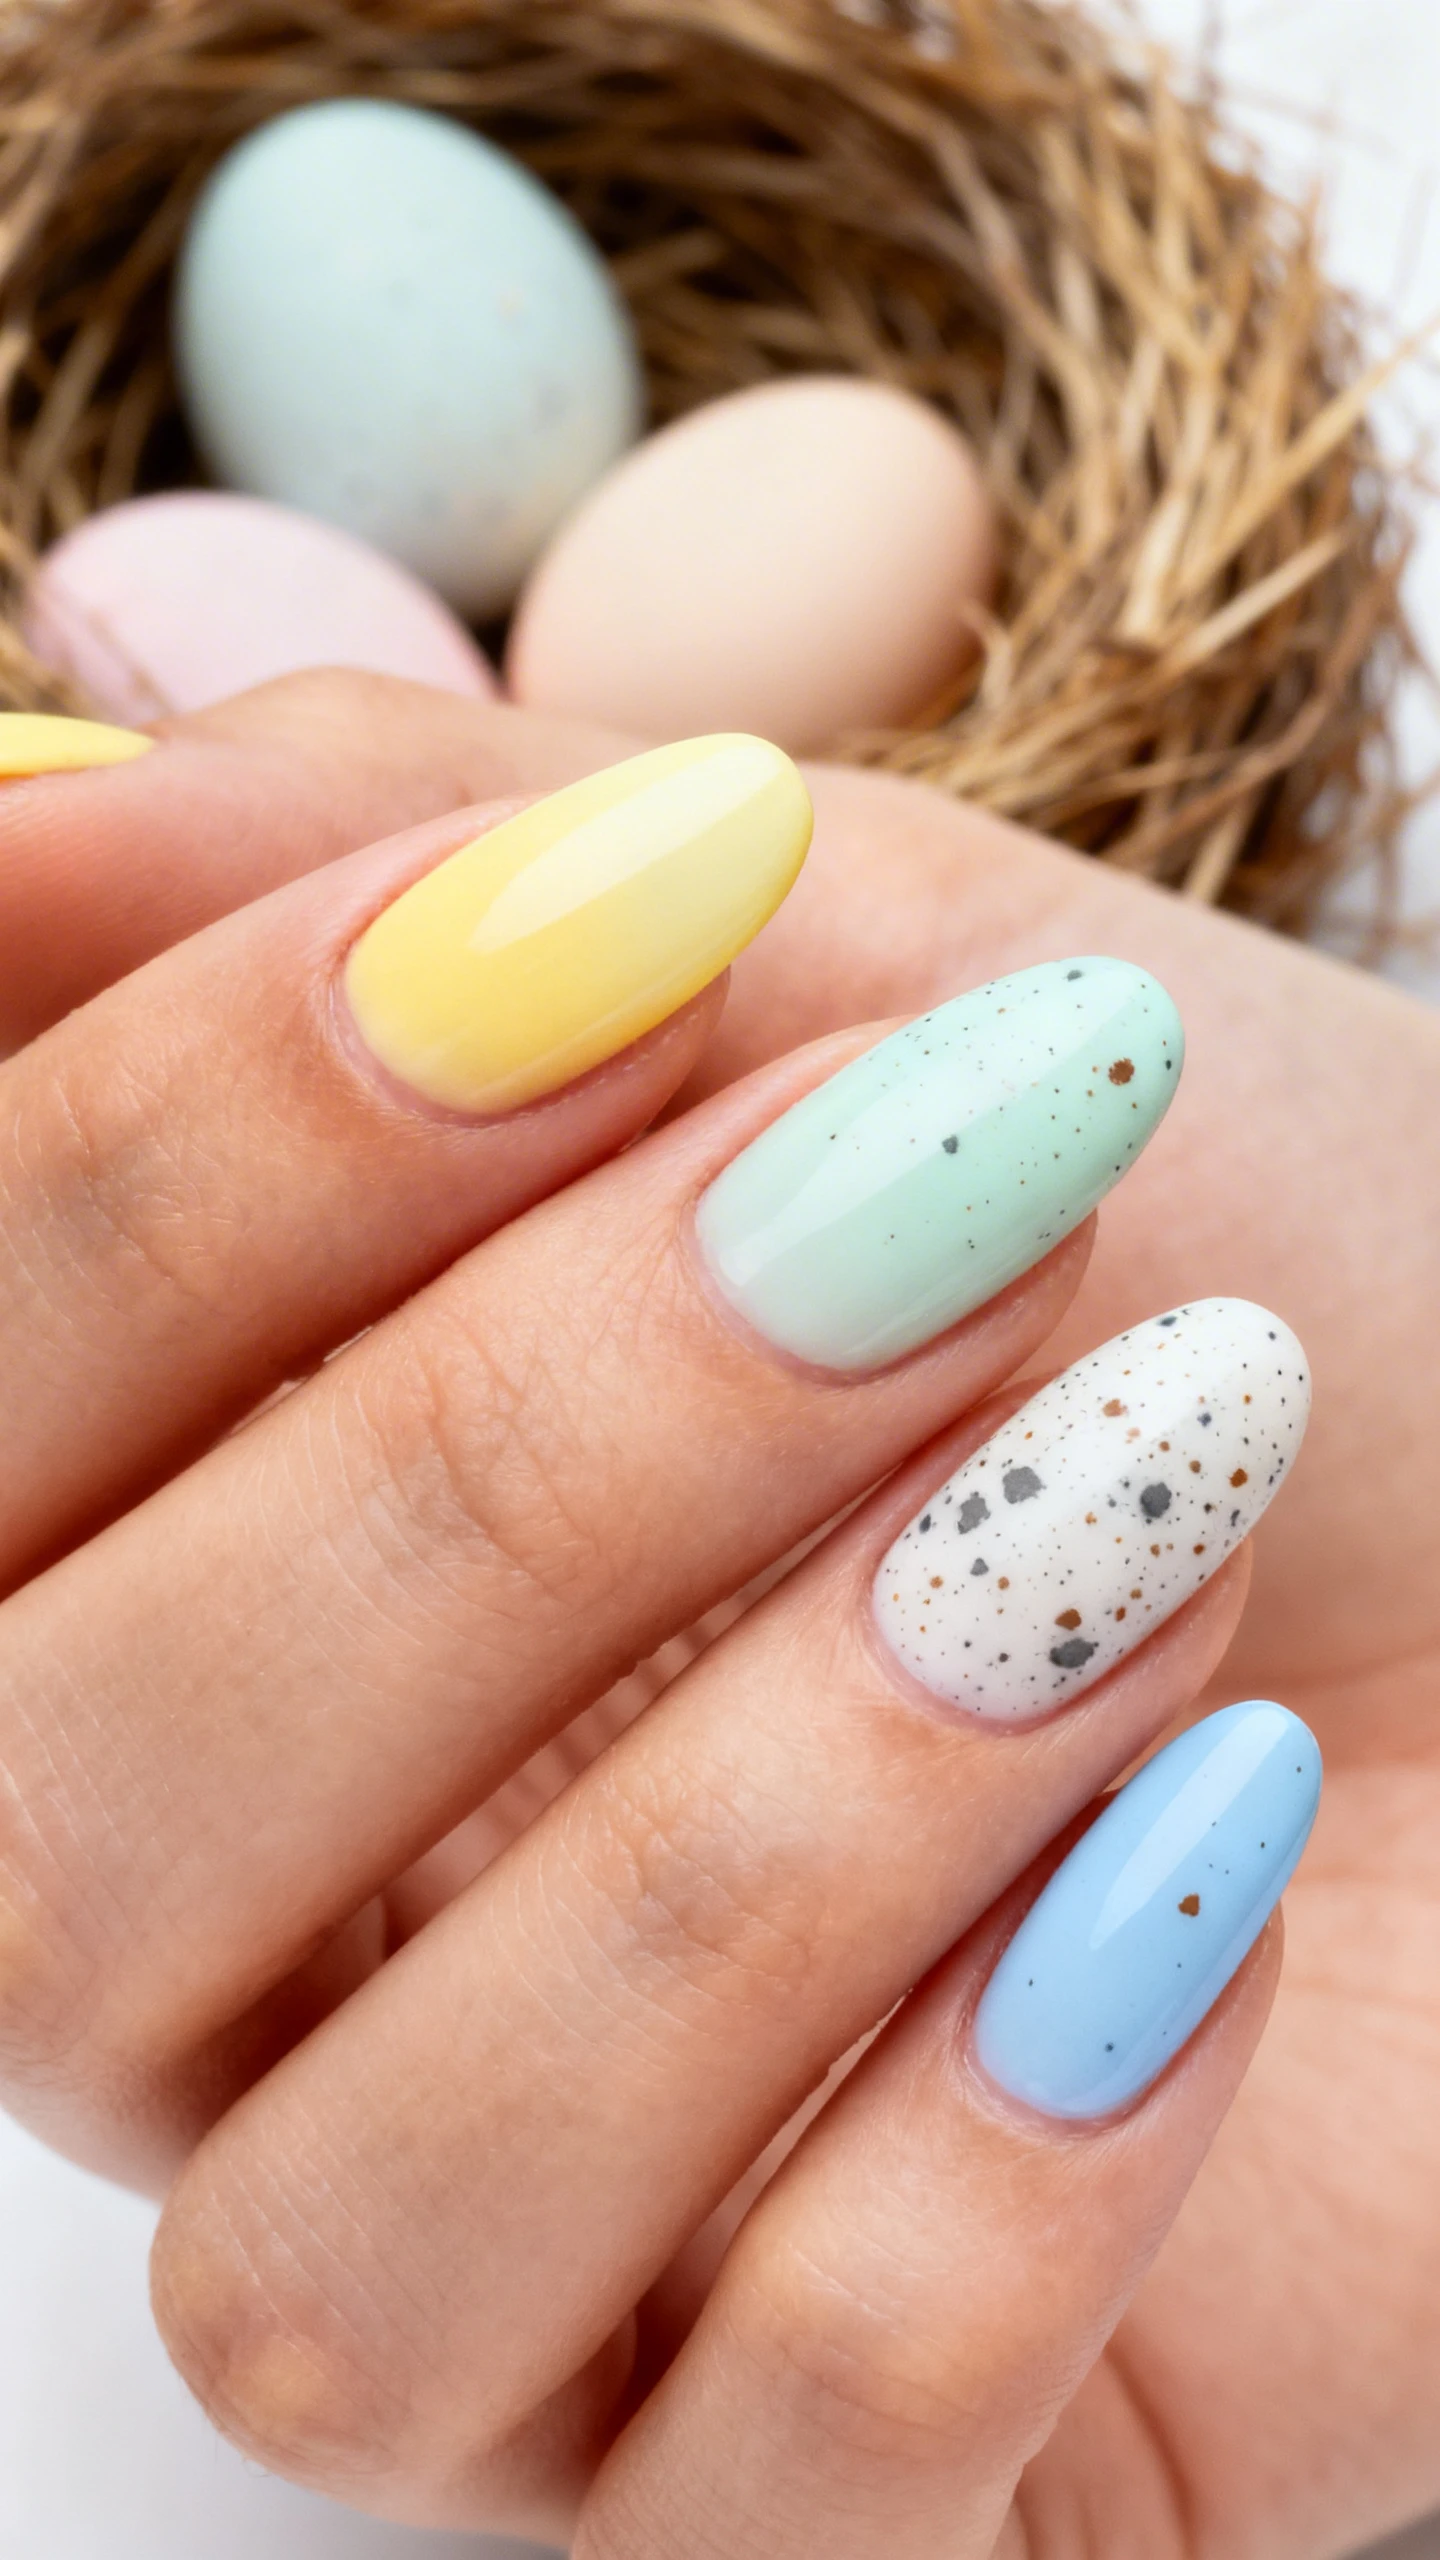
If you’ve ever admired the delicate flecks on candy-coated eggs, this gradient is your must-try. A makeup sponge blends pastels seamlessly from cuticle to tip, while a speckle topper adds that convincing, sugar-shell finish. It’s refined, wearable, and photogenic—especially in natural light.
Keep your ombre soft and airy, like watercolor shading. The speckle should be small and irregular, never heavy; it’s all about restraint for that “real egg” effect.
Pro Tip
Apply liquid latex or tape around the nail for easy cleanup after sponging. Use a thin layer of speckle topper; if DIY-ing, flick diluted black and brown polish off a stiff brush for tiny, realistic flecks.
Nail Details: Medium oval nails. Gradient base from cuticle to tip: butter yellow at the cuticle melting into milky mint mid-nail, finishing in soft baby blue at the tips. Subtle transition with no harsh lines. Light speckle effect over the entire nail: micro-flecks in charcoal gray and warm brown, dispersed irregularly with some clustering but no large blobs. One statement nail per hand swaps the gradient to lavender at the cuticle blending to cream at the tip. Finish: soft-touch satin topcoat to mimic real eggshell; optional glossy topcoat for a shinier candy look.
4. Floral Stamping Carousel
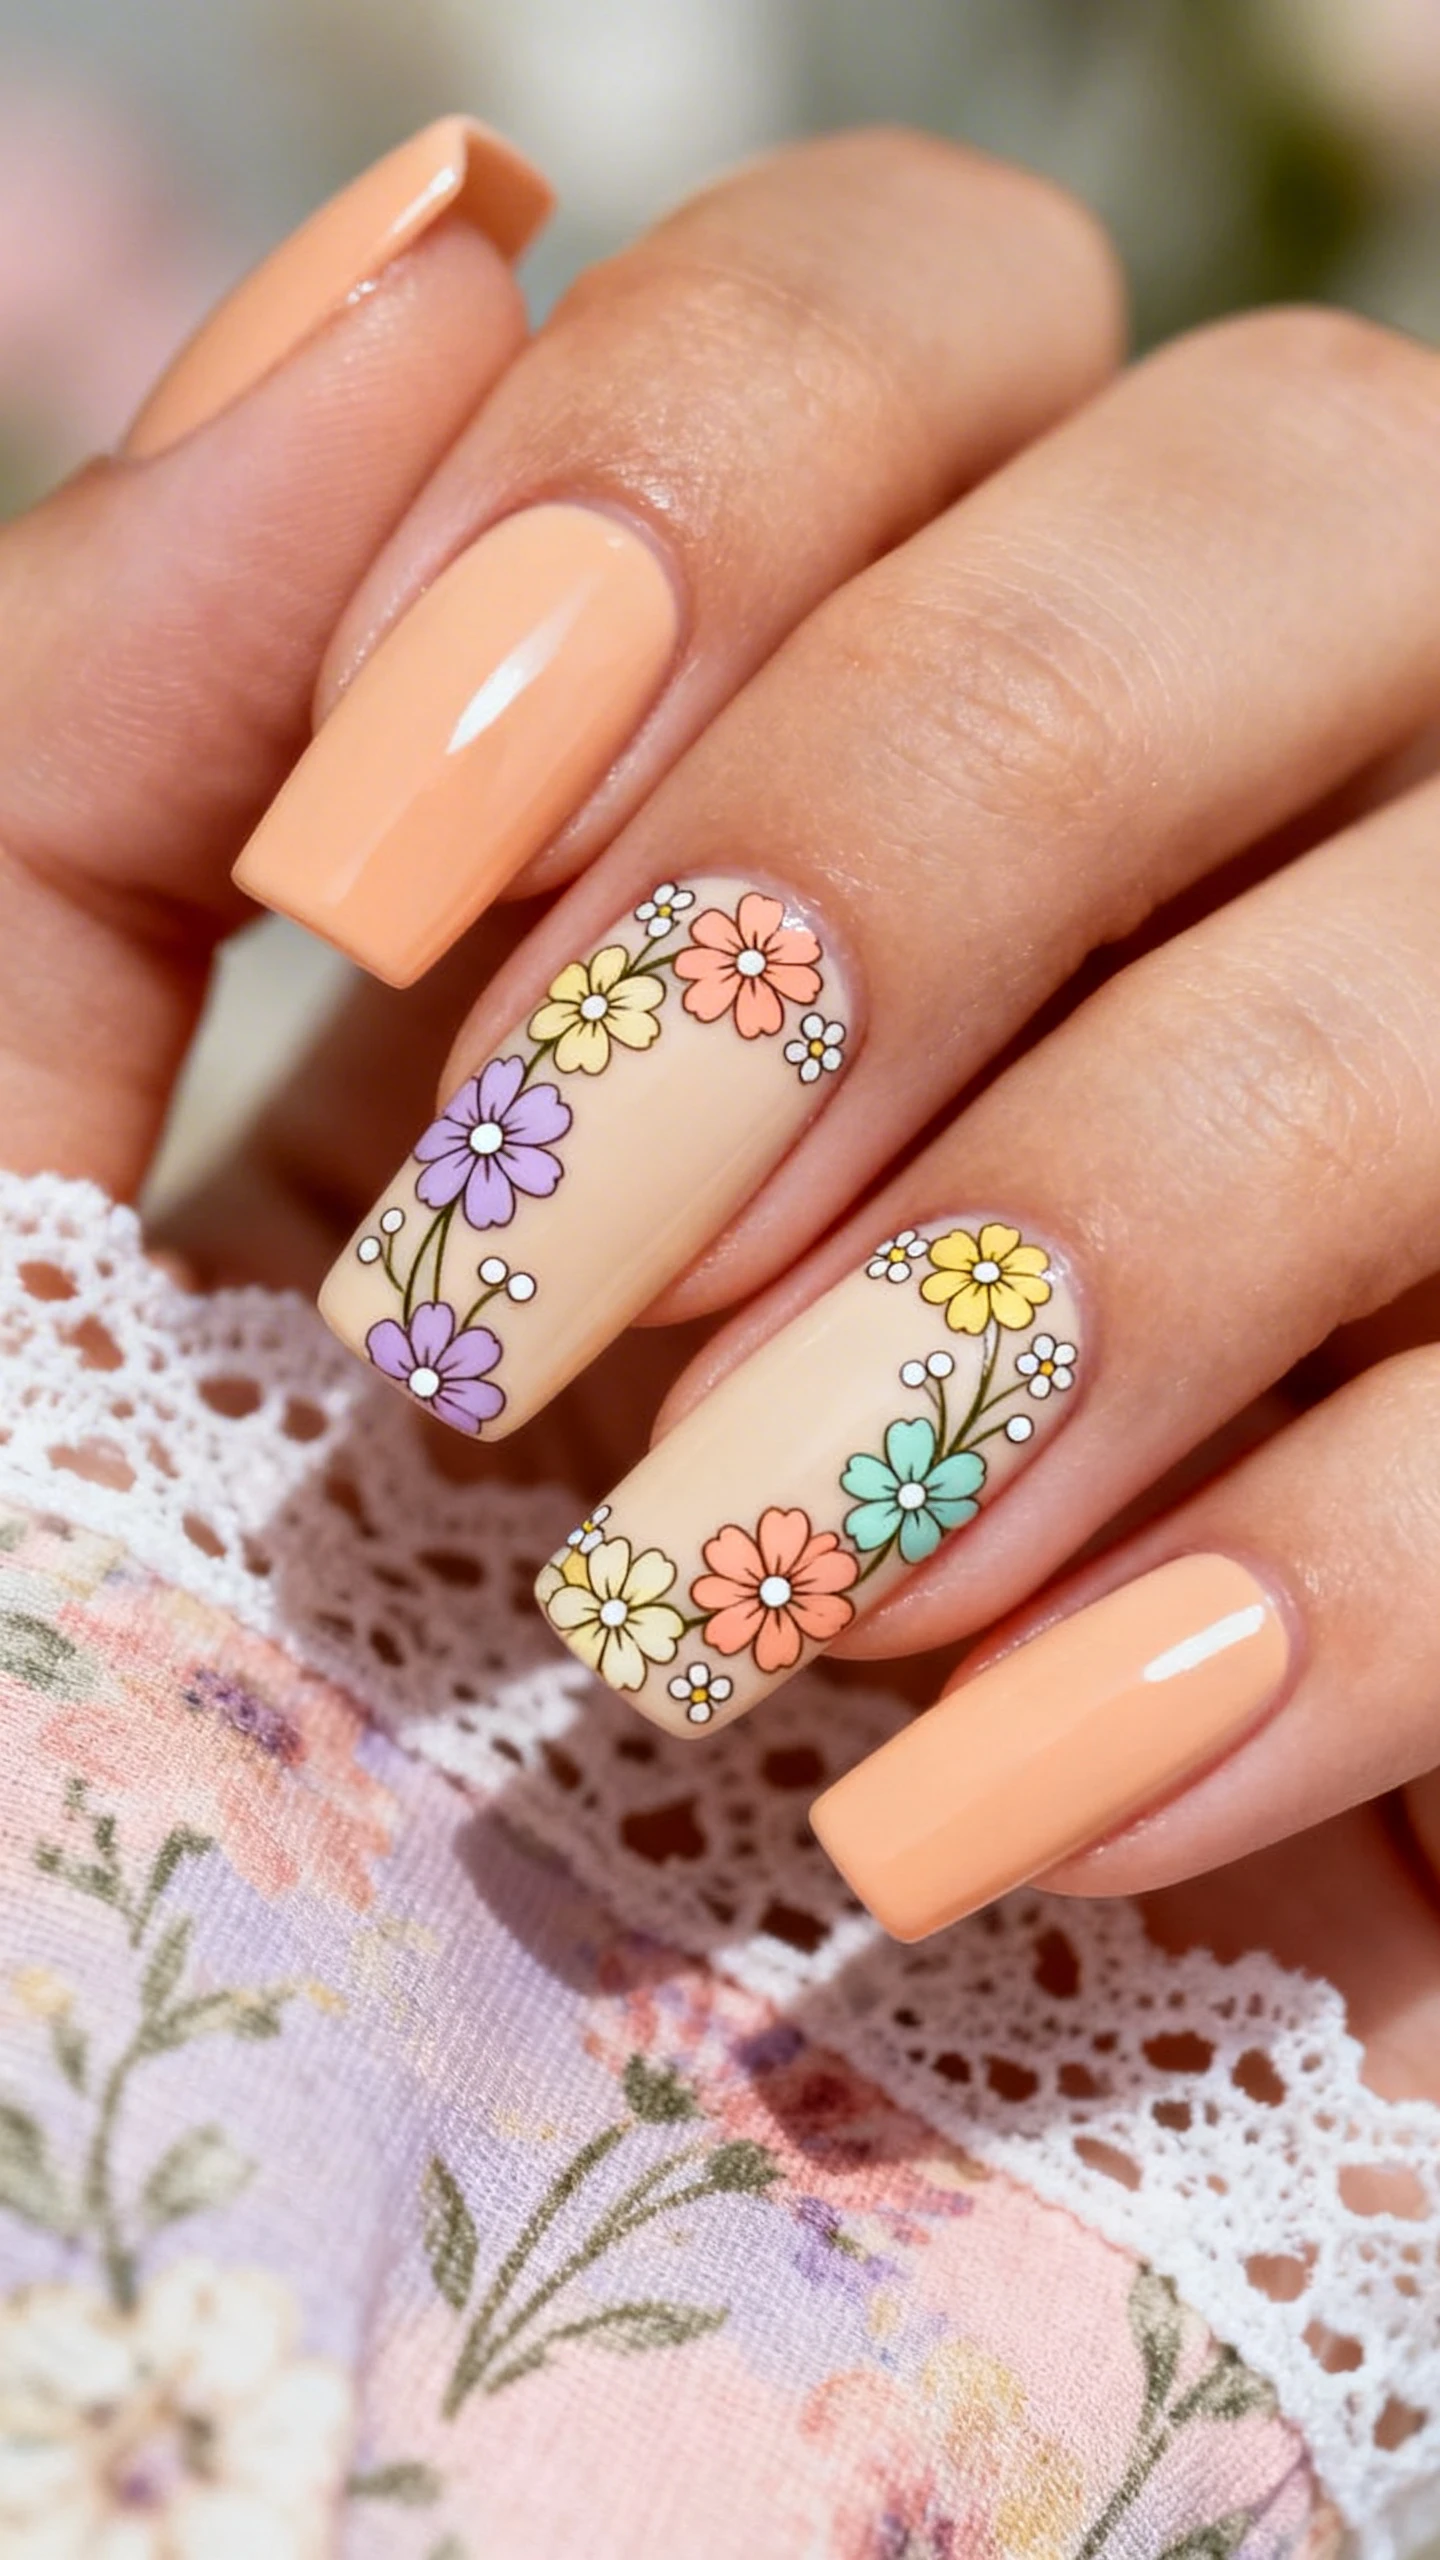
Stamping plates are a spring MVP because they deliver razor-sharp florals even if freehand isn’t your thing. This carousel concept uses a rotating arrangement of petite flowers so each nail feels unique yet cohesive. It’s intricate without the time commitment—and the symmetry looks salon-perfect.
Choose a harmonious palette of complementary pastels with a single deeper accent shade for contrast. The carousel layout—florals radiating from a side or corner—keeps the design airy rather than crowded.
Pro Tip
Use a sticky, translucent stamper for precise placement and clean up edges with a silicone brush. Double-stamp a few petals in a slightly darker shade to add depth without hand-painting.
Nail Details: Medium to long, soft square nails. Base: milky cream with a hint of warmth. Stamped florals arranged in a “carousel” arc starting at the lower sidewall and curving toward the free edge. Flower shapes: five-petal daisies and tiny blossoms. Colors: pastel lilac, peach, mint, and pale yellow with a deeper periwinkle accent for select flowers. Centers dotted in tiny white or gold. Each nail’s arc differs slightly (higher, lower, wider) for a rotating effect across the hand. Negative space preserved in the center of the nail for breathability. Optional super-fine white micro-lines connecting a few flowers like delicate stems. Finish: glossy topcoat to seal stamping and enhance the milky base.
5. Jelly Skittle Pastels with Striping Tape
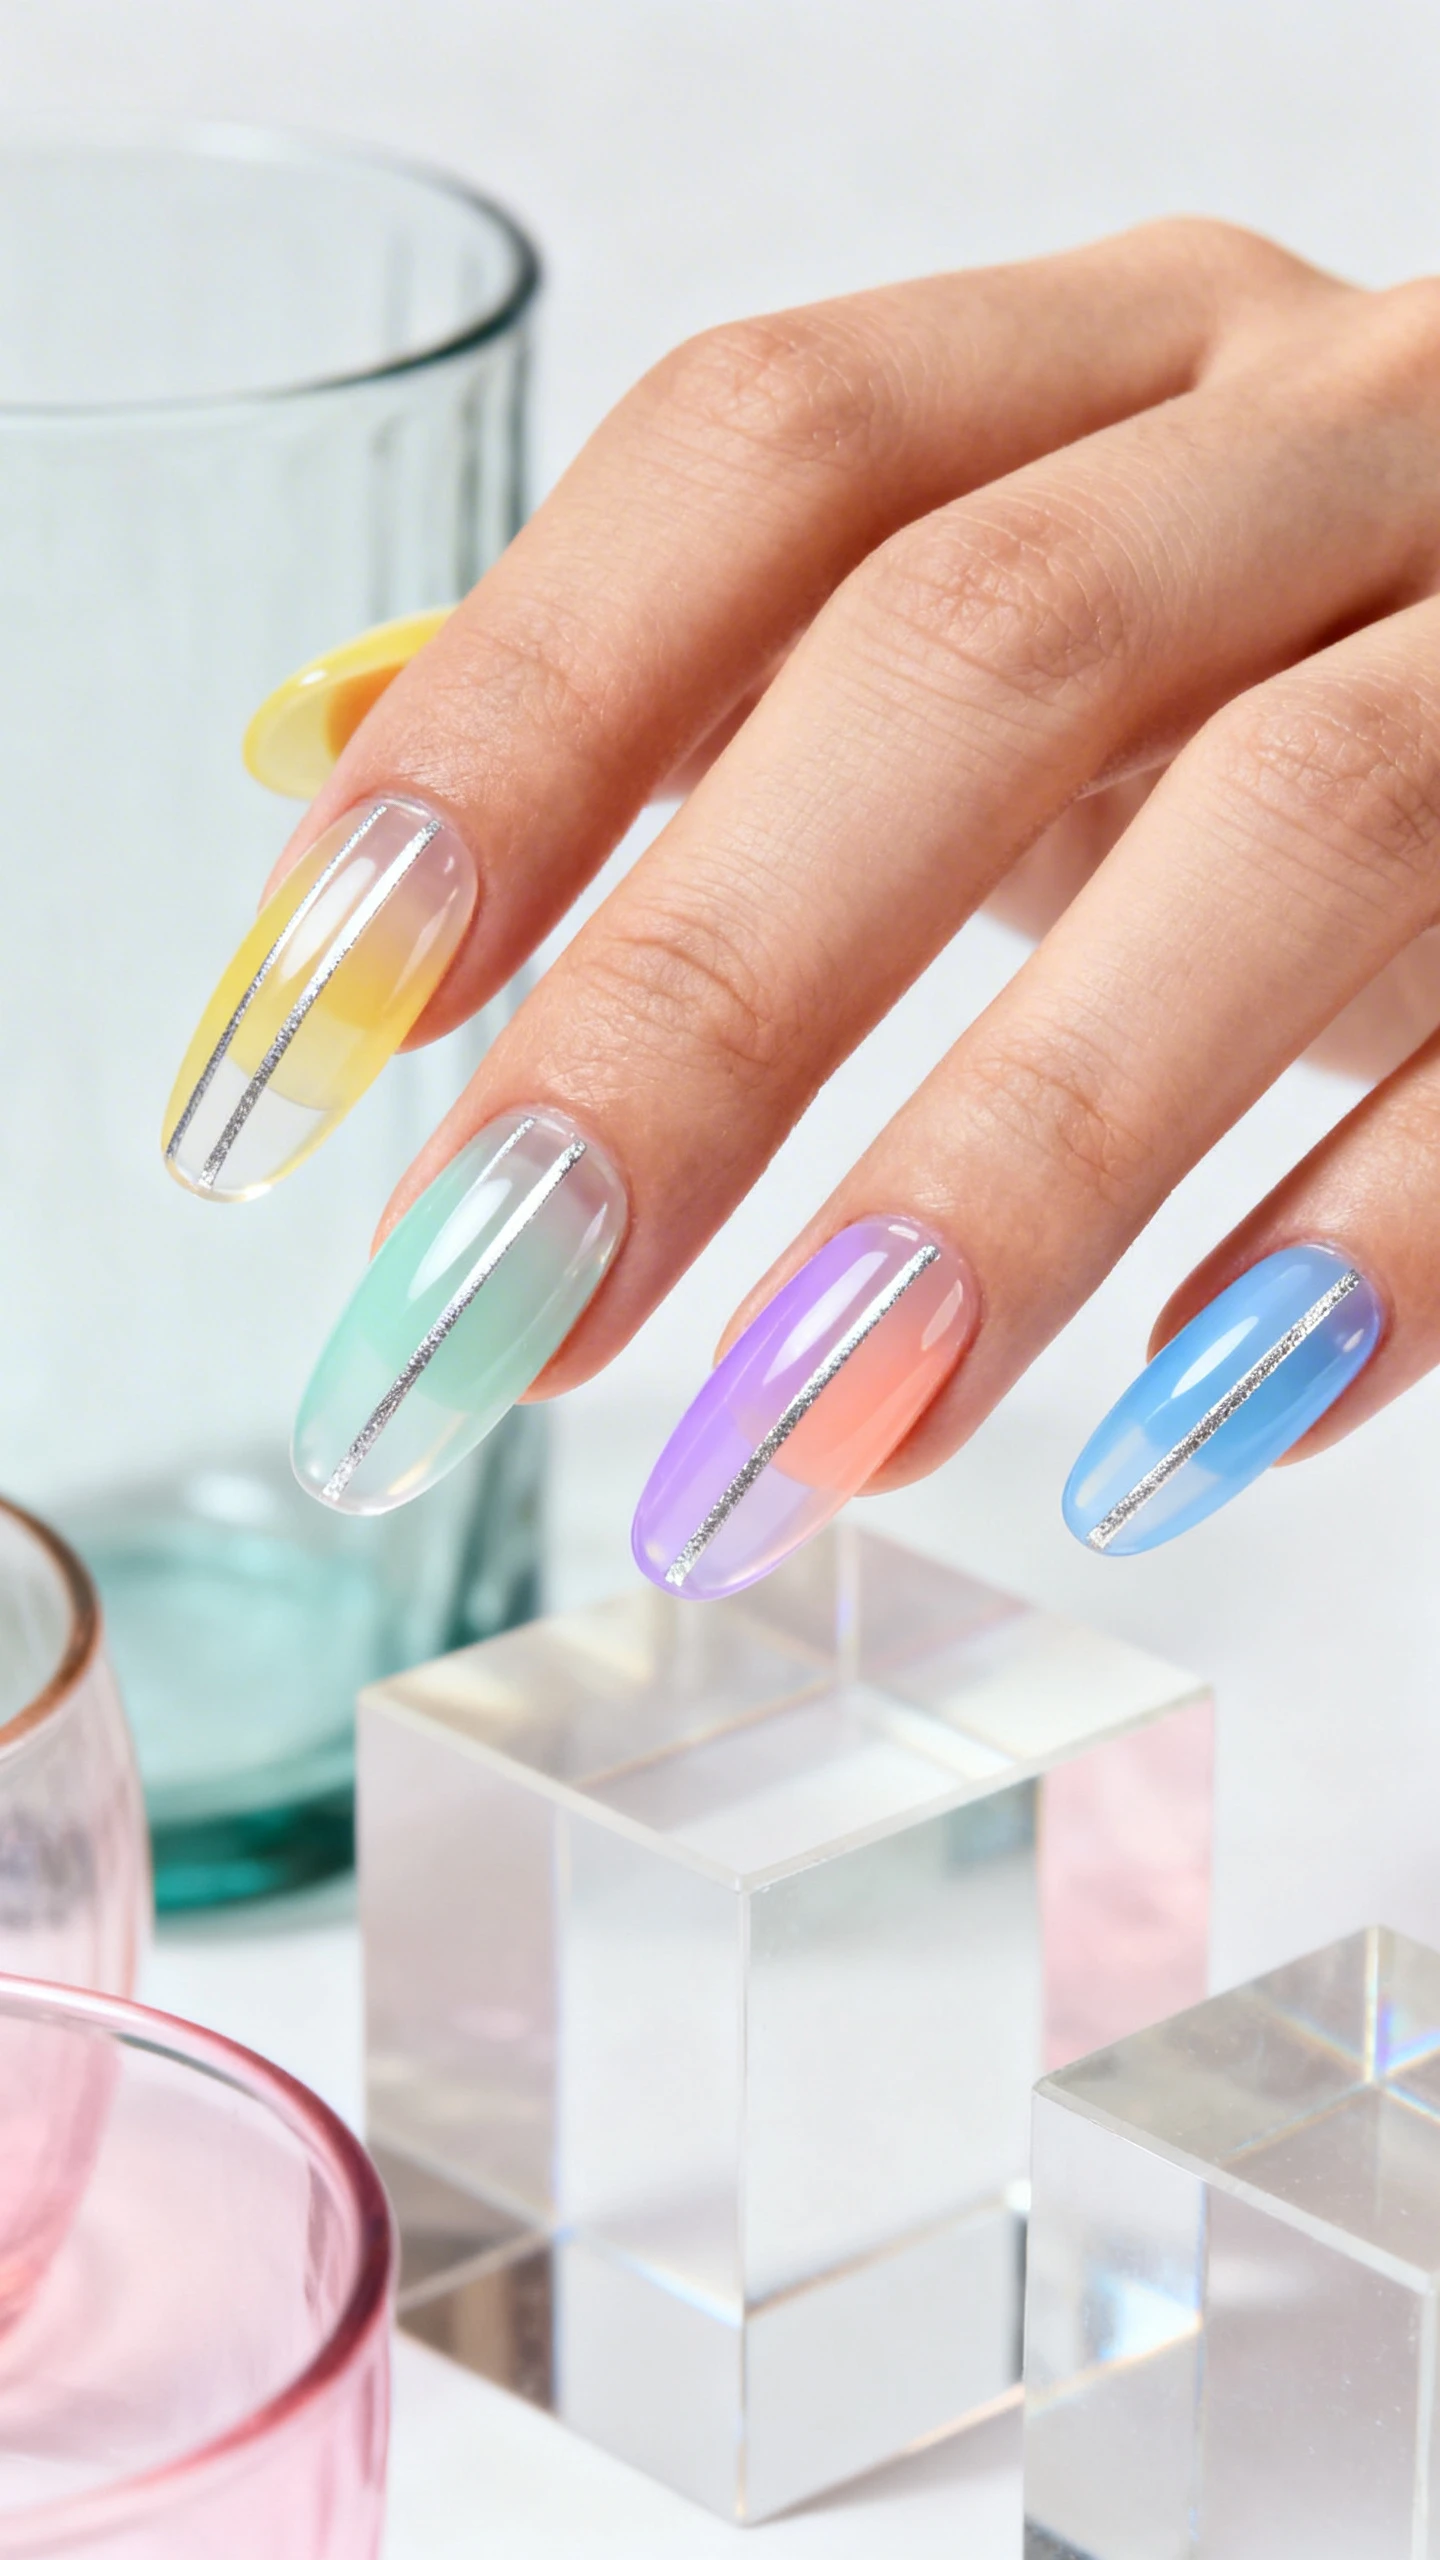
Jelly finishes are trending hard, and they’re perfect for spring because they look dewy and modern. Pair them with striping tape for translucent color blocking that feels graphic but light. A Skittle set—each nail a different pastel—adds instant editorial energy while staying soft and wearable.
This look thrives on crisp divisions and see-through shine. The tape helps you create hyper-straight lines and geometric segments that catch the light through those sheer layers, like stained glass candy.
Pro Tip
Apply striping tape onto fully dry jelly layers and remove immediately after painting the new section for the cleanest edges. Use two thin coats per jelly shade to keep the transparency.
Nail Details: Medium coffin or almond nails. Skittle colors across five nails (left to right): translucent lemon, translucent mint, translucent lavender, translucent peach, translucent sky blue. On each nail, one vertical strip of clear negative space runs slightly off-center, bordered by ultra-thin silver striping tape. Optional second micro-stripe parallel to the first on thumbs and ring fingers for extra dimension. Color blocking remains sheer; edges sharp and symmetrical. Finish: glassy, high-shine topcoat to amplify the jelly effect and seal tape edges.
Tool Kit Essentials to Nail the Look
- Dotting tools in multiple sizes for perfect rounds and flower centers
- Ultra-fine detailing brush for line work, tiny ears, and micro-French tips
- Makeup sponge for seamless ombre and gradient blends
- Stamping plates and sticky stamper for sharp, repeatable florals
- Striping tape for crisp geometric sections and borders
- Topcoats: glossy for shine; satin for eggshell realism
- Cleanup brush and acetone for pro-level edges
Shade Selection Tips
- Anchor with a neutral base like cream, beige, tan, or sand to keep pastels sophisticated.
- Limit to 3–5 colors per design for balance—pastels can overwhelm if you use the full rainbow.
- Mix cool (mint, lavender, blue) with warm (peach, lemon) for depth and harmony.
Longevity Cheats
- Dehydrate nails with alcohol and use a thin base coat for better adhesion.
- Cap the free edge with every layer—base, color, and topcoat.
- Refresh with a thin topcoat every 3–4 days to maintain shine and prevent chips.
Spring nails should feel light, happy, and a little indulgent—like the season itself. With these five tool-powered designs, you’ll get maximum visual payoff with minimum fuss. Whether you lean pastel-perfect or graphic and glossy, there’s a look here that will make your Easter lineup sparkle. Grab your dotter, detail brush, sponge, stamper, and striping tape—and let your manicure bloom.