5 Gold Flake Polishes for Cute St Patricks Day Nails
Ready to channel shamrock-chic energy with a little sparkle? St. Patrick’s Day nails don’t have to scream costume party. With gold flake polish, you can go from subtle shimmer to full-on treasure hunt—while keeping your manicure elevated and photo-ready. Below are five polished, wearable designs that celebrate greens, clovers, and just the right amount of lucky shine. Each look includes specific nail details you can hand to your tech or use at home, plus pro tips to help your gold flakes lie flat, last longer, and glow under any lighting.
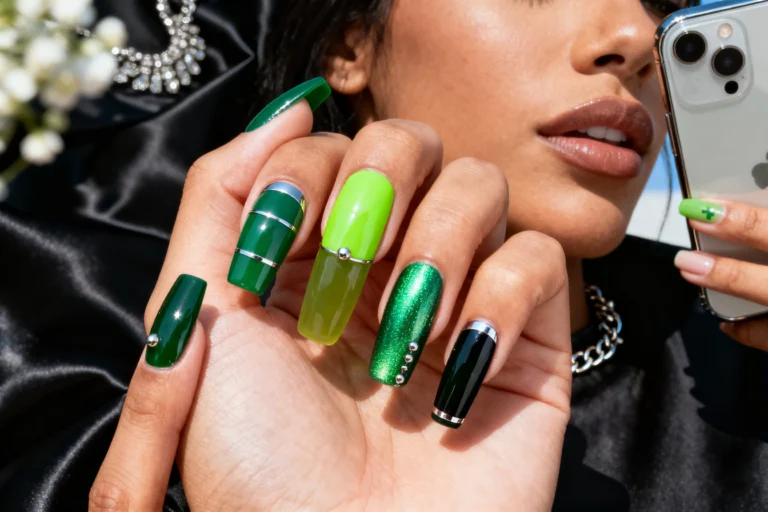
1) Emerald Velvet With Gold Leaf Gleam
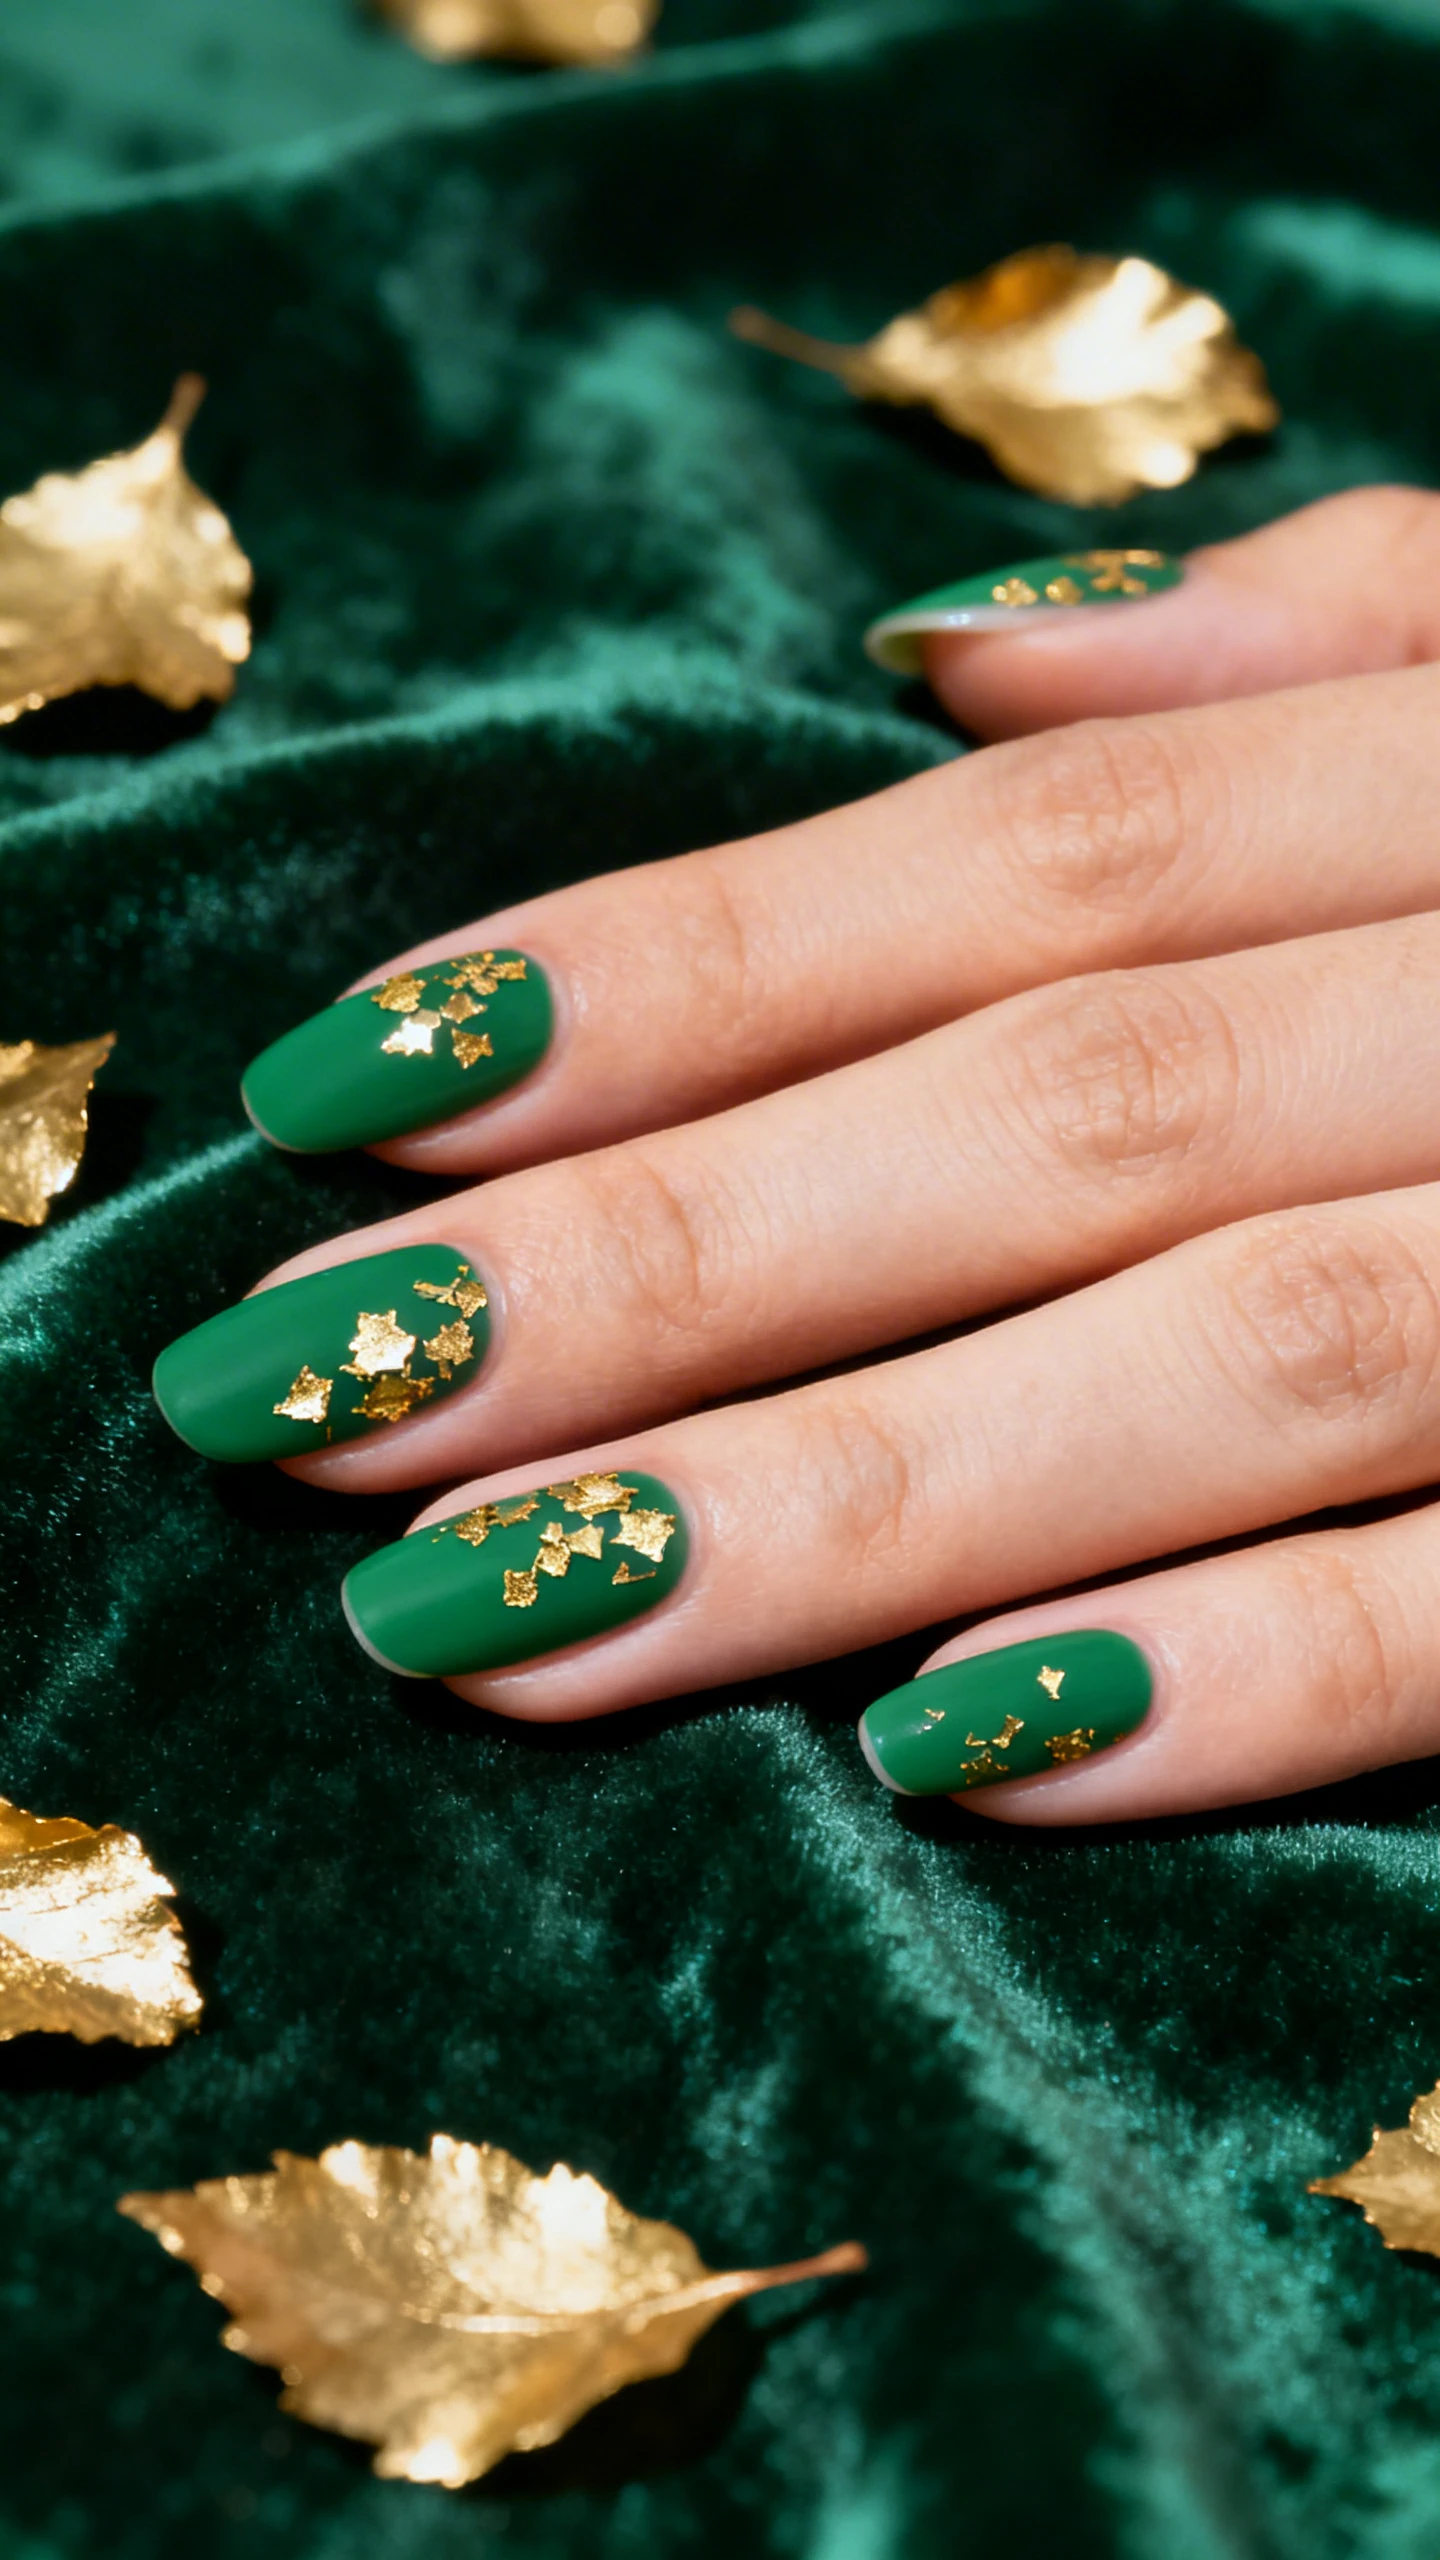
Think of this as the glam, evening-ready version of St. Patrick’s Day nails. Deep emerald paired with dispersed gold flakes looks like velvet ribbon meeting scattered treasure. The key is choosing a rich, opaque green base and letting those reflective flakes look like they’re floating on the surface. It’s luxe, moody, and instantly pulled-together with chunky sweaters or a silky slip dress.
What makes this design great is its balance: the emerald reads chic from a distance, while the gold adds that festive wink up close. It’s also flattering on every nail length and shape—short squared, soft almond, or stiletto—because the contrast naturally elongates the nail bed and adds dimension without heaviness.
Nail Details:
– Shape: Soft almond or short square.
– Base color: Opaque emerald green gel polish with a satin or soft-gloss finish.
– Accent: Fine-to-medium gold flake polish applied in irregular clusters across each nail, focusing flakes toward the cuticle and mid-nail, leaving the tips slightly clearer for a gradient effect.
– Distribution: Place flakes more densely on the ring and middle fingers for a hero accent; keep pointer and pinky lighter for contrast.
– Top coat: High-shine, self-leveling gel top coat to encapsulate flakes and create a smooth surface that looks like glass.
– Optional detail: A slender vertical strip of tiny gold flakes down the center of one nail to mimic a subtle light beam.
– Overall vibe: Rich emerald backdrop with floating, irregular gold fragments that concentrate near the cuticle and soften toward the free edge.
Pro Tip: Flatten and Seal
After placing your gold flakes, press them gently with a silicone tool so no edges stick up. Two layers of top coat lock everything in and prevent snagging.
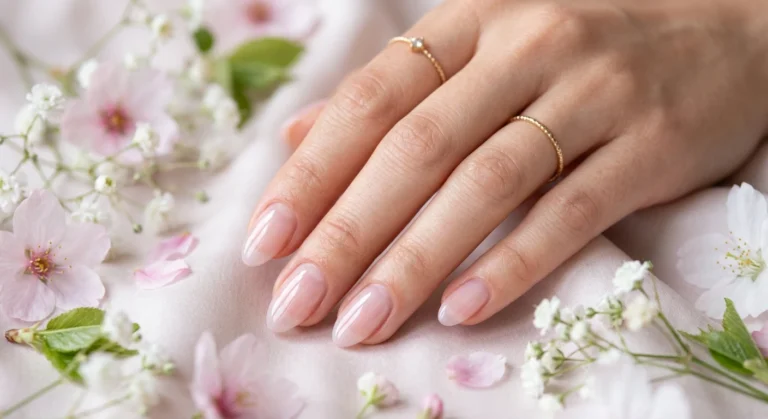
2) Celtic French With Micro Flakes
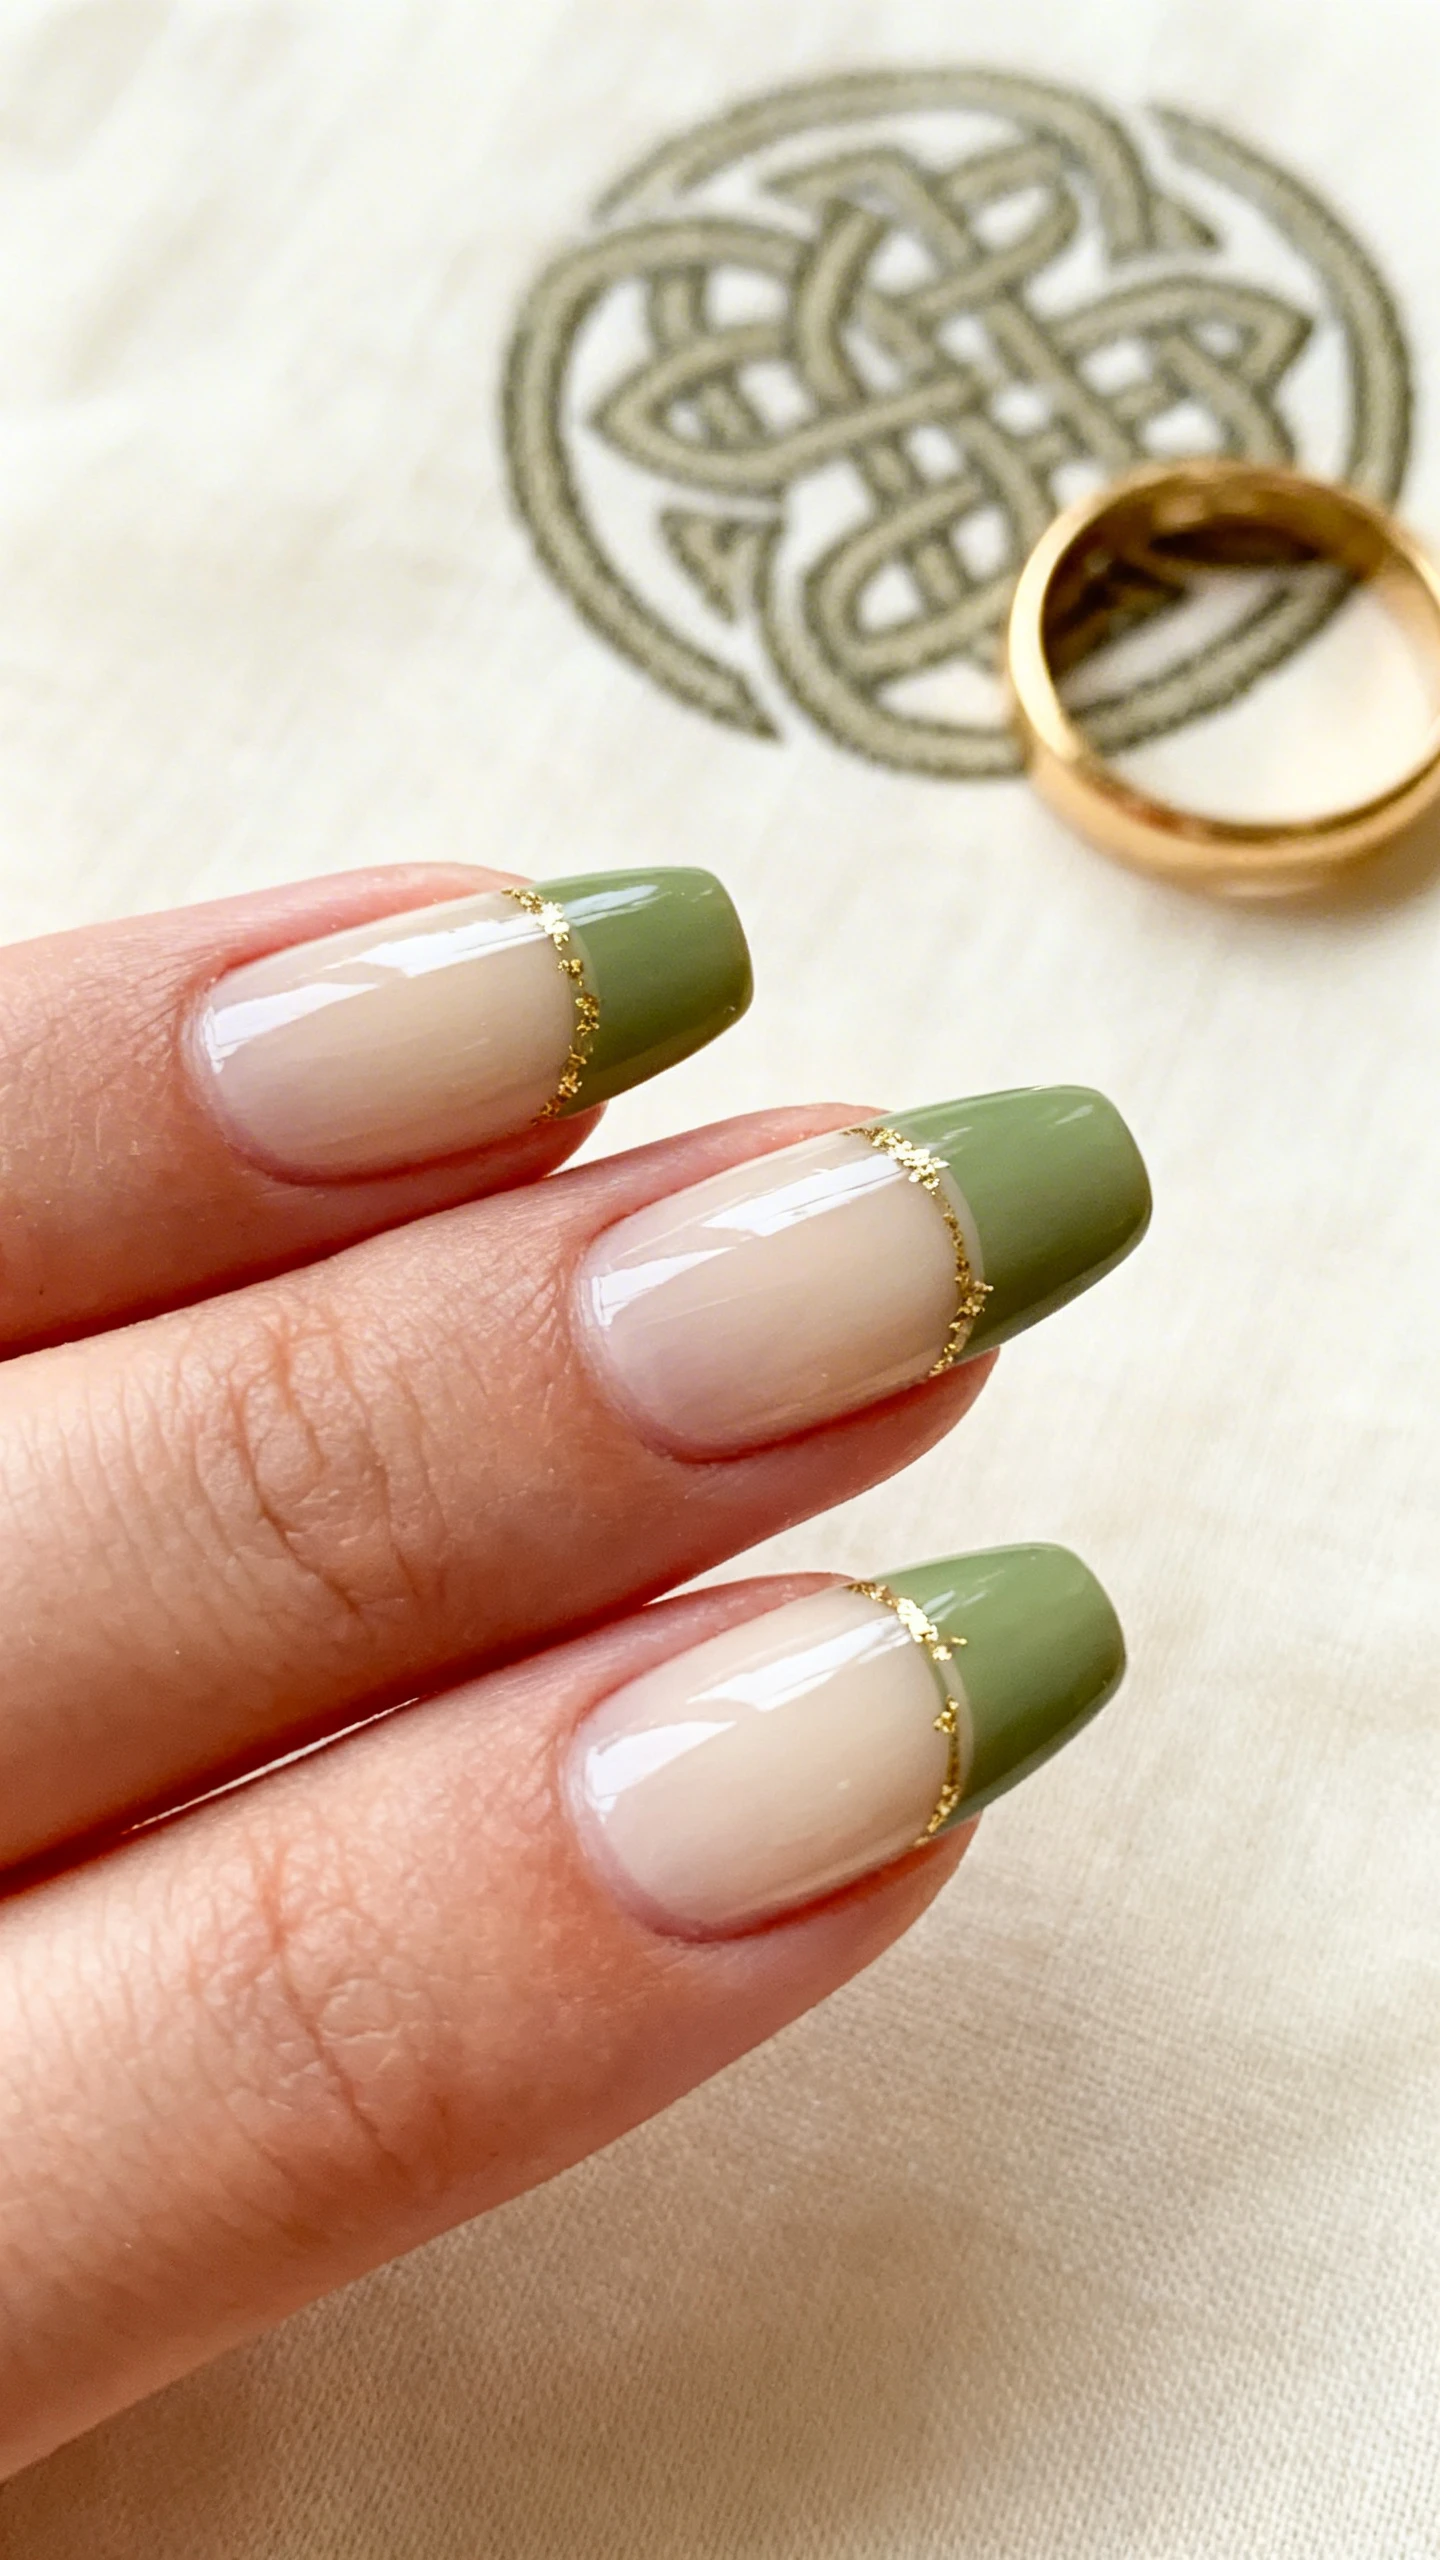
If you love a French tip but want it to feel modern and celebratory, this design blends refined lines with micro-fleck sparkle. Think delicate French tips in soft, mossy green and thin gold flake banding that glints in the light. It’s minimalist enough for the office yet fun enough for a night out or parade-day brunch.
The beauty lies in the slim proportions: slender tips, slender flakes, and just enough negative space to keep everything airy. It’s a clever way to wear green without committing to a full-coverage look, and micro flakes read more like twinkly dust than chunky glitter—perfect for a curated, editorial finish.
Nail Details:
– Shape: Short almond or rounded square for a chic silhouette.
– Base color: Sheer cream or beige builder with a glossy finish to even tone and enhance natural warmth.
– Tips: Thin French tips in soft moss or sage green, keeping the tip band very slim (about 1–2 mm) for a minimalist edge.
– Gold integration: A whisper-thin line of gold flake polish tracing the smile line directly under the green tip—use micro flakes so the line looks continuous and fine.
– Feature nail: On one hand, add a minimal shamrock outline on the ring finger using tiny gold flakes arranged in three small leaf shapes and a slim flake stem. Keep it delicate and centered near the tip.
– Top coat: Glossy top coat to smooth the flake line and ensure the tips look crisp.
– Overall vibe: Soft sheer base with slim moss-green tips; a fine, shimmering gold flake band under the tip for a refined Celtic nod.
How to Perfect the Line
Use a detailing brush dipped in a small amount of clear top coat to guide the micro flakes into a thin arc. Cure between adjustments if using gel to lock placement before sealing.
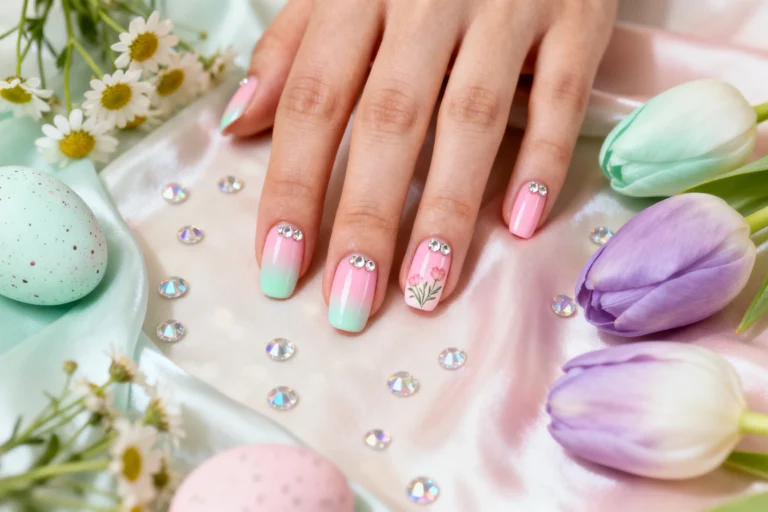
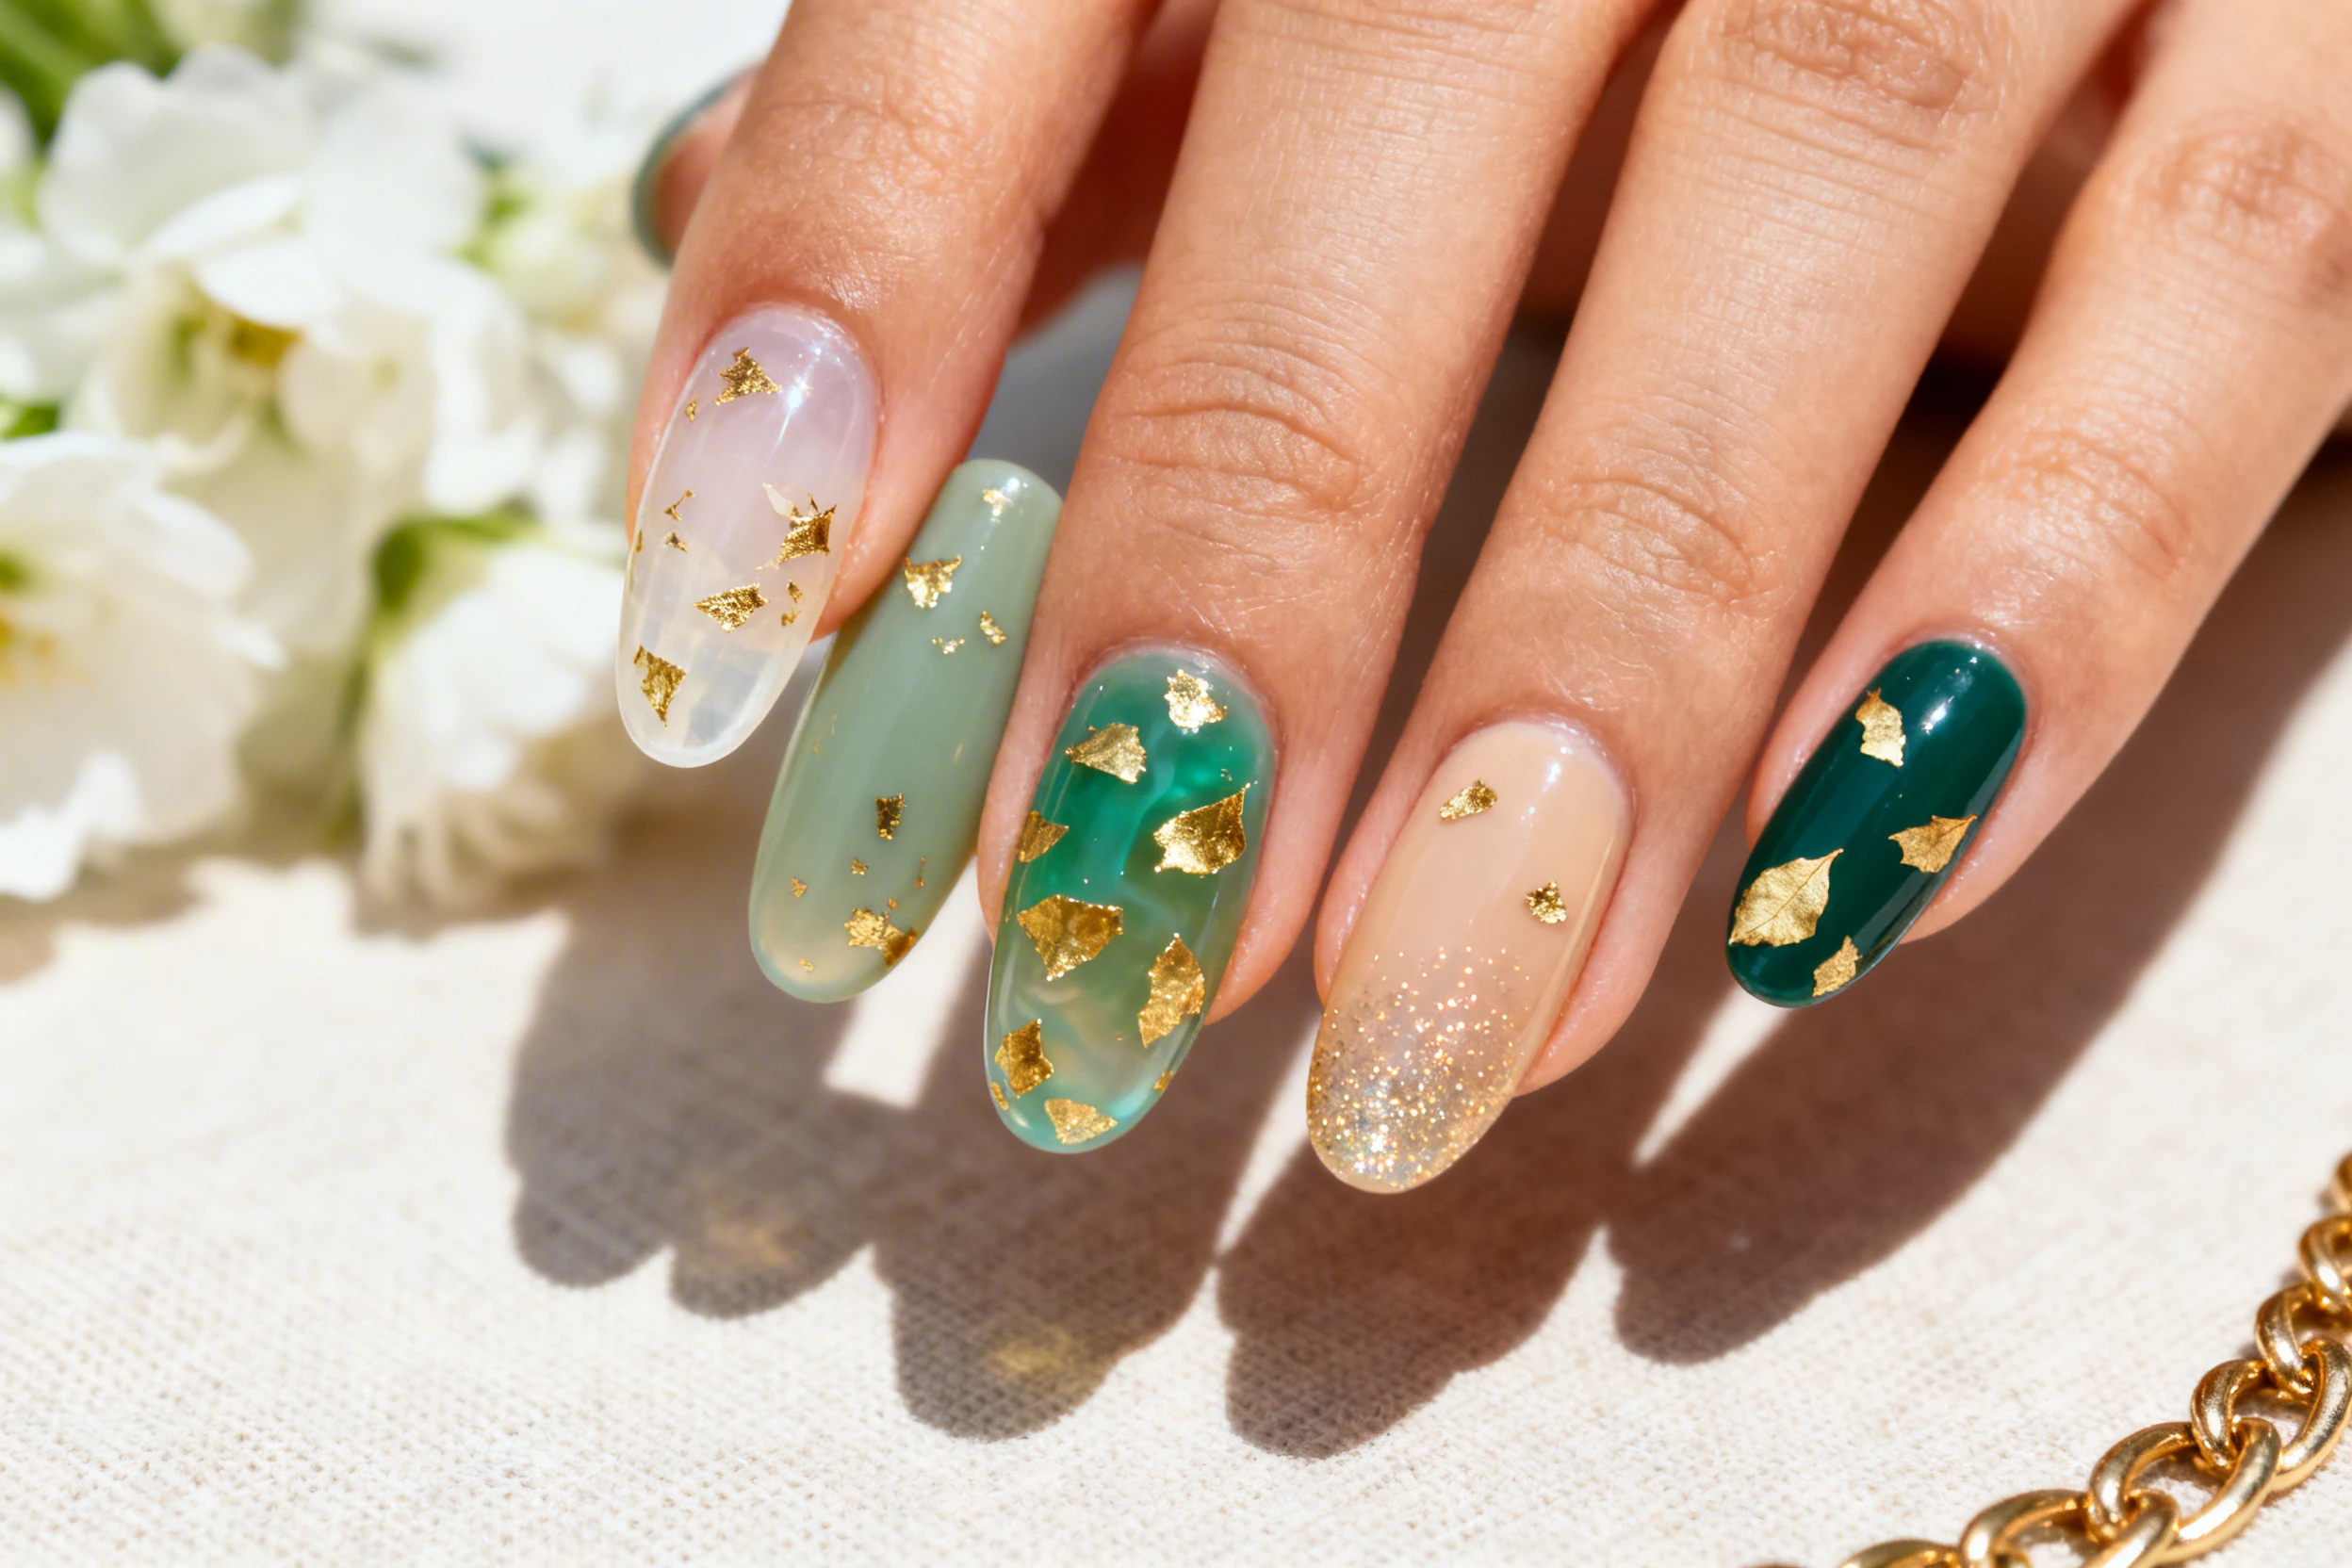
3) Pistachio Jelly With Scattered Treasure

For a playful daytime look, sheer pistachio jelly polish paired with free-floating gold flakes feels fresh, dewy, and youthful. The transparency gives a “glow from within” vibe, while flakes look like specks of treasure suspended in glass. It’s extra cute for shorter nails, because jelly shades highlight natural shape and make the gold feel light, not loud.
This design’s magic is in the airy layering: two or three coats of a green-tinted jelly create depth without muddiness, and the flakes catch light from different angles. It’s easy to DIY, forgiving of minor mistakes, and super photogenic. Pair it with a cozy tan trench or a chunky cream cardigan for that effortless, spring-ready mood.
Nail Details:
– Shape: Short to medium squoval for a casual, wearable effect.
– Base color: Translucent pistachio jelly polish—apply 2–3 thin coats to achieve a minty green tint while maintaining translucence.
– Gold placement: Light scatter of gold flake polish across each nail, leaving tiny clear pockets so the jelly stays visible; avoid heavy clumping to keep it buoyant.
– Accent nail idea: On the middle finger, concentrate gold flakes diagonally from lower left to upper right to create a gentle sweep, like a trail of coins.
– Optional art: A single tiny green heart placed off-center on one nail using a fine brush and the jelly color at higher opacity.
– Finish: Ultra-glossy top coat to amplify the “wet” jelly look and smooth any flake texture.
– Overall vibe: Soft minty translucence with scattered, reflective gold specs floating organically across each nail.
Keep It Sheer
Apply very thin jelly layers and cure or dry fully between coats. If the green deepens too much, the flakes can lose their contrast—sheer is the star here.
4) Checkerboard Clover With Gold Veil
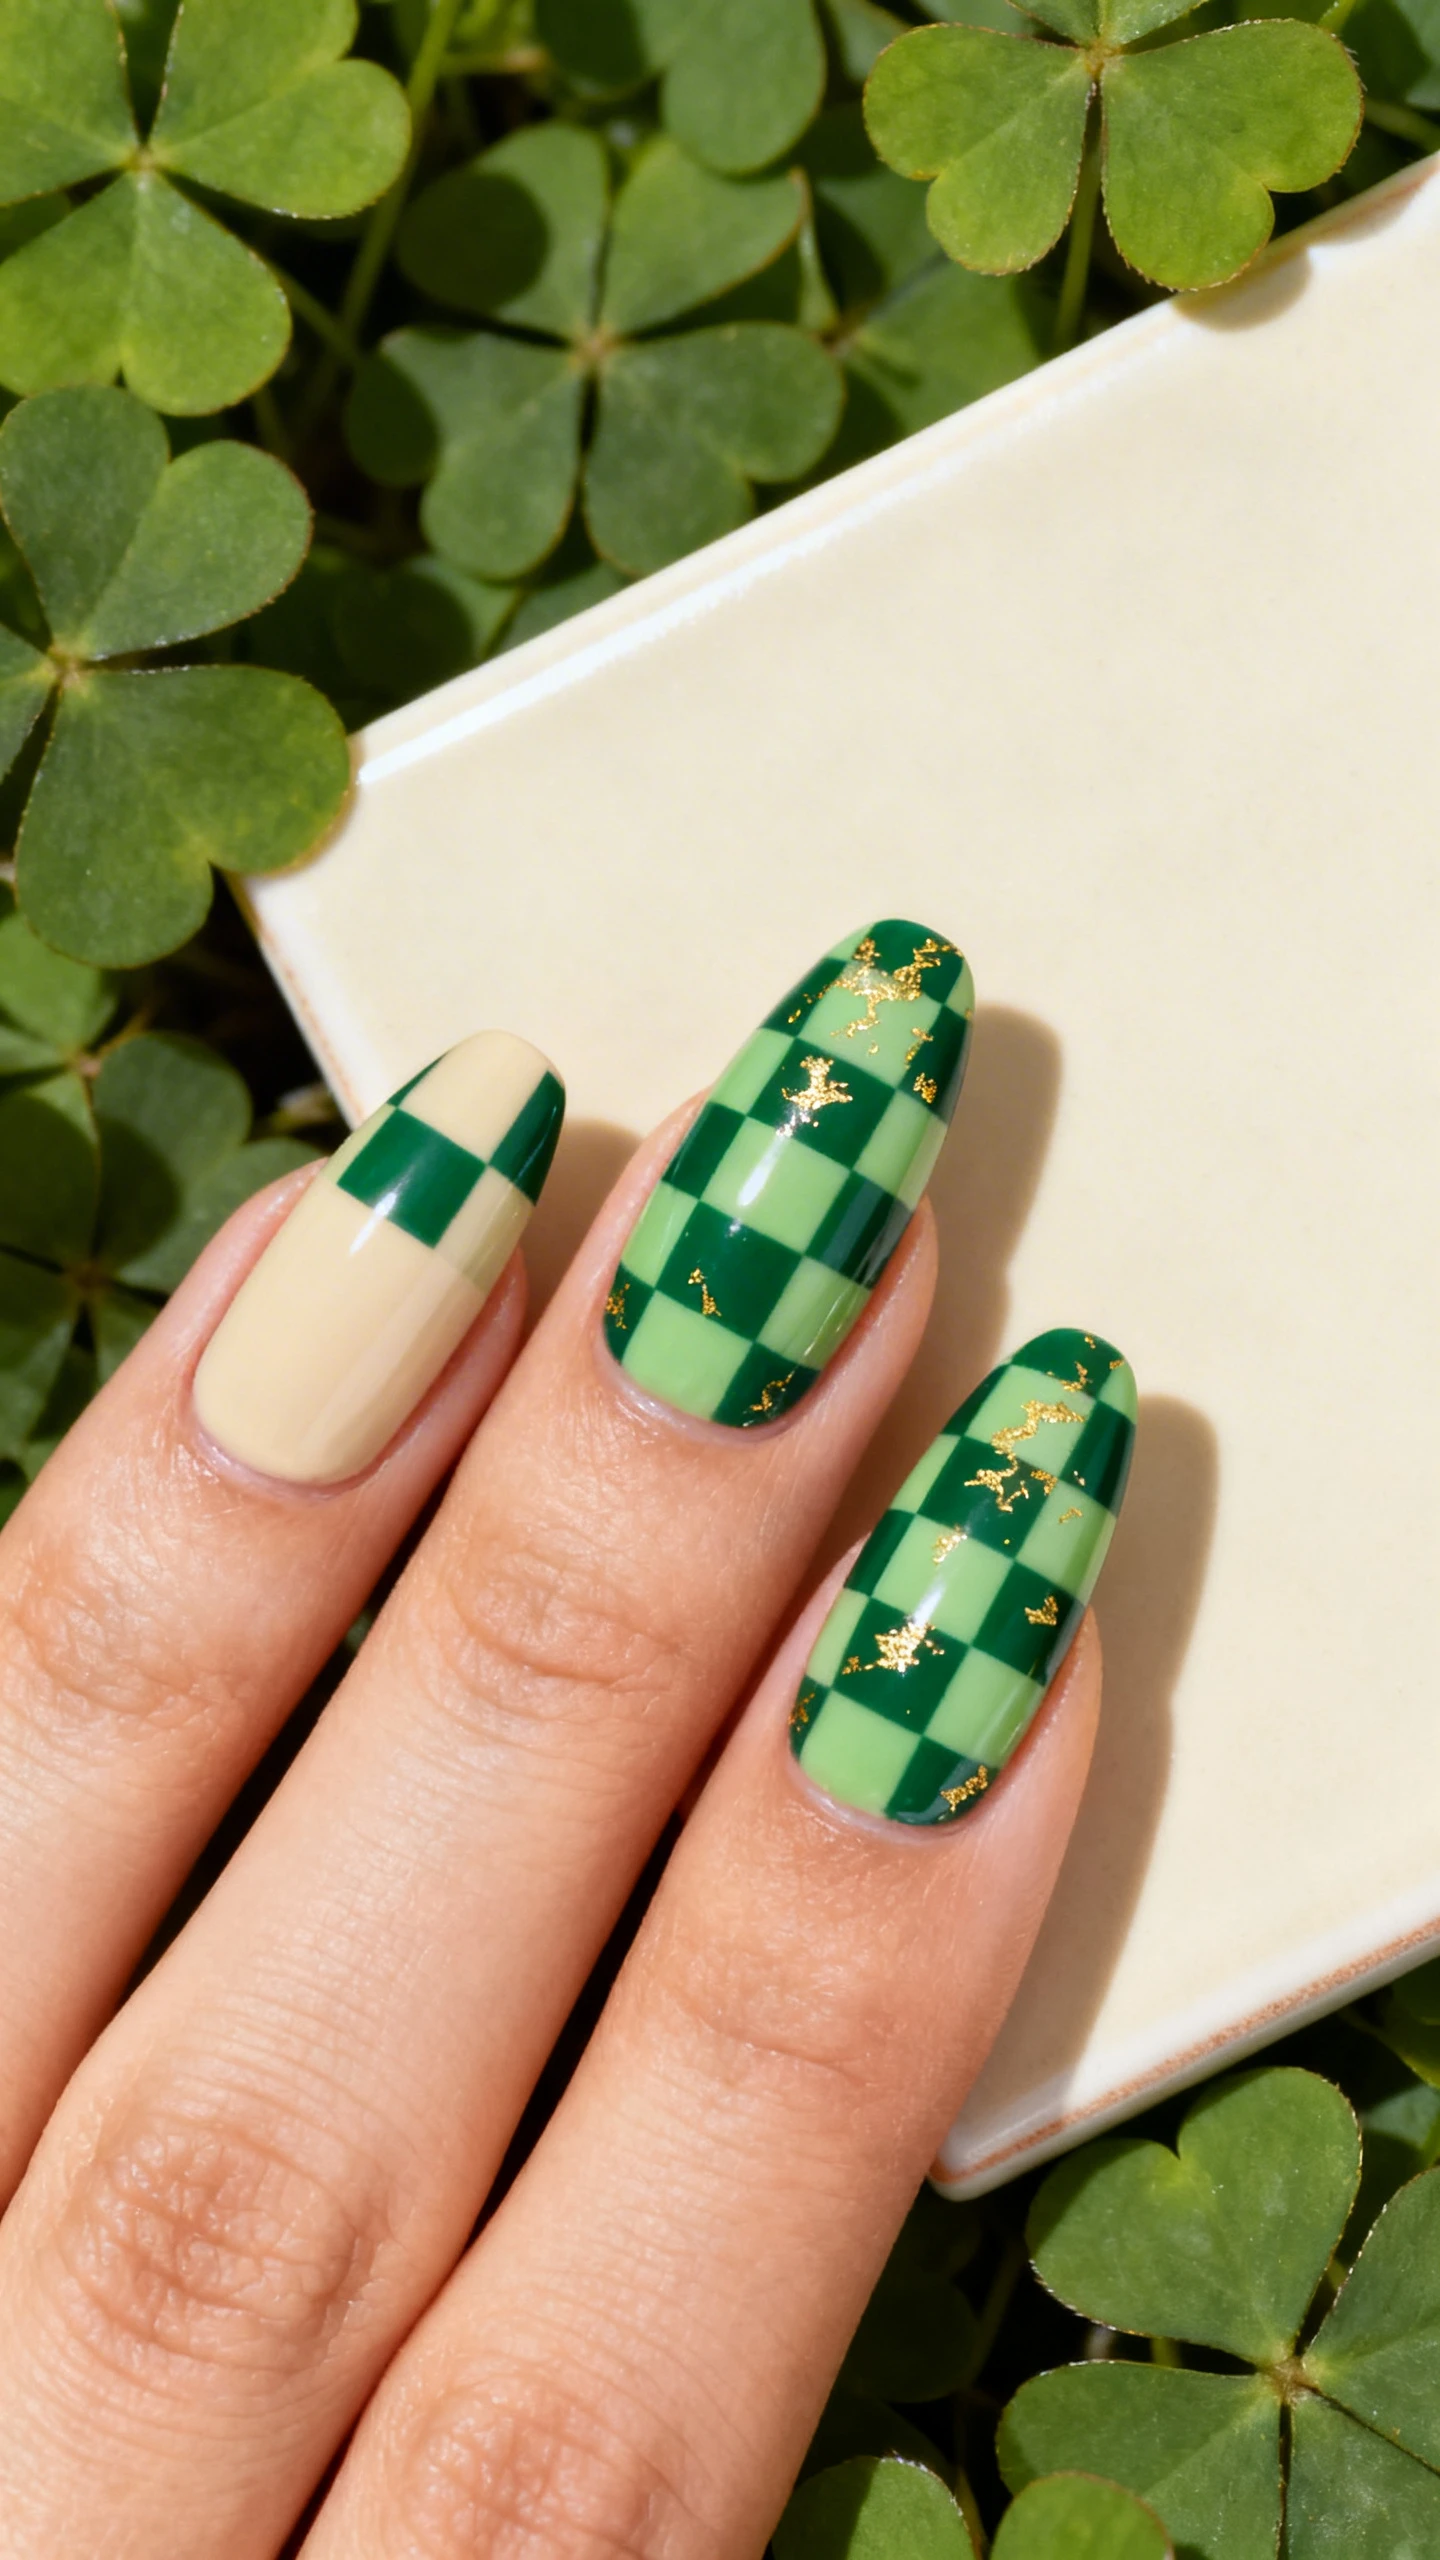
For trend lovers, a checkerboard pattern with a gold-flake veil is bold yet surprisingly wearable when you keep the palette grounded. Alternate rich forest and soft sage squares, then mist the design with a haze of delicate gold flakes. The result feels editorial, like a runway twist on St. Paddy’s charm—graphic, playful, and totally Instagram-ready.
It’s also a fantastic canvas for texture play: matte green checkers under a glossy gold flake glaze looks dimensional and stylish. The trick is keeping the squares even and the gold light so the pattern reads cleanly. Choose this if you love statement nails but still want a cohesive, color-curated look.
Nail Details:
– Shape: Medium almond or square with softened corners to maximize surface area for the pattern.
– Base prep: Start with a neutral or cream base to ensure opacity under the checkers.
– Pattern: Paint a two-tone checkerboard using forest green and sage green. Create 4 squares per nail (2×2 grid) for clarity on shorter nails; on longer nails, you can do a 3×3 mini-grid. Keep lines crisp with striping tape or a fine liner brush.
– Gold overlay: Very light application of gold flake polish as a semi-transparent veil over the entire nail, focusing on random micro clusters so the check pattern is still visible.
– Accent: On ring fingers, add a tiny clover silhouette in the darker green centered in one square; place a single micro gold flake at the clover’s center as a “dew drop.”
– Finish: Hybrid finish—matte top coat over the green checkers first, then a thin glossy top coat layer with dispersed gold flakes on top so the pattern reads matte underneath and the gold stays glossy.
– Overall vibe: Clean checkerboard in two greens with a whisper of gold shimmer diffused across the surface; a minimal clover accent anchors the theme.
Precision Matters
Paint your base grid in light pencil-thin guide lines using a nearly dry liner brush, then fill in squares. Clean edges with a flat brush dipped in polish remover for pro-level crispness.
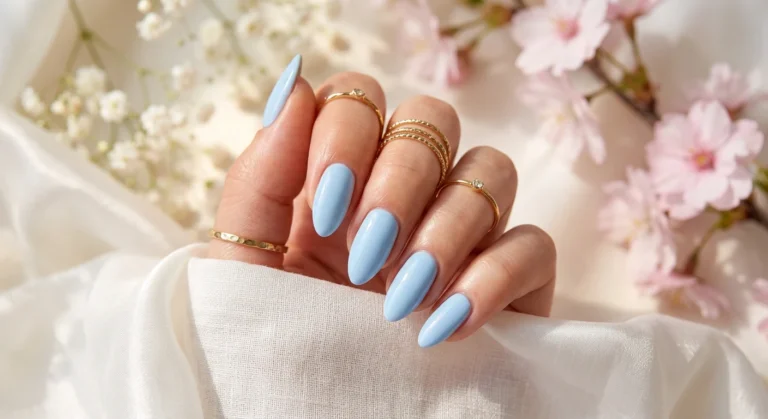
5) Gilded Gradient Tips: “Pot of Gold” Ombré
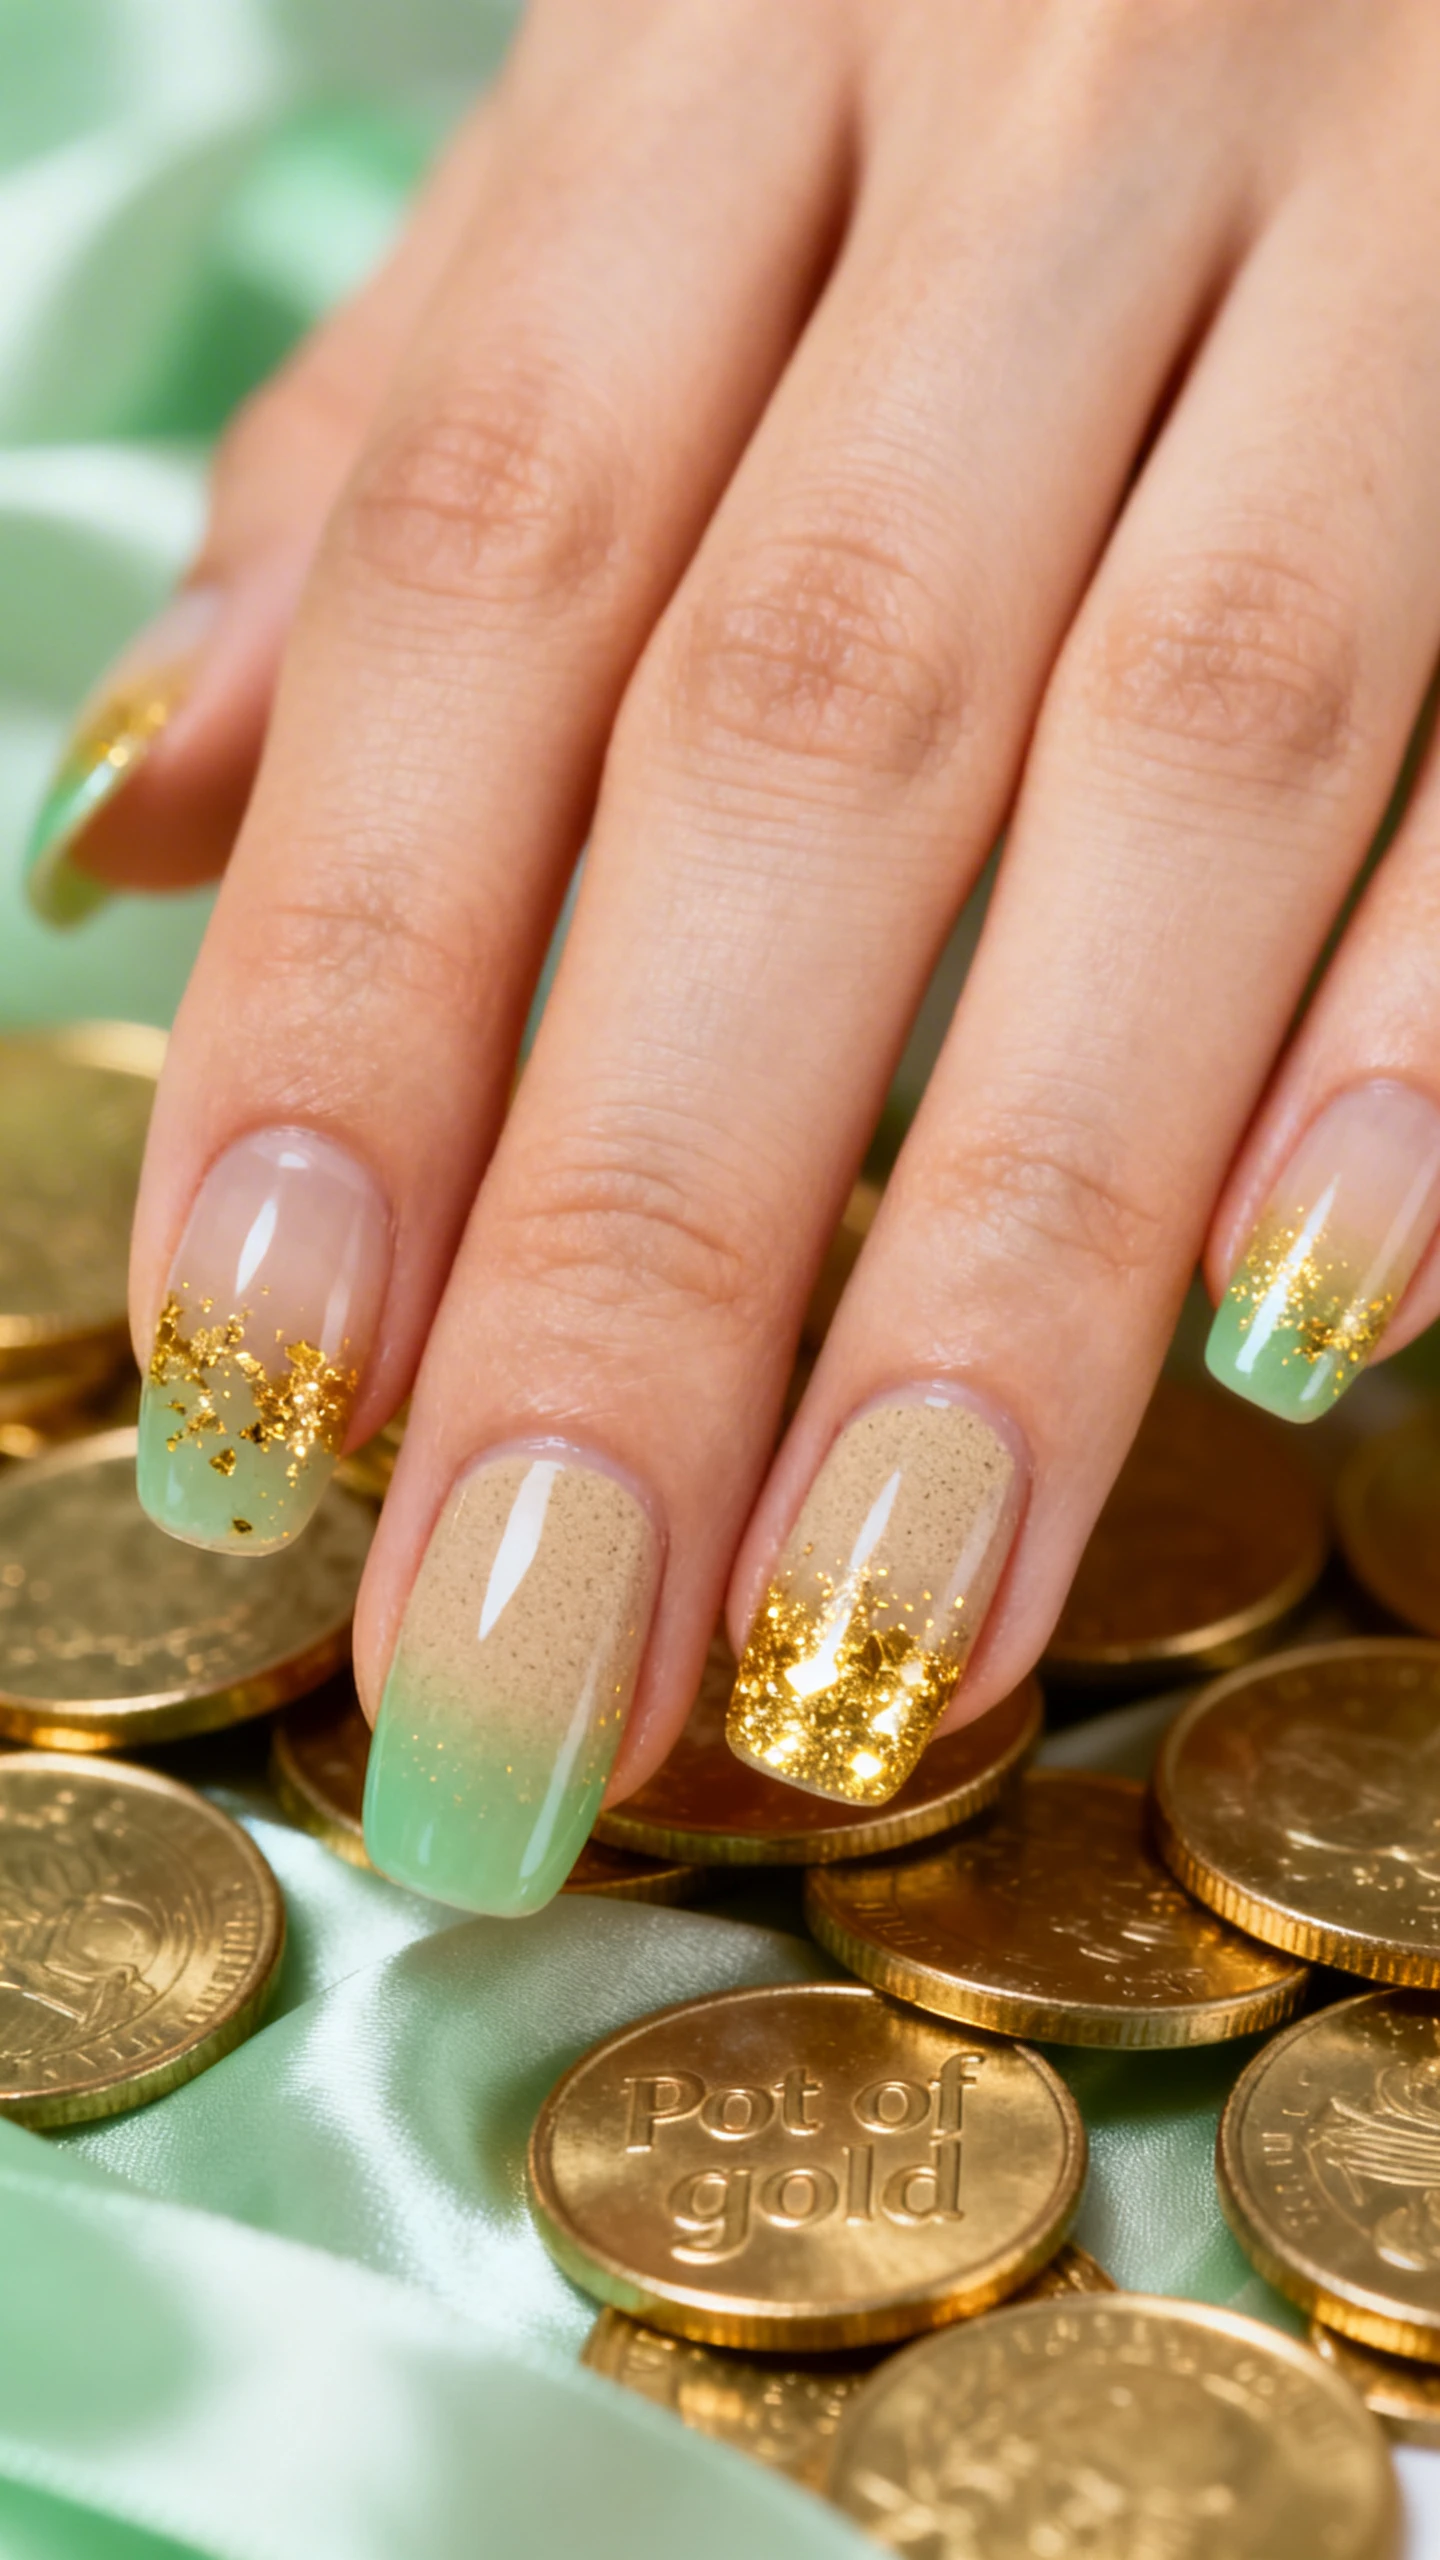
Channel the end-of-rainbow magic with gradient tips that fade from soft green into molten gold flakes. The look is equal parts whimsical and refined, reading like sunlight pooling at the free edge. It’s a gorgeous pick for anyone who prefers a lighter touch up top and more intensity at the tip—a classic balance that flatters all lengths.
The ombré technique also brings movement. As you tilt your hands, the gold flakes catch and scatter light, while the green base grounds the design in lush, springy energy. Keep the green translucent for airiness or go creamier for bolder contrast—either way, the fade should be seamless and buttery.
Nail Details:
– Shape: Medium almond or coffin for maximum ombré real estate.
– Base color: Sheer sand or cream wash to even tone; then a translucent soft green layer from cuticle to mid-nail, keeping color sheer near the cuticle and slightly deeper toward the tip.
– Ombré tip: Blend a concentrated band of gold flake polish starting at the free edge and fading upward to mid-nail; ensure flakes are denser at the very edge and sparser as they move inward.
– Accent nails: On thumbs and ring fingers, add a slim diagonal swoop of green starting at one sidewall and curving toward the center of the tip under the gold, so the flakes appear to pool over a gentle wave.
– Micro detail: Place one slightly larger gold flake near the apex of each nail as a “gleam point,” off-center for a natural scatter look.
– Top coat: High-gloss, dome-like finish to blend the gradient and encapsulate flakes for a melted-metal effect at the tips.
– Overall vibe: Airy green from base to mid-nail with a seamless fade into dense, reflective gold at the free edge—like a liquid-metal tip kissed by clover tones.
Blend Like a Pro
Use a sponge or a fluffy gel brush to stipple the gold upward from the tip. Work in thin layers and cure or dry between passes so the gradient builds softly without harsh lines.
How to Choose the Right Gold Flake Polish
- Flake size: Micro flakes look twinkly and refined; larger shards give a more artisanal, gilded-leaf effect. Mix sizes for dimension.
- Base tint: Clear bases are most versatile. Lightly tinted gold can warm greens nicely but may muddy very cool tones.
- Suspension: Look for a formula where flakes don’t sink quickly; this makes placement easier and more consistent.
- Finish: High-shine formulas magnify flakes. If you love a velvety look, you can matte-top only the colored layers and leave the flake layer glossy for contrast.
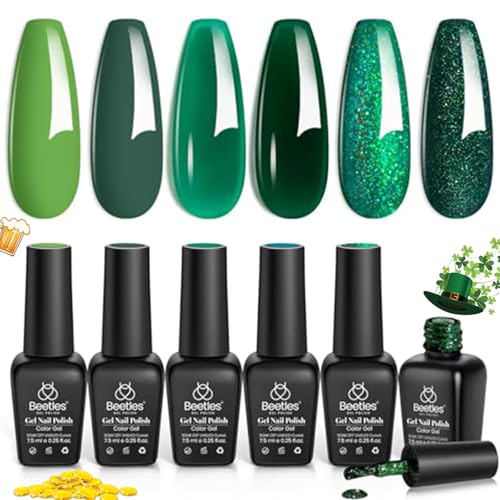
- Beetles gel nail polish set: A carefully selected collection of green tones. It comes with the avocado green, glitter gr…
- Smooth & Even Application: Easy-to-use self-leveling formula spreads evenly without streaks or patches, making it ideal …
- Soak off UV/LED Gel Nail Polish: Gel nai polish kit avocado sparkle green gel polish need to be cured under nail lamp. B…
Application Tips for Flawless Flakes
- Tool up: A silicone picker or flat gel brush gives you better control than the bottle brush for precise flake placement.
- Press, don’t drag: Gently tap flakes into place to avoid streaking your color underneath.
- Level smartly: If flakes feel bumpy, apply a thin builder gel or an extra smoothing top coat before your final glossy layer.
- Edge seal: Cap the free edge with top coat to prevent premature chipping, especially on gradient-tip designs.
Shade Pairings That Pop
- Emerald + true yellow-gold flakes: Classic and luxe.
- Moss + champagne flakes: Softer, romantic, and perfect for daytime.
- Pistachio jelly + mixed-size flakes: Playful and airy with lots of depth.
- Forest + rose-gold flakes: Unexpected warmth that still nods festive.
Longevity and Aftercare
- Oil daily: Cuticle oil keeps the surface flexible and helps prevent micro-cracks around flakes.
- Gloves on: For dish duty or cleaning, protect your mani—gold flakes can catch on scouring pads if edges aren’t fully sealed.
- Refresh glaze: A thin top coat layer mid-week revives shine and re-seals any edges that might have lifted.
Whether you’re after moody emeralds or airy pistachio sheen, these five designs prove that gold flake polish is the secret sauce for St. Patrick’s Day nails that feel chic, not cheesy. From subtle micro-flake lines to molten ombré tips, the shimmer brings just the right amount of luck and luxury. Pick your vibe, place those flakes with intention, and let your hands do the sparkling.”