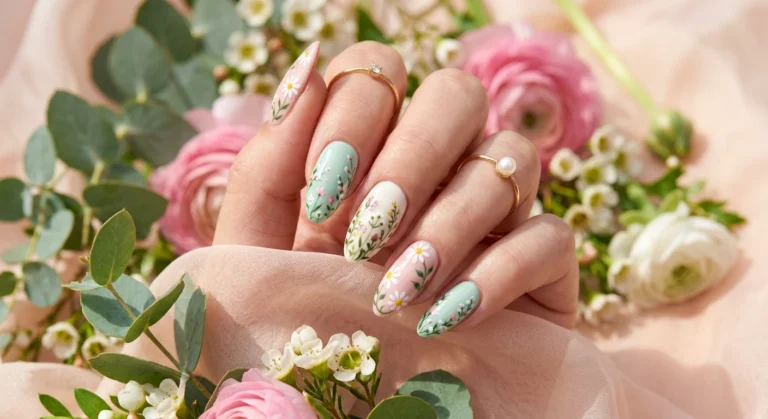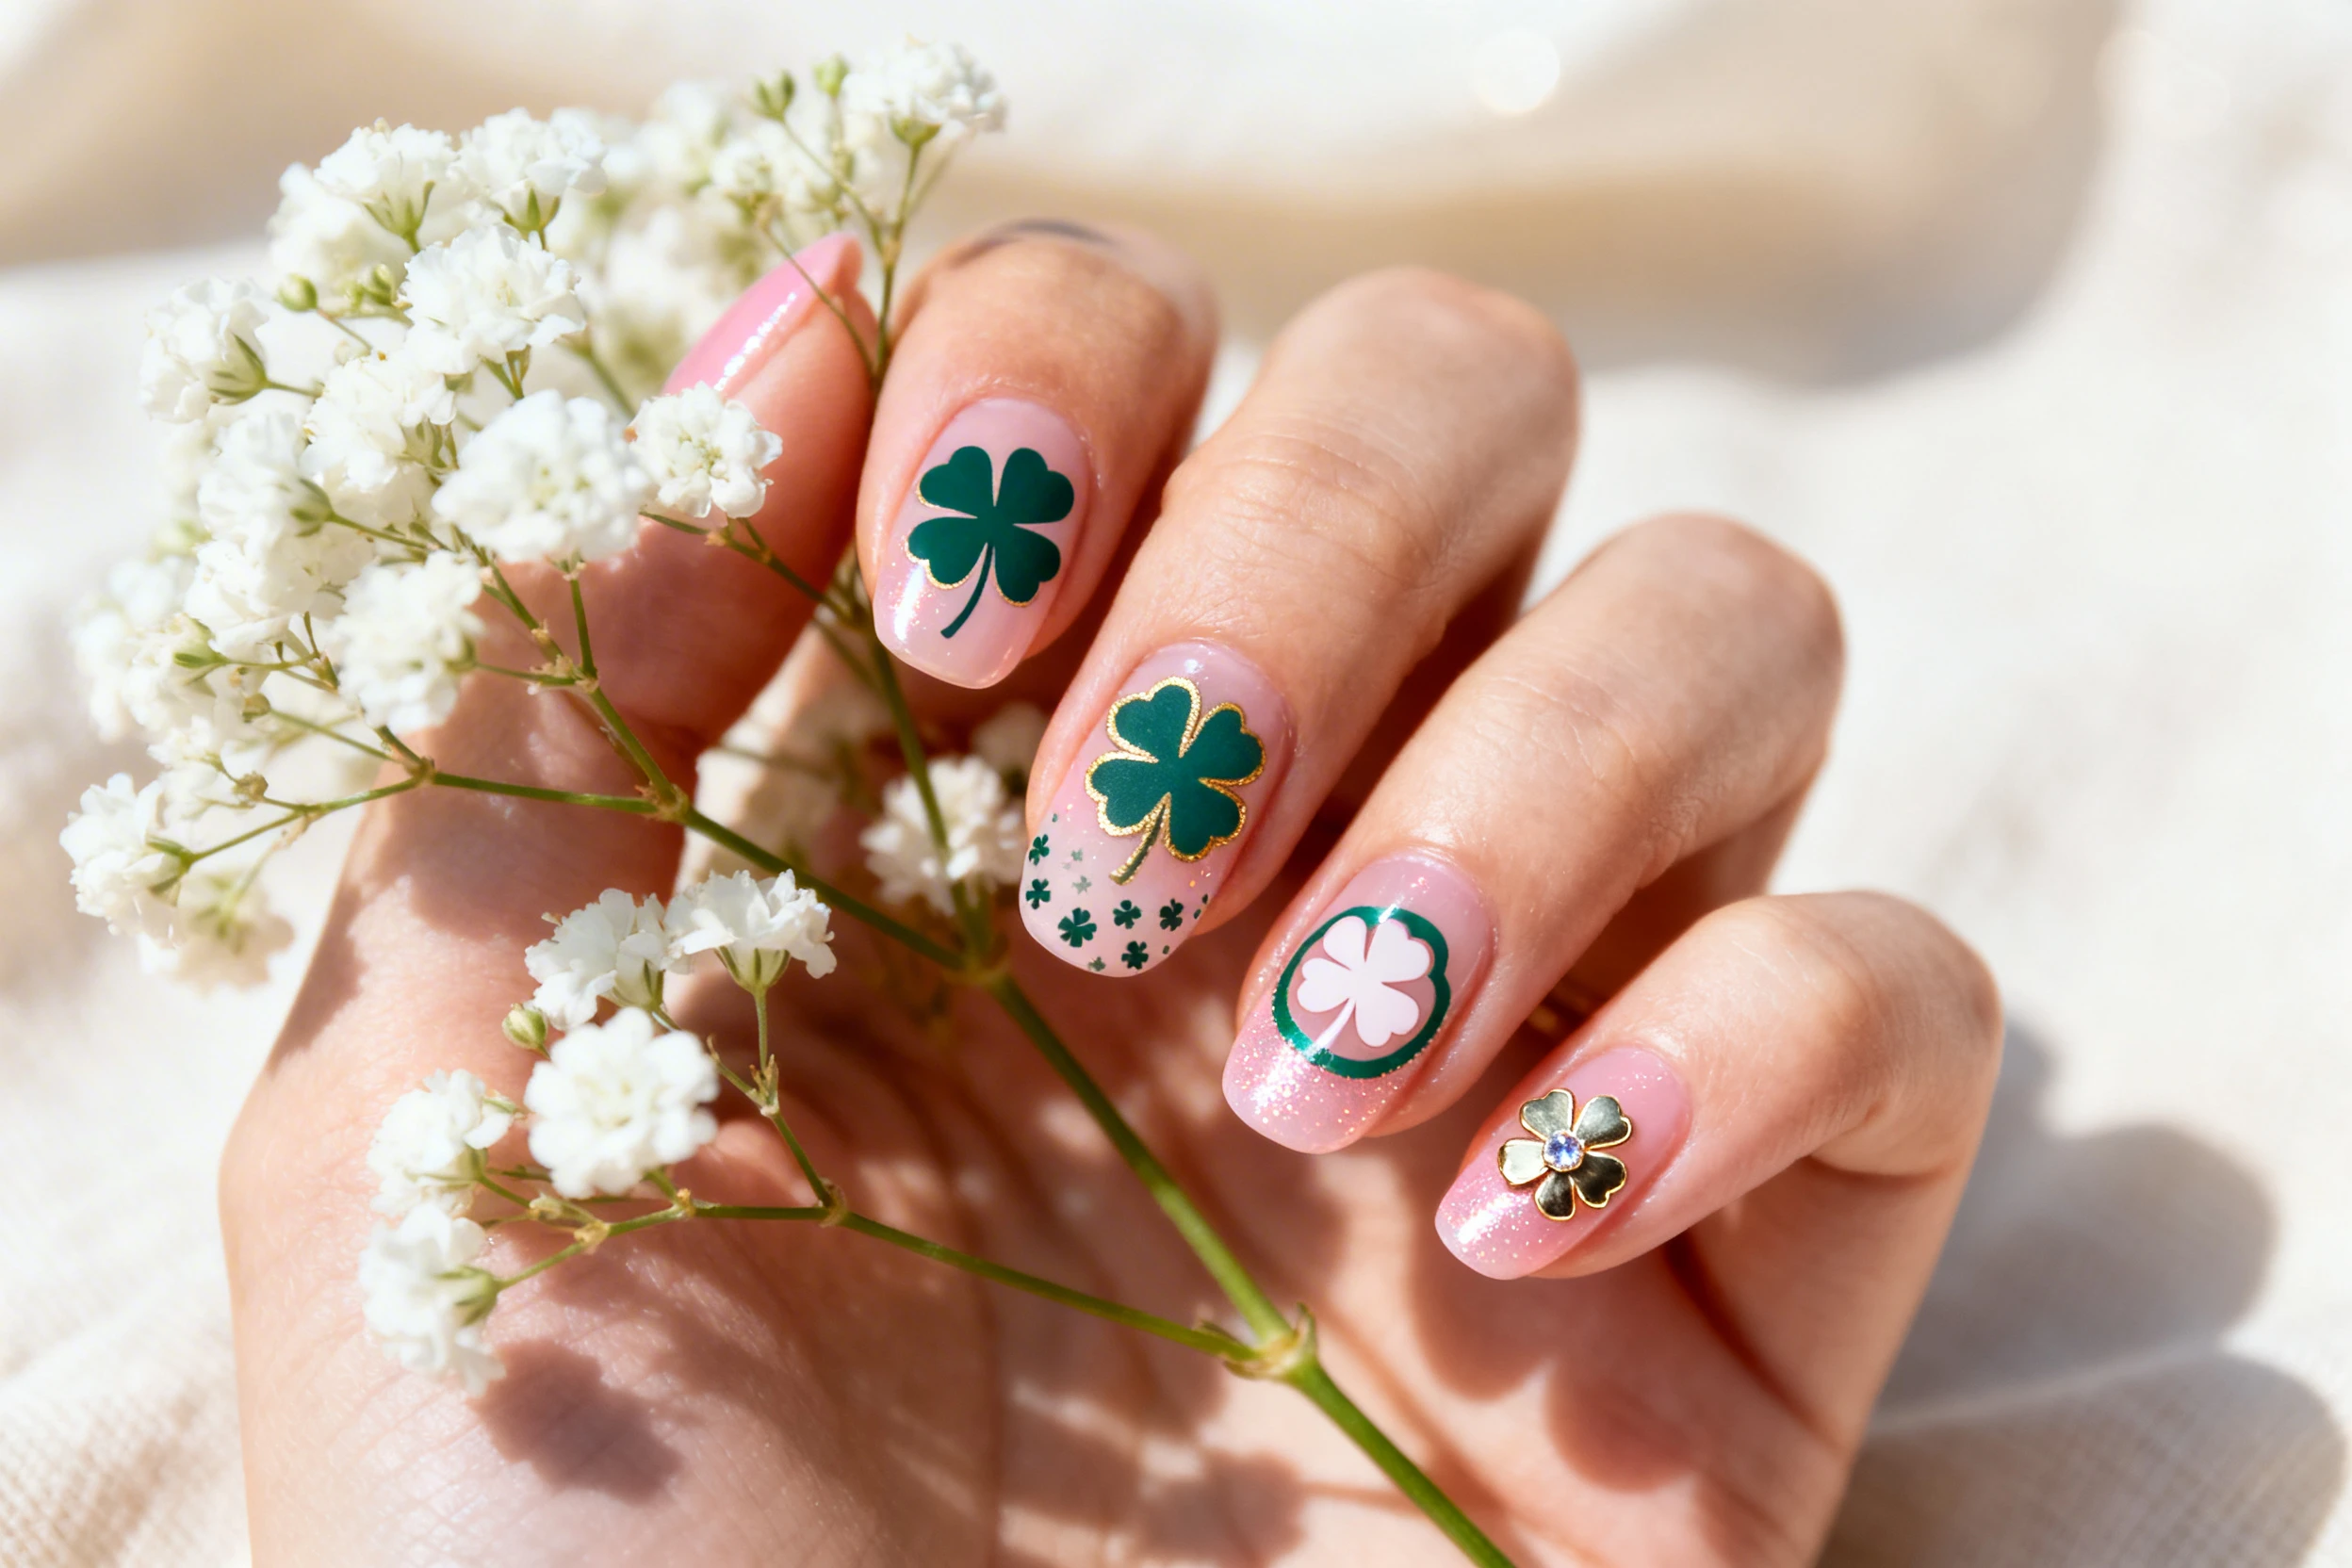
5 Four-leaf Clover Stencils for Diy St Pattys Day Nails
Ready to let your nails do the luck-talking this March? Four-leaf clover stencils are the secret weapon for crisp, pro-level St. Patty’s Day designs—without shaky-hand anxiety. Whether you’re into sleek minimal green accents or full-on glitter glamour, these stencil ideas will have you feeling festive and polished. Below, you’ll find five creative looks that balance trend-right style with beginner-friendly techniques, plus expert tips to extend chip-free wear. Grab your favorite emerald polishes, queue up your favorite playlist, and let’s make some magic.
1. Emerald Negative-Space Clover Tips
If you lean minimalist with a twist, this look is clean, chic, and irresistibly modern. The negative-space approach lets your natural nail peek through while a crisp four-leaf clover lands right on the tip—like a lucky charm you can’t miss. It’s striking without being loud, and it pairs beautifully with statement rings or a chunky sweater moment.
Best of all, stencils make those tiny clover shapes ultra-sharp. Think of it as French tips for the festive crowd—sleek, intentional, and perfect for short or medium lengths. This design photographs beautifully and looks salon-level even if you’re doing it at home.
Nail Details: Short to medium round or squoval nails with a sheer, glossy base. The free edge features a slim, curved tip in deep emerald green. On each ring finger and thumb, a small four-leaf clover shape is left as clear negative space within the green tip using a stencil; the other fingers have a single clover placed slightly off-center on the tip. Colors: sheer clear base coat, emerald green for tips, optional ultra-fine gold glitter topcoat brushed lightly over the green only. Finish with a high-shine topcoat and crisp edges; cuticle area remains clean and glossy without color.
2. Celtic Foil Clover Accents
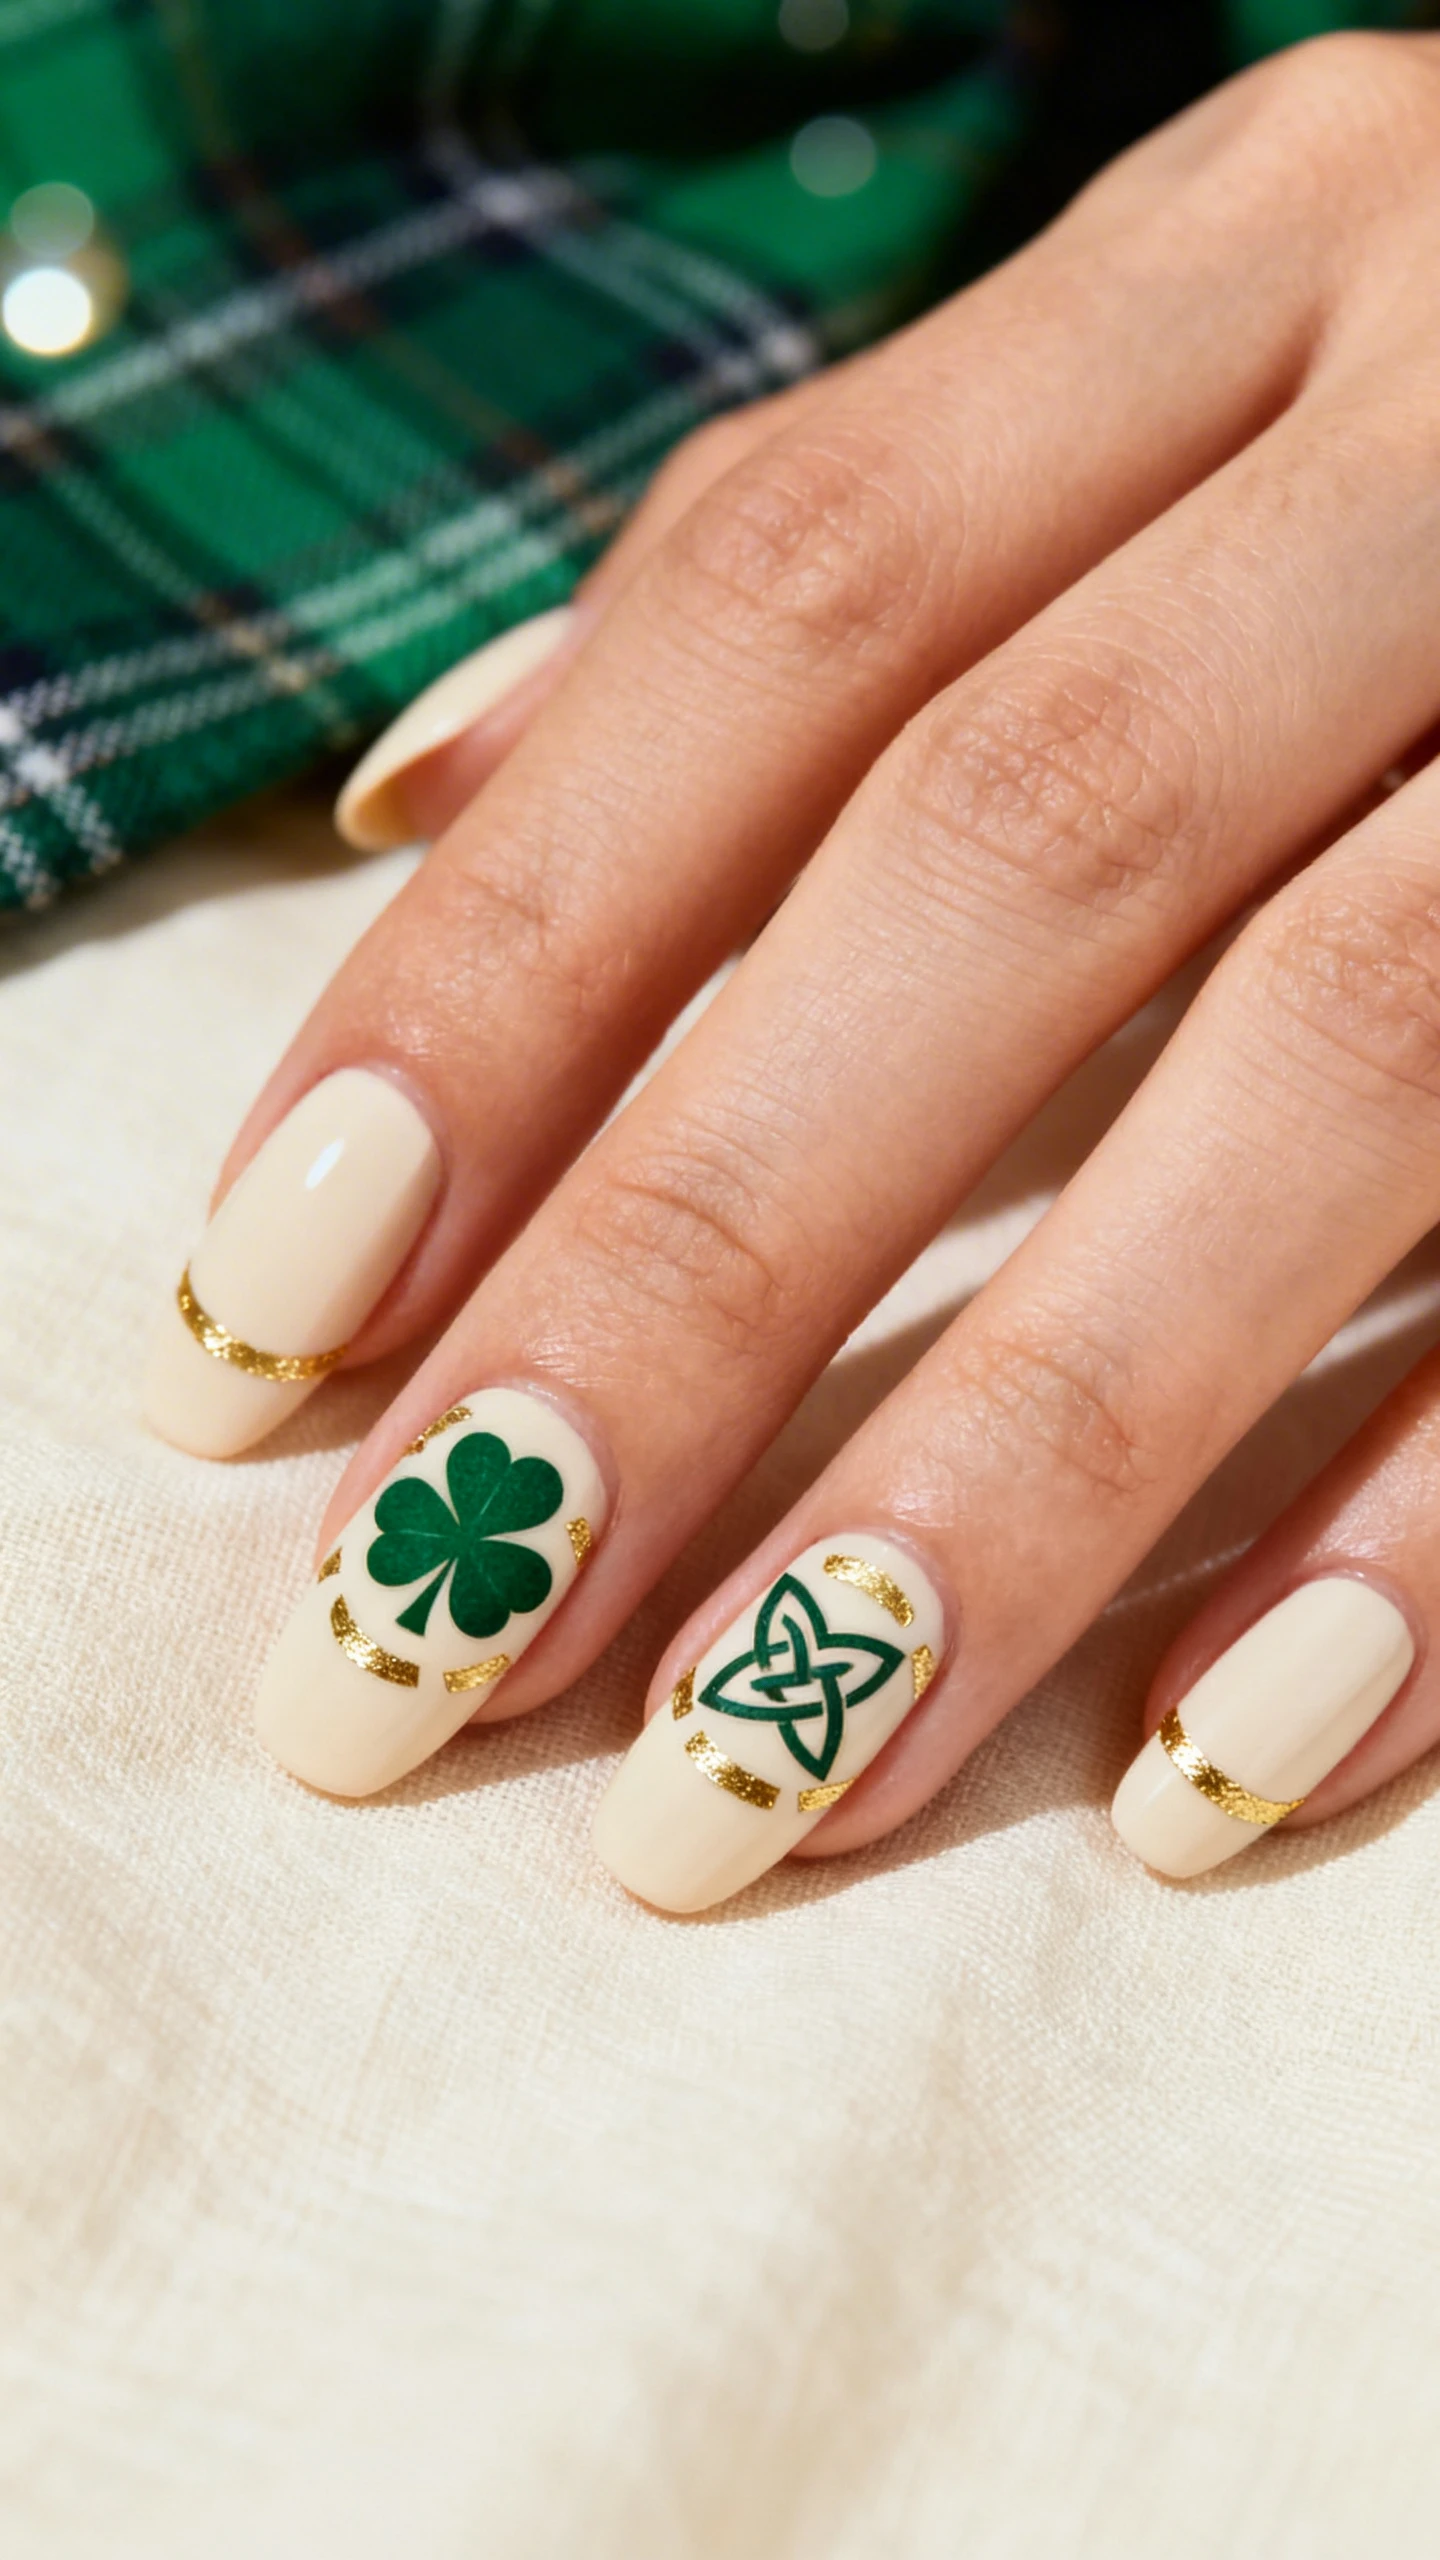
Looking for a glam-but-refined take? Metallic foil accents meet rich green tones here for a design that feels editorial but approachable. The clover stencils act as your anchor shape, while foil adds a flash of light every time you move your hands. It’s a subtle nod to Celtic motifs—elegant, mythic, and very on-trend with the return of metallic details in manicure looks.
This design is especially gorgeous on medium to long lengths where the foil can ripple and catch light, but it’s still impactful on shorter nails when you keep the negative space tidy. Bonus: foil disguises tiny imperfections, so it’s beginner-friendly.
Pro Tip: Lock down foil
Gently press foil onto slightly tacky polish—then seal with a thin layer of gel-effect topcoat to prevent lift.
Nail Details: Medium almond nails with a soft cream base. Two accent nails per hand (ring and middle) feature a centered four-leaf clover stencil filled with rich forest green. Around the clover, thin curved lines mimic Celtic knotwork using gold foil pieces placed in delicate arcs and small segments. Remaining nails: a soft wash of cream with scattered micro gold foil flecks near the cuticle. Color palette: cream base, forest green clover, gold foil details. Finish: glossy topcoat over all nails, ensuring a smooth surface over foil and crisp, opaque clover silhouettes.
3. Gradient Greens With Clover Confetti
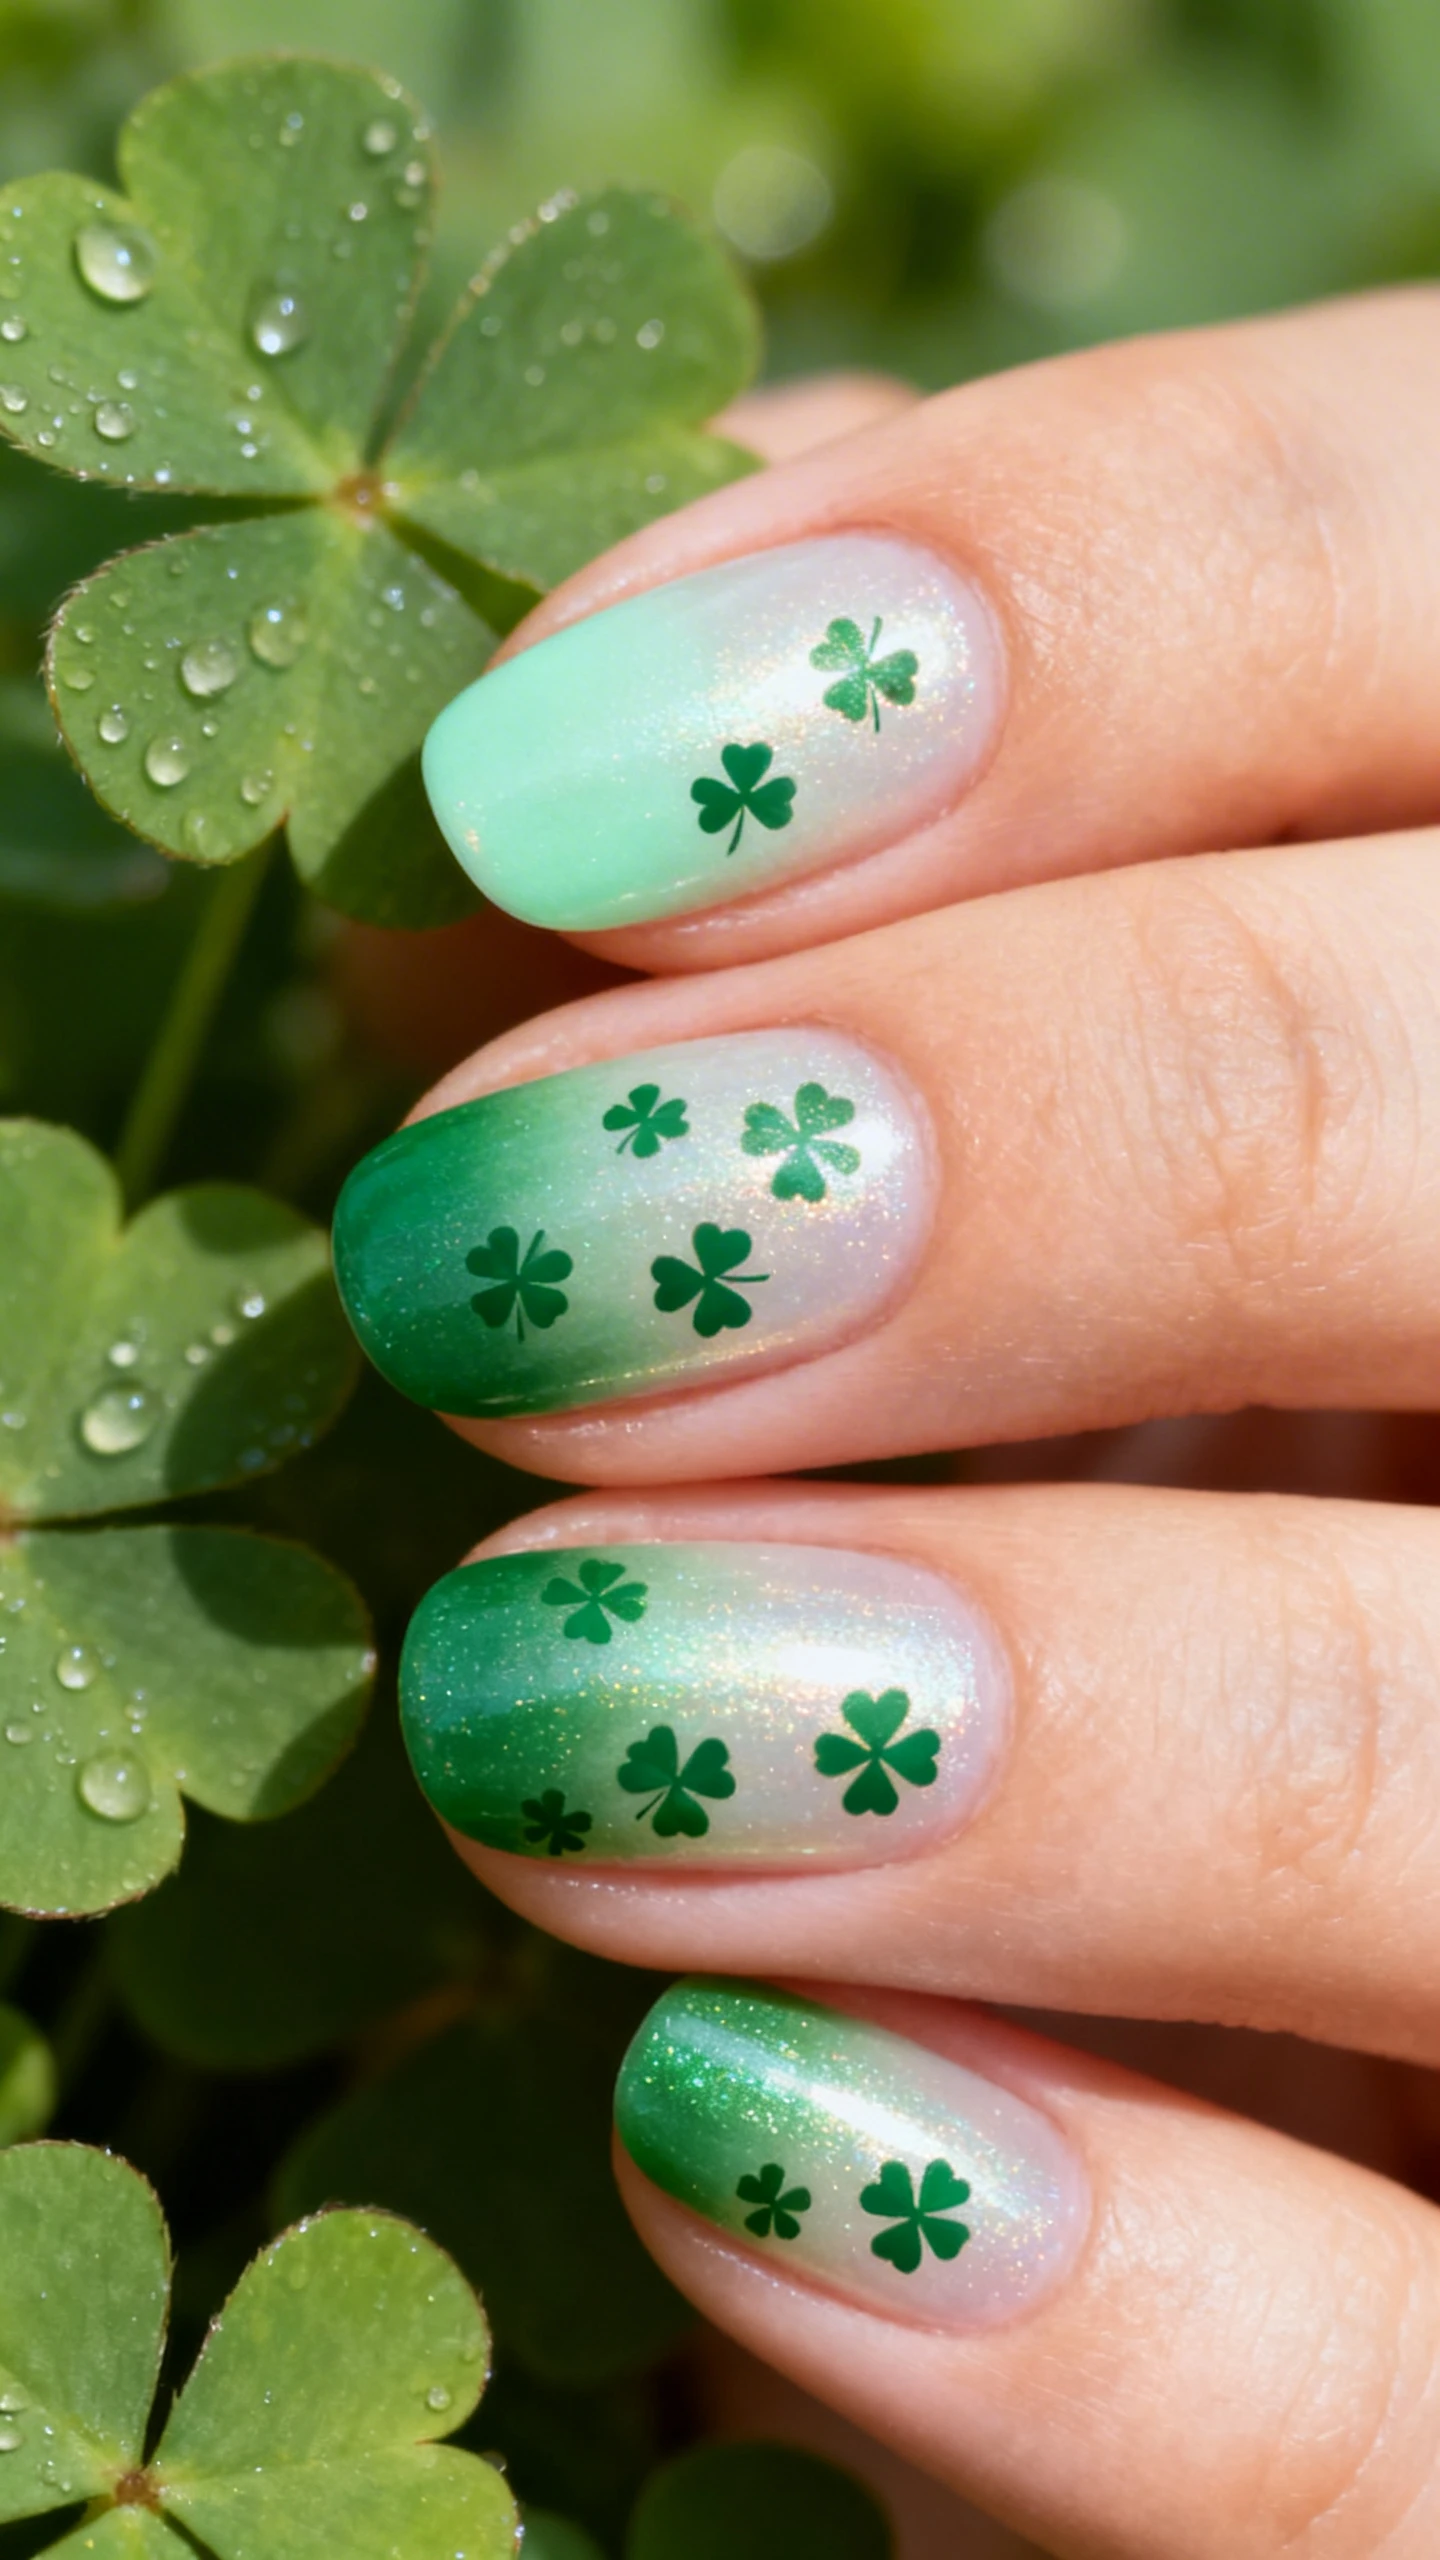
For those who love color play, this ombré set screams party-in-a-polish-bottle. A gradient of greens—from mint to emerald—feels fresh and youthful, while the clover stencils provide cohesion so the look reads intentional, not chaotic. It’s a flattering approach on any nail shape and a smart way to use that drawer of green polishes you’ve collected over the years.
The “confetti” twist keeps it fun: think scattered, small clovers like falling leaves. It’s cute without being cutesy. Add a soft shimmer wash if you want a festive glow that doesn’t overpower the art.
Shade Strategy
- Index: mint
- Middle: soft jade
- Ring: medium grassy green
- Pinky: deep emerald
- Thumb: match ring or emerald for balance

- Made by Gel: We made these press on nails completely follow the handmade process(base coat, color gel, pattern, top coat…
- How Natural They Are: These press on nails are made by soft gel which is soft and flexible, zero pressure on your nail b…
- Do Everything You Normally Would: All BTArtbox press on nails offer feature protective building gel finish so that you a…
Nail Details: Short to medium oval nails with a silky, semi-sheer pearly base coat layered beneath a vertical green gradient. Each nail features 3–5 tiny four-leaf clover shapes applied with a stencil, placed like scattered confetti across the center and lower third of the nail. The clover colors shift to contrast the base: on lighter nails (mint, jade), use medium or emerald green clovers; on darker nails (grassy, emerald), use pale mint clovers. A faint, ultra-fine iridescent shimmer is brushed from cuticle to midpoint so the tips remain crisp. Top with a glossy topcoat for a glassy finish; clovers are matte beneath the gloss for subtle texture.
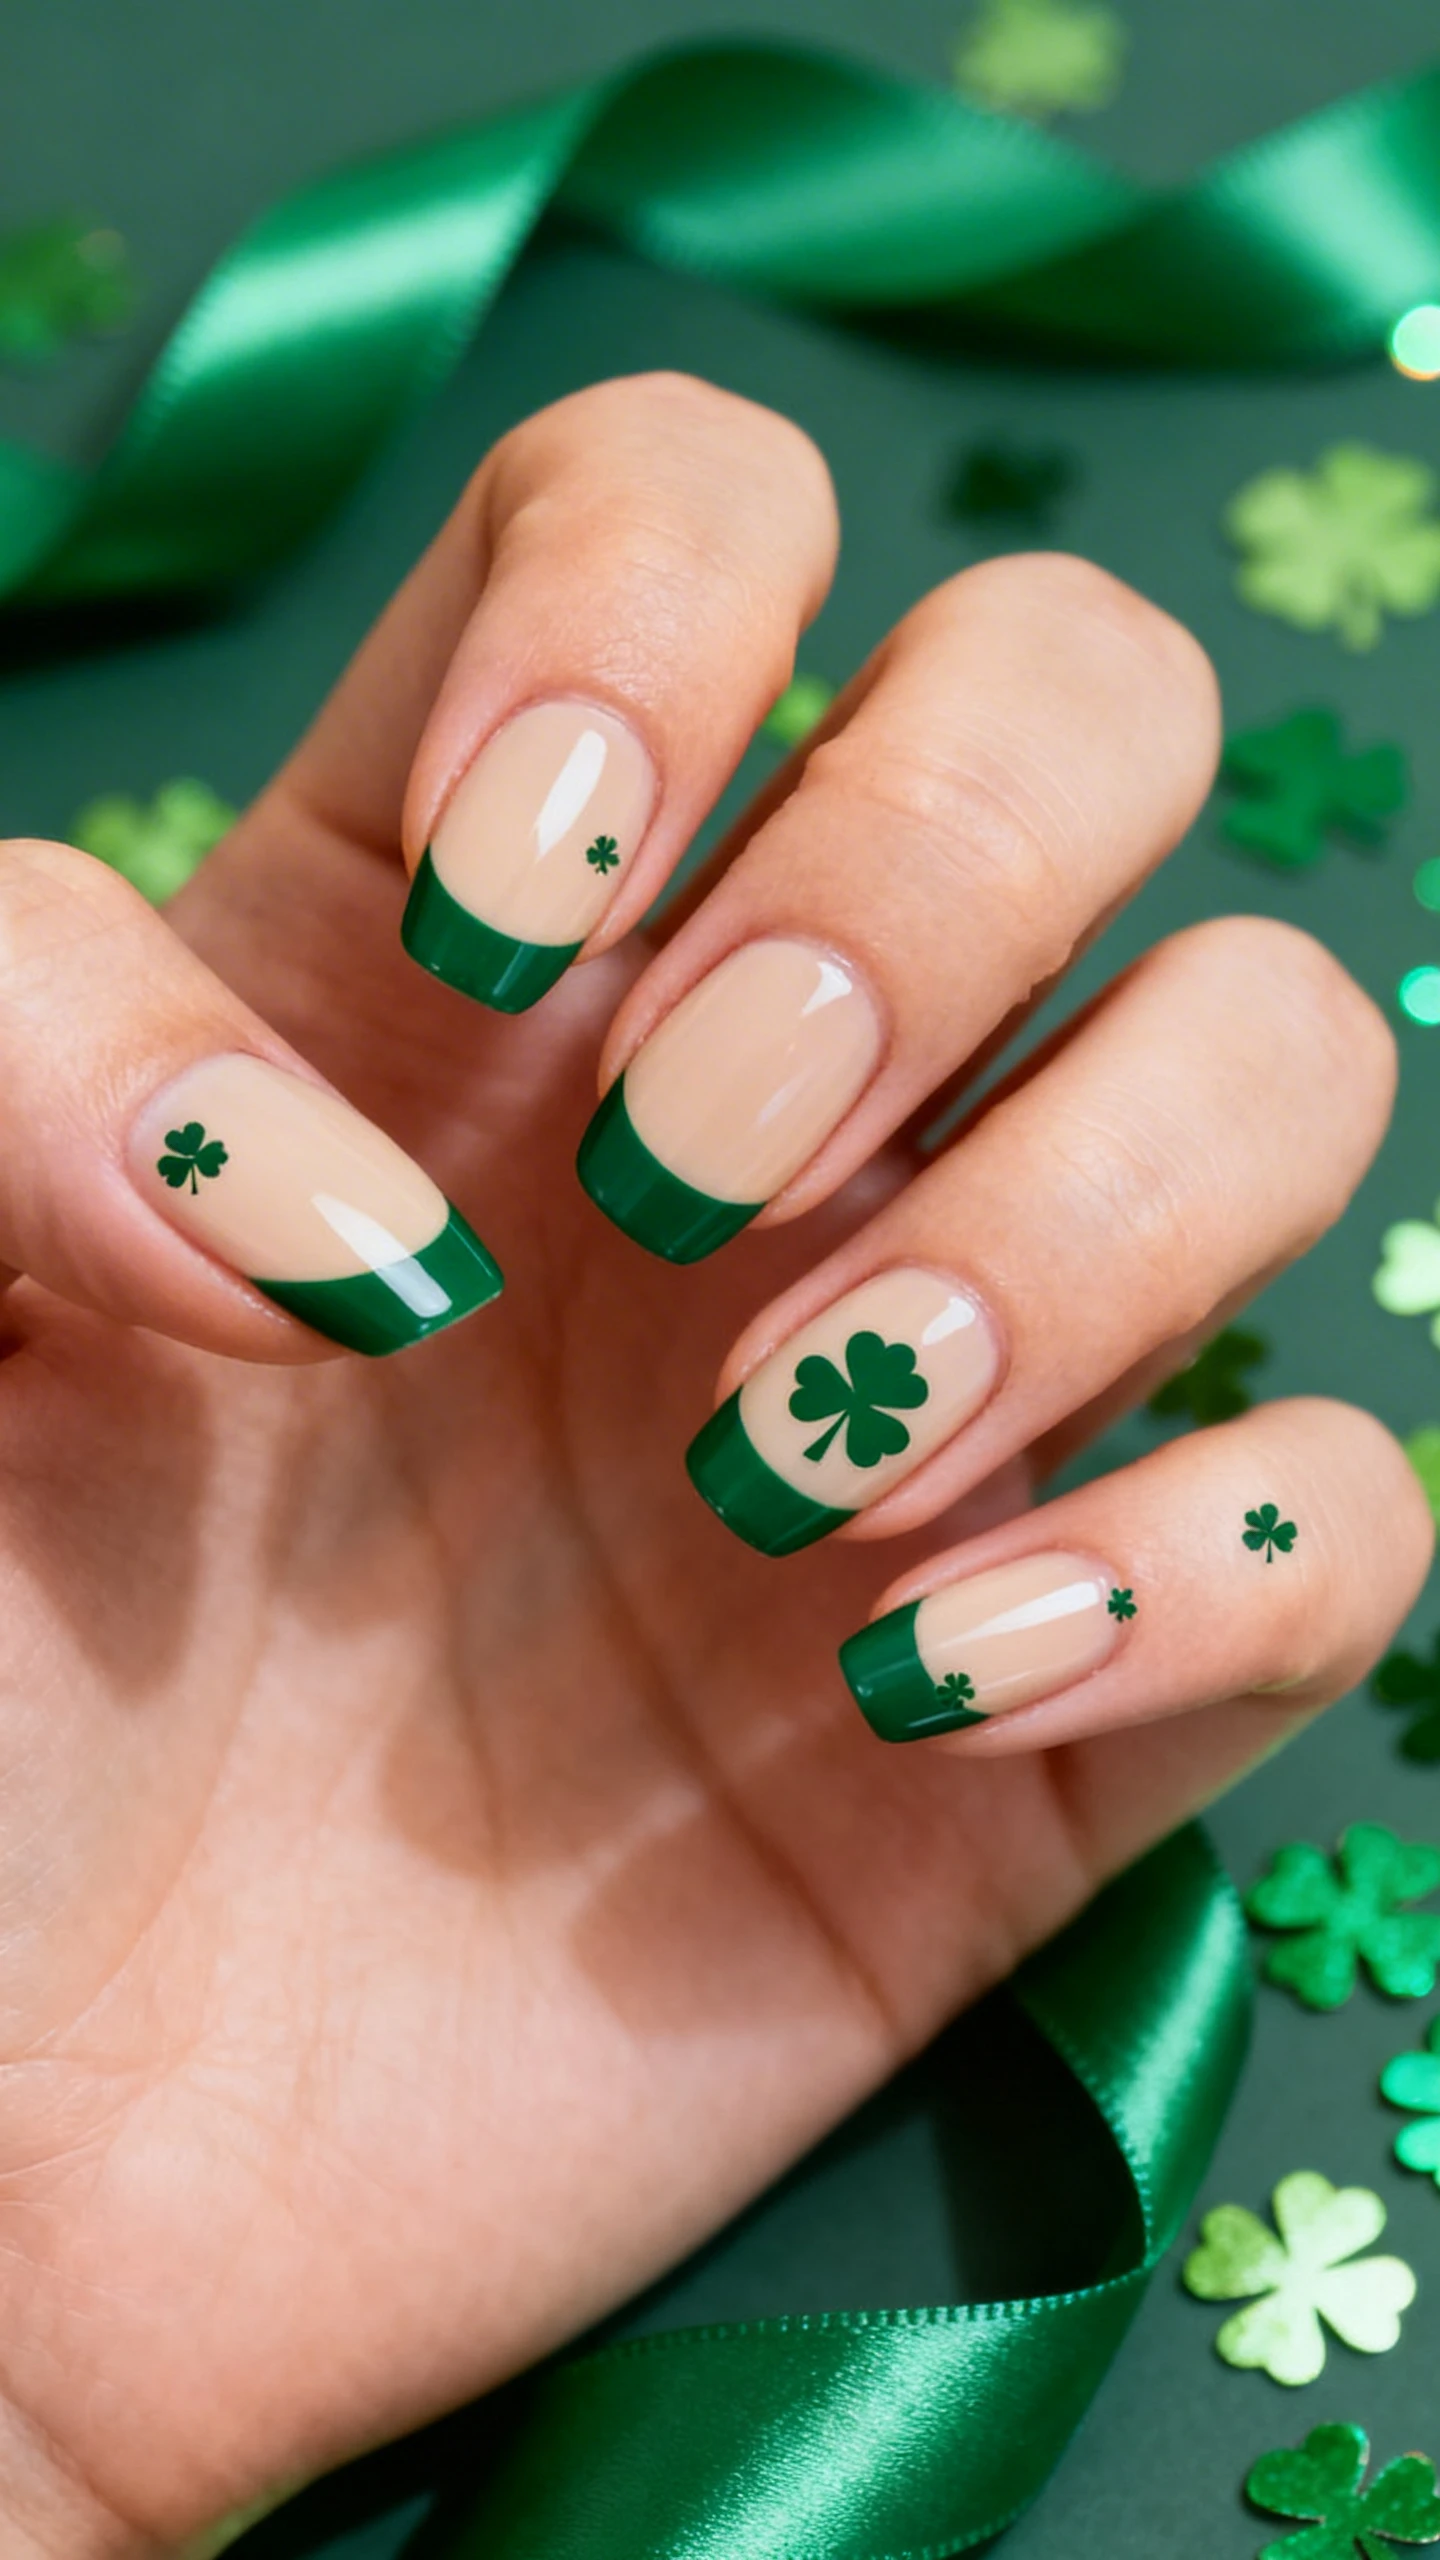
4. French Outline With Micro Clover Half-Moons
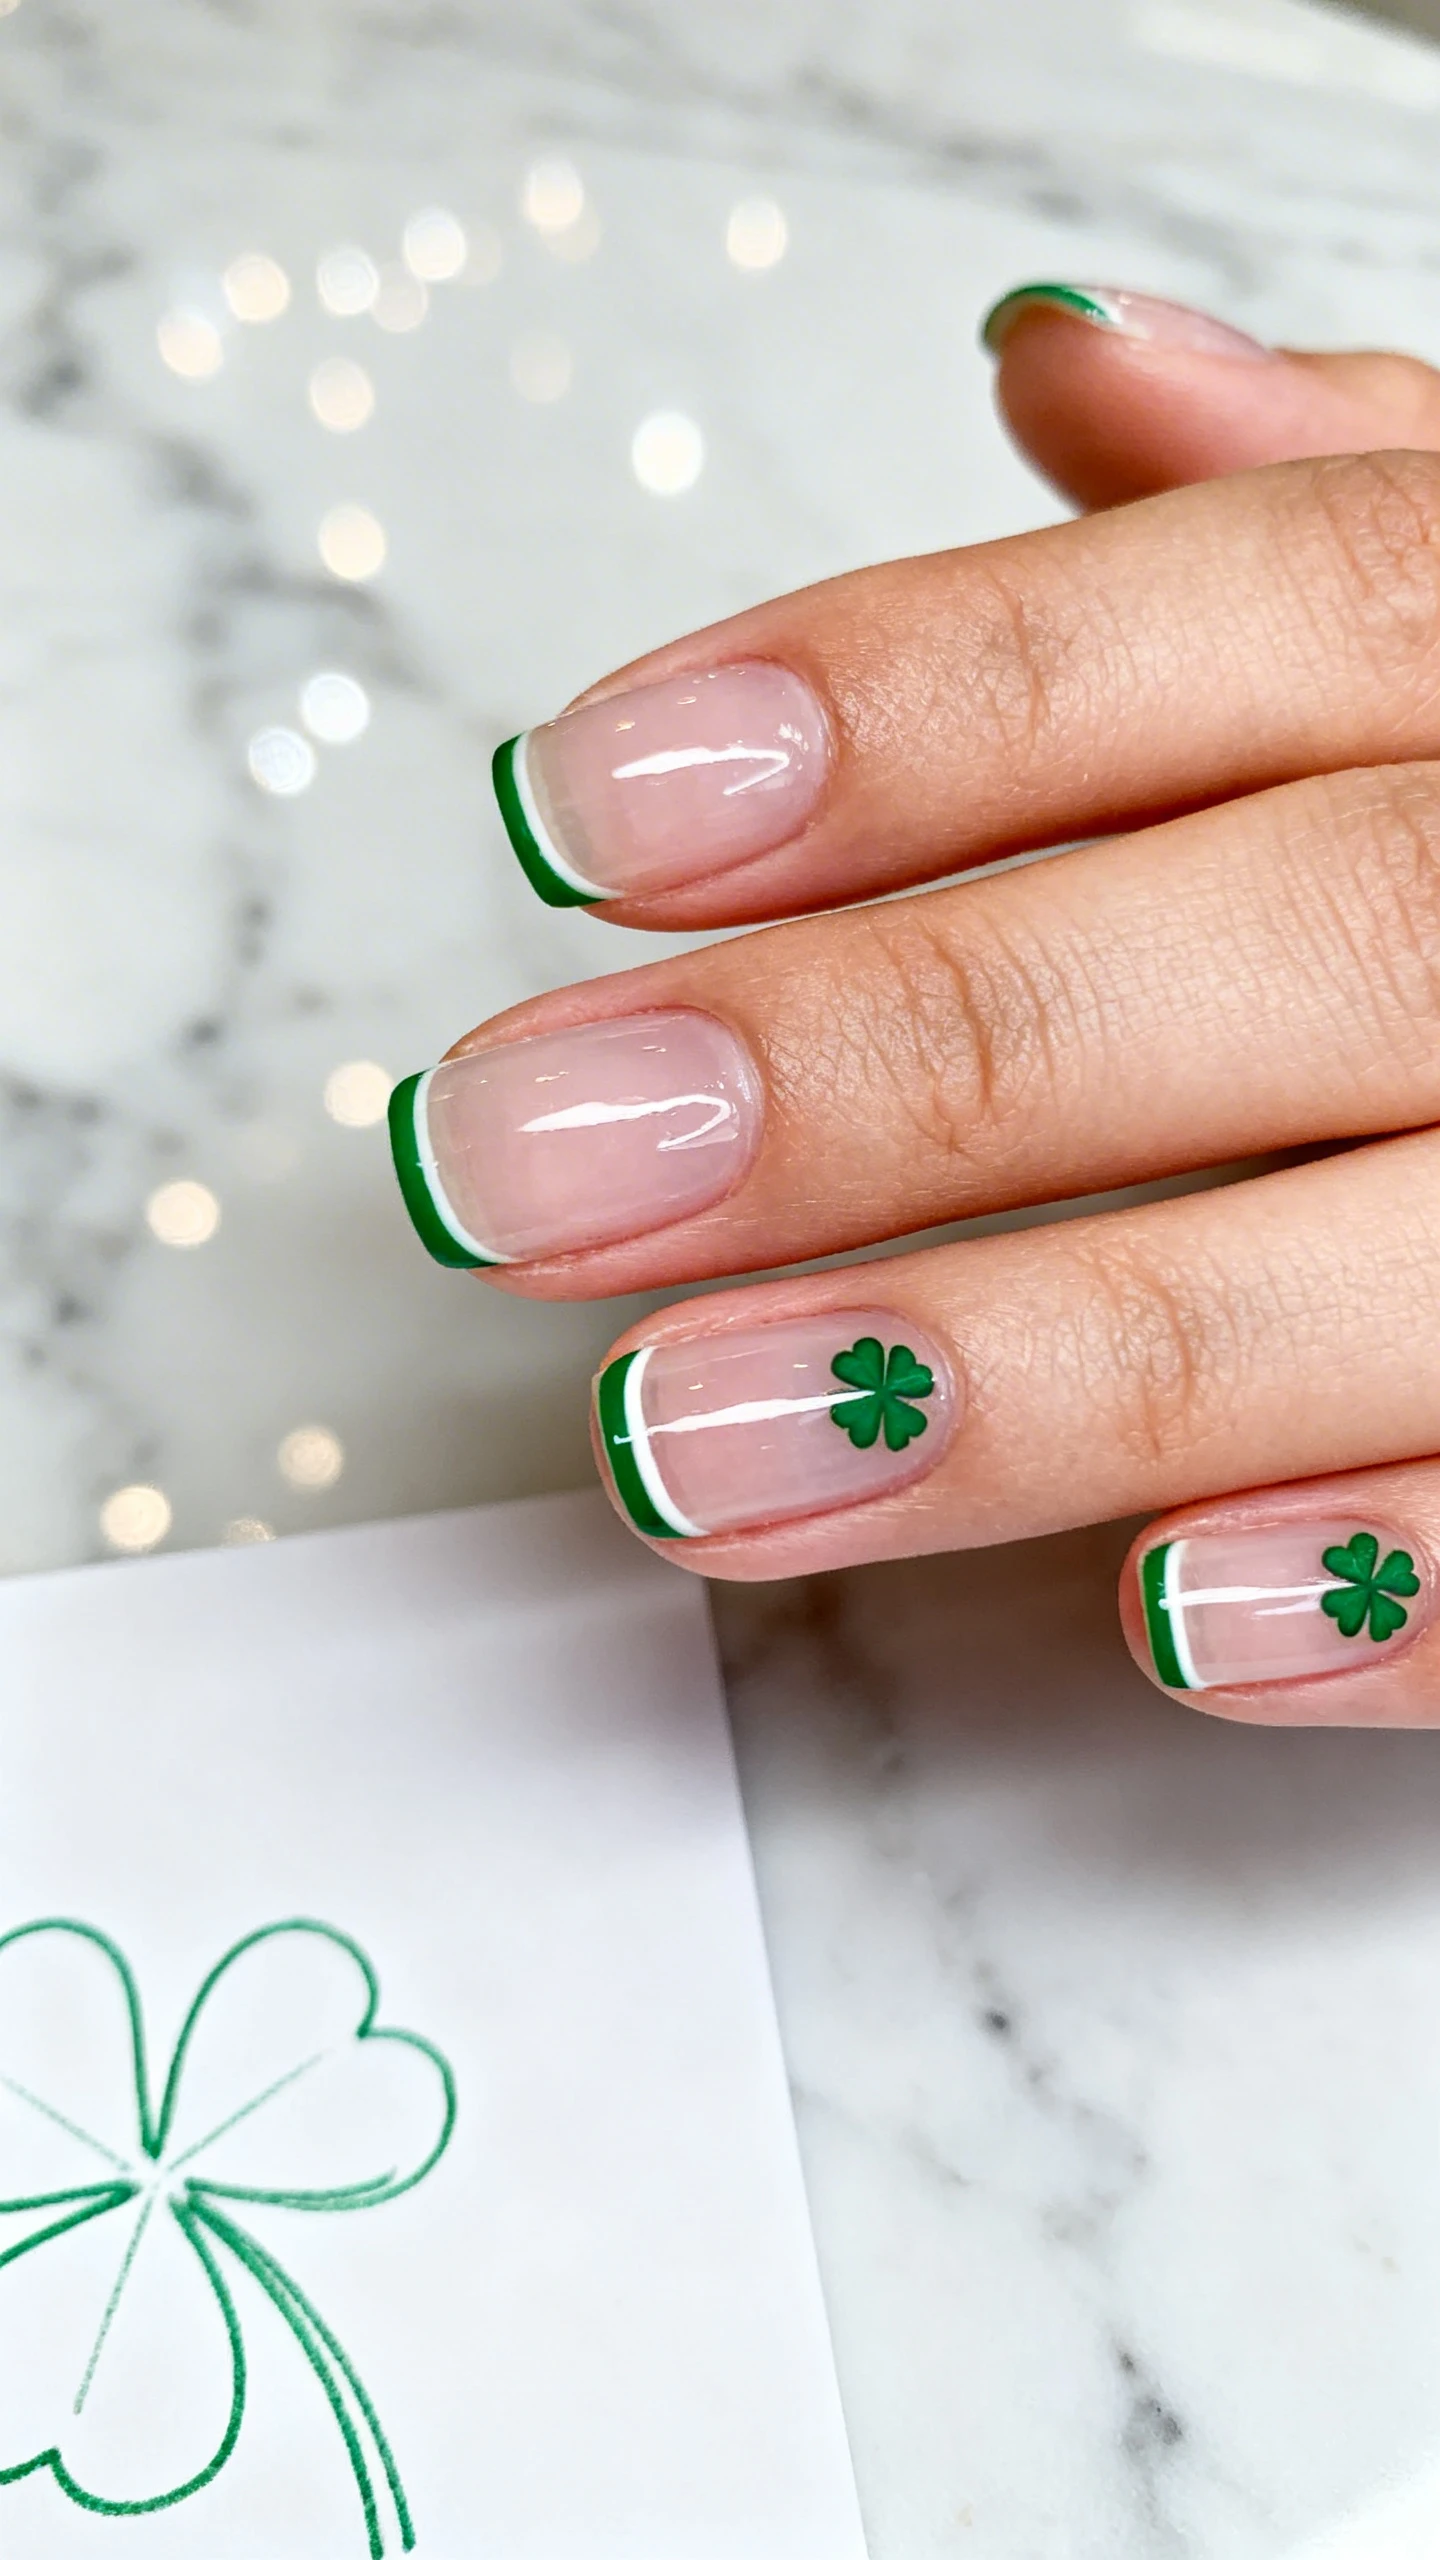
Meet the minimalist girl’s answer to seasonal nail art: a whisper-thin French outline paired with delicate clover half-moons along the cuticle line. It’s chic, meticulous, and fashion-editor approved. The slim outline silhouette gives structure, while the micro clovers read as jewelry for your nail beds—dainty, not distracting.
This look is wearable for the office yet festive enough for a St. Patty’s dinner. If you love precise, graphic manicure styles, this one will charm you with its crisp lines and polished vibe.
Keep It Crisp
Use a striping brush for the outline and a fine-point dotting tool to anchor stencil placement. Clean up edges with a small angled brush dipped in acetone for razor-sharp results.
Nail Details: Short square or short almond nails with a translucent pinkish-clear base for a healthy, glossy look. Each nail has a thin French outline tracing the free edge in bright shamrock green—just the outline, no filled tip. Along the cuticle on the ring finger and index finger, two micro four-leaf clovers per nail are placed as a half-moon cluster, using the same bright green. On the middle finger, a single micro clover sits dead center at the cuticle as a focal point. The remaining nails keep only the French outline for balance. Colors: clear glossy base, bright shamrock green lines and clovers. Finish is high-gloss, edges are razor-clean, and clovers are small and symmetrical.
5. Lucky Velvet Clover Skittles
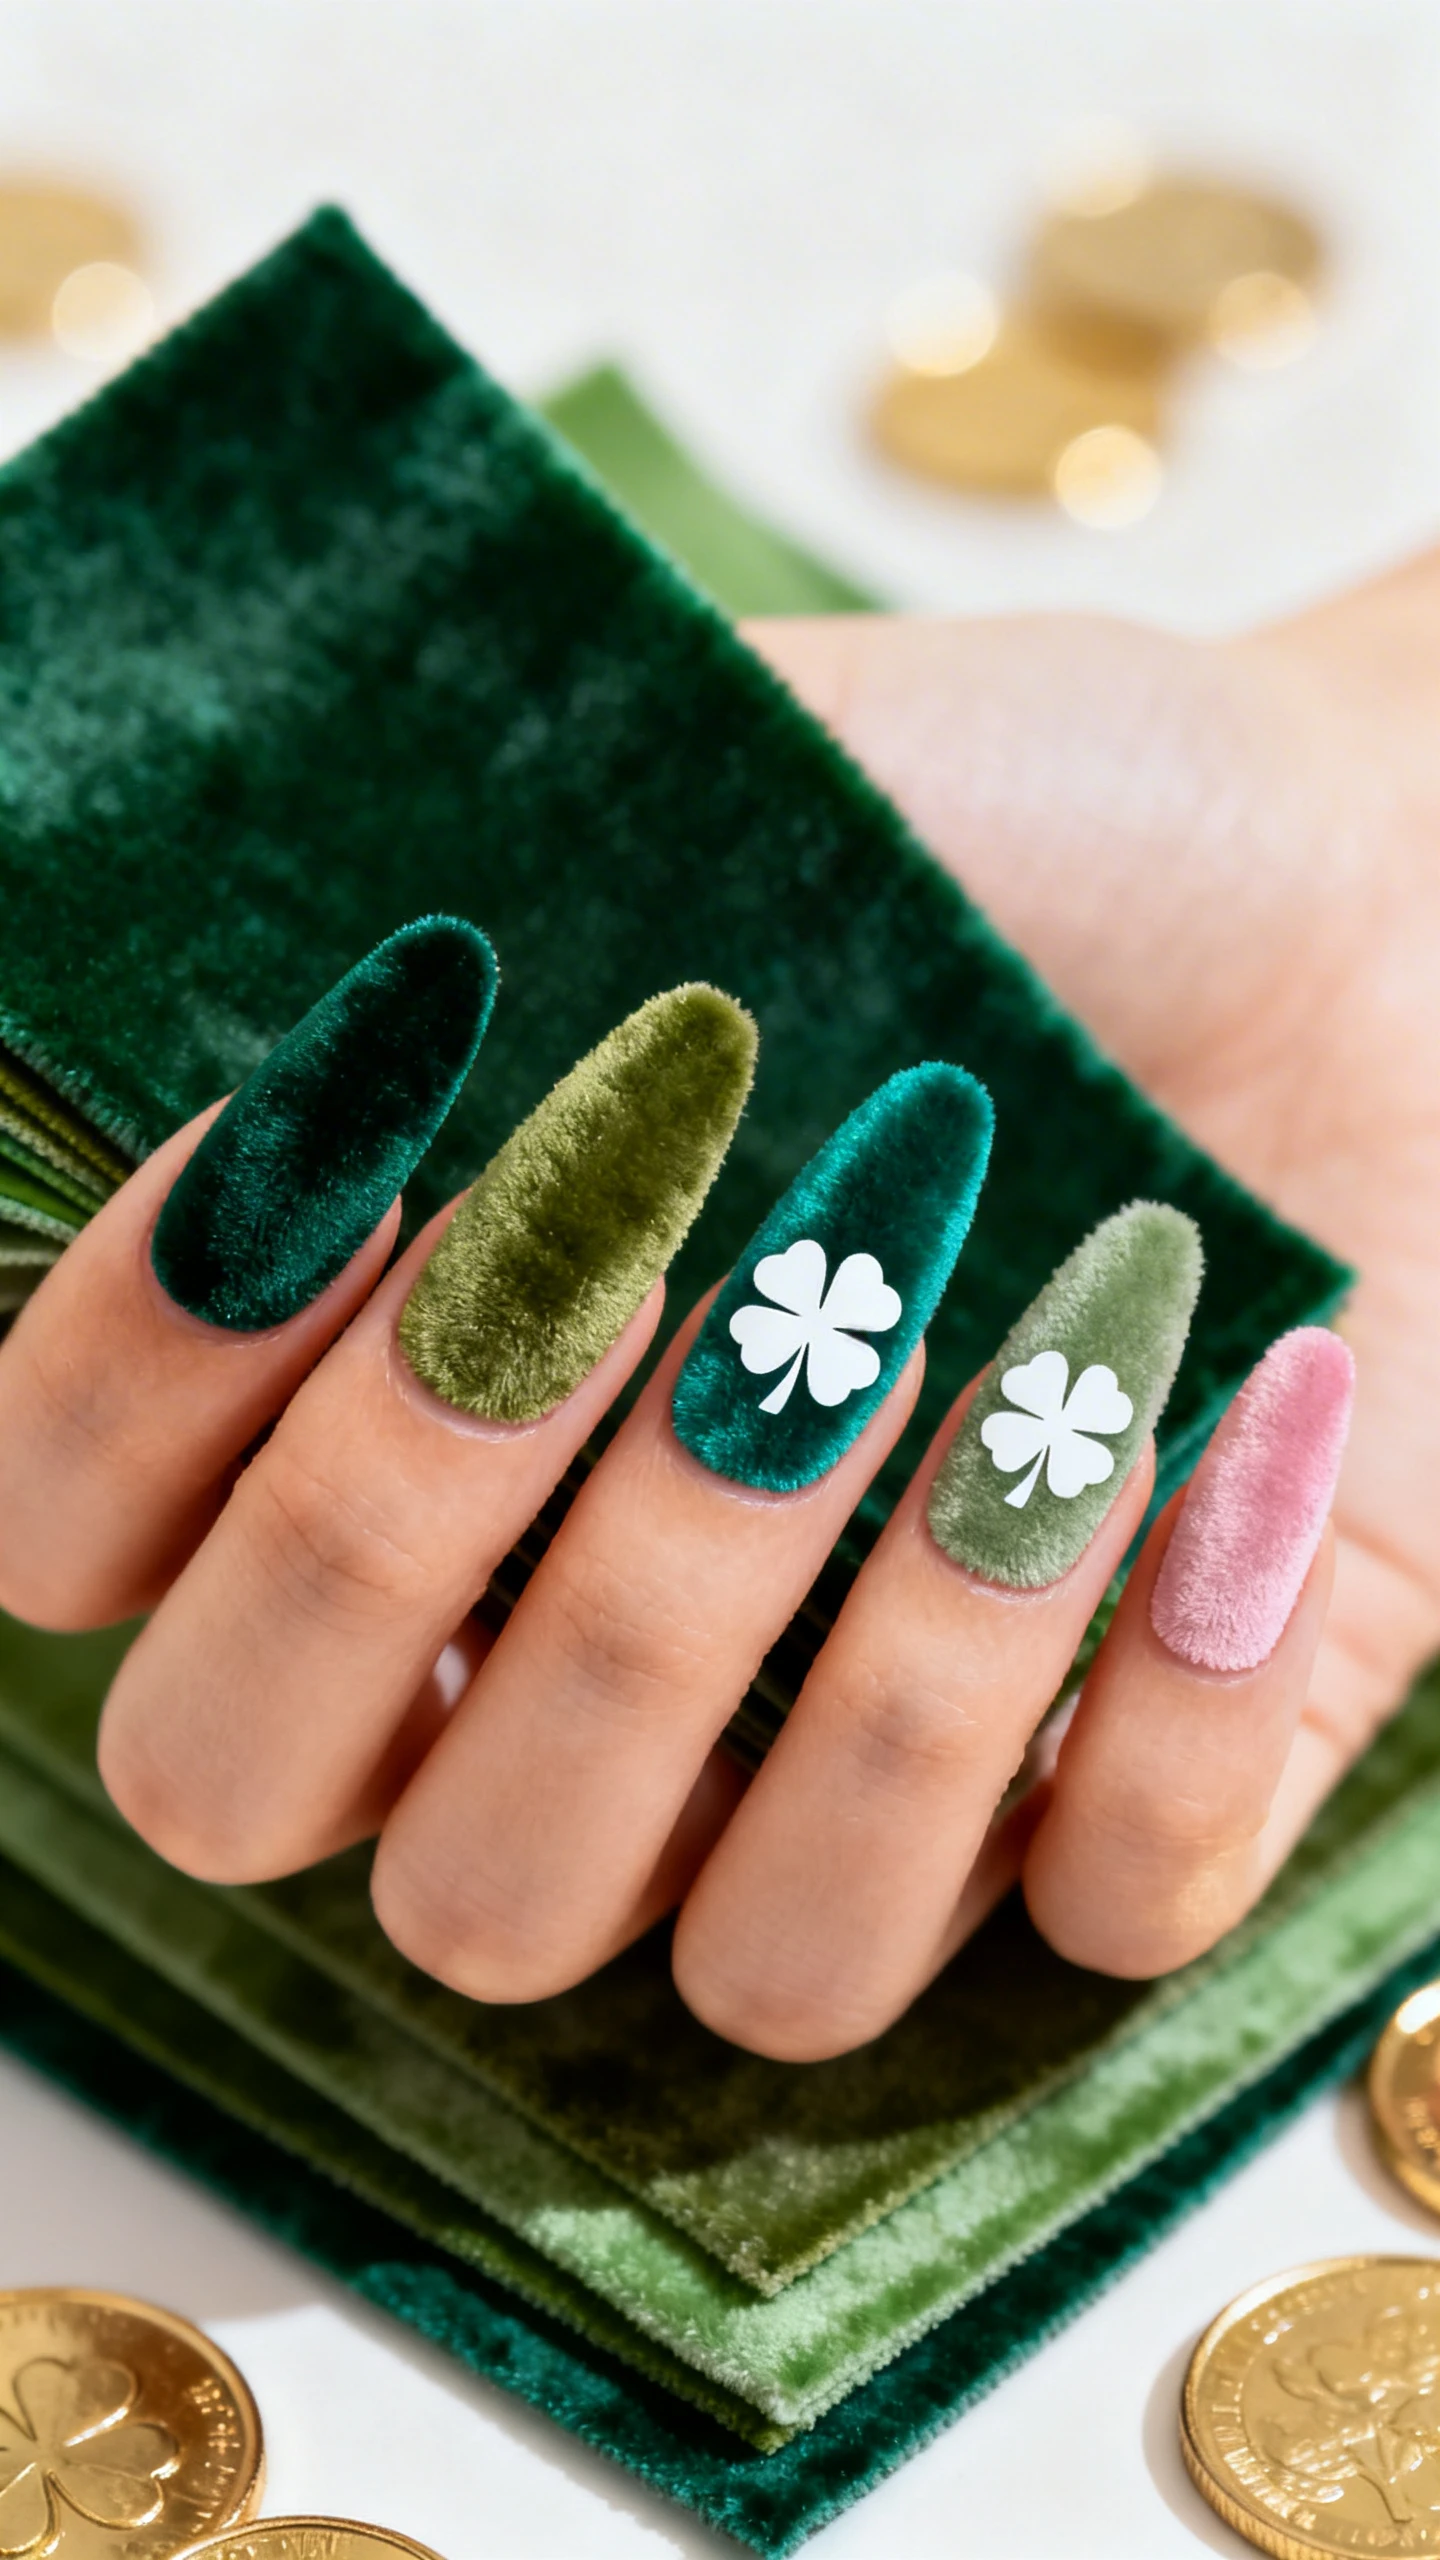
Velvet nails are trending hard—those fuzzy, light-catching finishes feel luxe and a little mysterious. Combine that texture with a “Skittles” palette (each nail a different yet coordinating shade), and you’ve got a look that’s playful but totally fashion-forward. The flat clover silhouettes against a plush velvet base? Textural perfection.
This is the design to choose if you love complements and contrasts. The velvet base catches light in a velour-like sheen, while matte clovers create crisp, graphic definition. It’s runway-meets-DIY—eye candy from every angle.
Texture Tactics
For a velvet effect, use a specialty magnetic or flocking-top formula in green tones, or apply a cat-eye gel and finish with a velvet topcoat. Keep clovers matte for high contrast.
Nail Details: Medium to long coffin or almond nails, each in a different green velvet finish: thumb in deep emerald velvet, index in moss velvet, middle in bottle-green velvet, ring in teal-leaning green velvet, pinky in soft sage velvet. On each nail, center a single four-leaf clover stencil filled with matte white or matte cream for bold contrast. The clover scale is medium—large enough to be a statement but with equal margin on all sides. Optional: On the ring finger, add a thin vertical strip of tiny gold studs along one side of the clover for a luxe accent. Finish: velvet base remains plush; clover shapes are distinctly matte and flat, sealed only within the clover area to preserve texture contrast.
Application Tips for Stencil Success
- Prep like a pro: Cleanse nails, push back cuticles, and lightly buff for adherence. Apply a bonding base for longer wear.
- Let layers dry: Apply color in thin coats and allow each to dry before placing or removing stencils to prevent smudging.
- Secure edges: Press stencils firmly at edges so polish doesn’t seep underneath. A silicone tool can help smooth air pockets.
- Peel with purpose: Remove stencils while polish is slightly wet for the cleanest lines—pull back slowly at a low angle.
- Seal the deal: A thin, even topcoat locks art in place; for textured looks, topcoat only the areas you want glossy.
- ☘️ Package Includes: This St. Patrick’s Day nails comes in a beautiful package that includes 24pcs fake nails and 24 pie…
- ☘️ Unique Design: These Almond fake nails have a lot of Irish culture in them, St. Patrick’s Day and a shamrock four-lea…
- ☘️ Perfect Gift: These St. Patrick’s Day Four-Leaf Clover fake nails are perfect gift for girlfriend, wife, women and gi…
Color Pairing Ideas
- Classic: emerald, cream, and gold accents
- Soft modern: sage, sand, and metallic champagne
- Bold glam: forest, black, and high-shine gold foil
- Fresh and bright: mint, lime, and white details
Longevity Boosters
- Cap your tips with every coat to prevent early wear.
- Use a quick-dry topcoat day one, then a thin refresher coat on day three.
- Gloves for dishes—always. Water is the enemy of extended wear.
St. Patty’s Day nail art doesn’t have to be loud to be lucky. With four-leaf clover stencils, you get crisp shapes, clean symmetry, and just the right dose of charm. Whether you go for sleek negative-space tips, metallic Celtic accents, a lively green gradient, minimalist French outlines, or plush velvet Skittles, these designs are eye-catching and completely DIY-friendly. Here’s to festive fingertips—and all the good fortune they’ll bring.