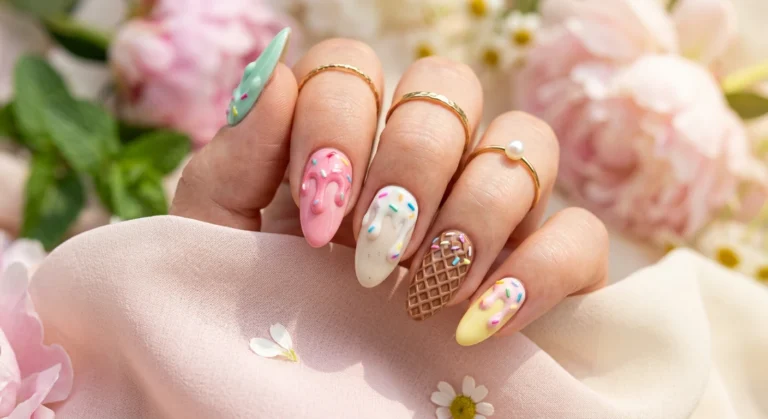
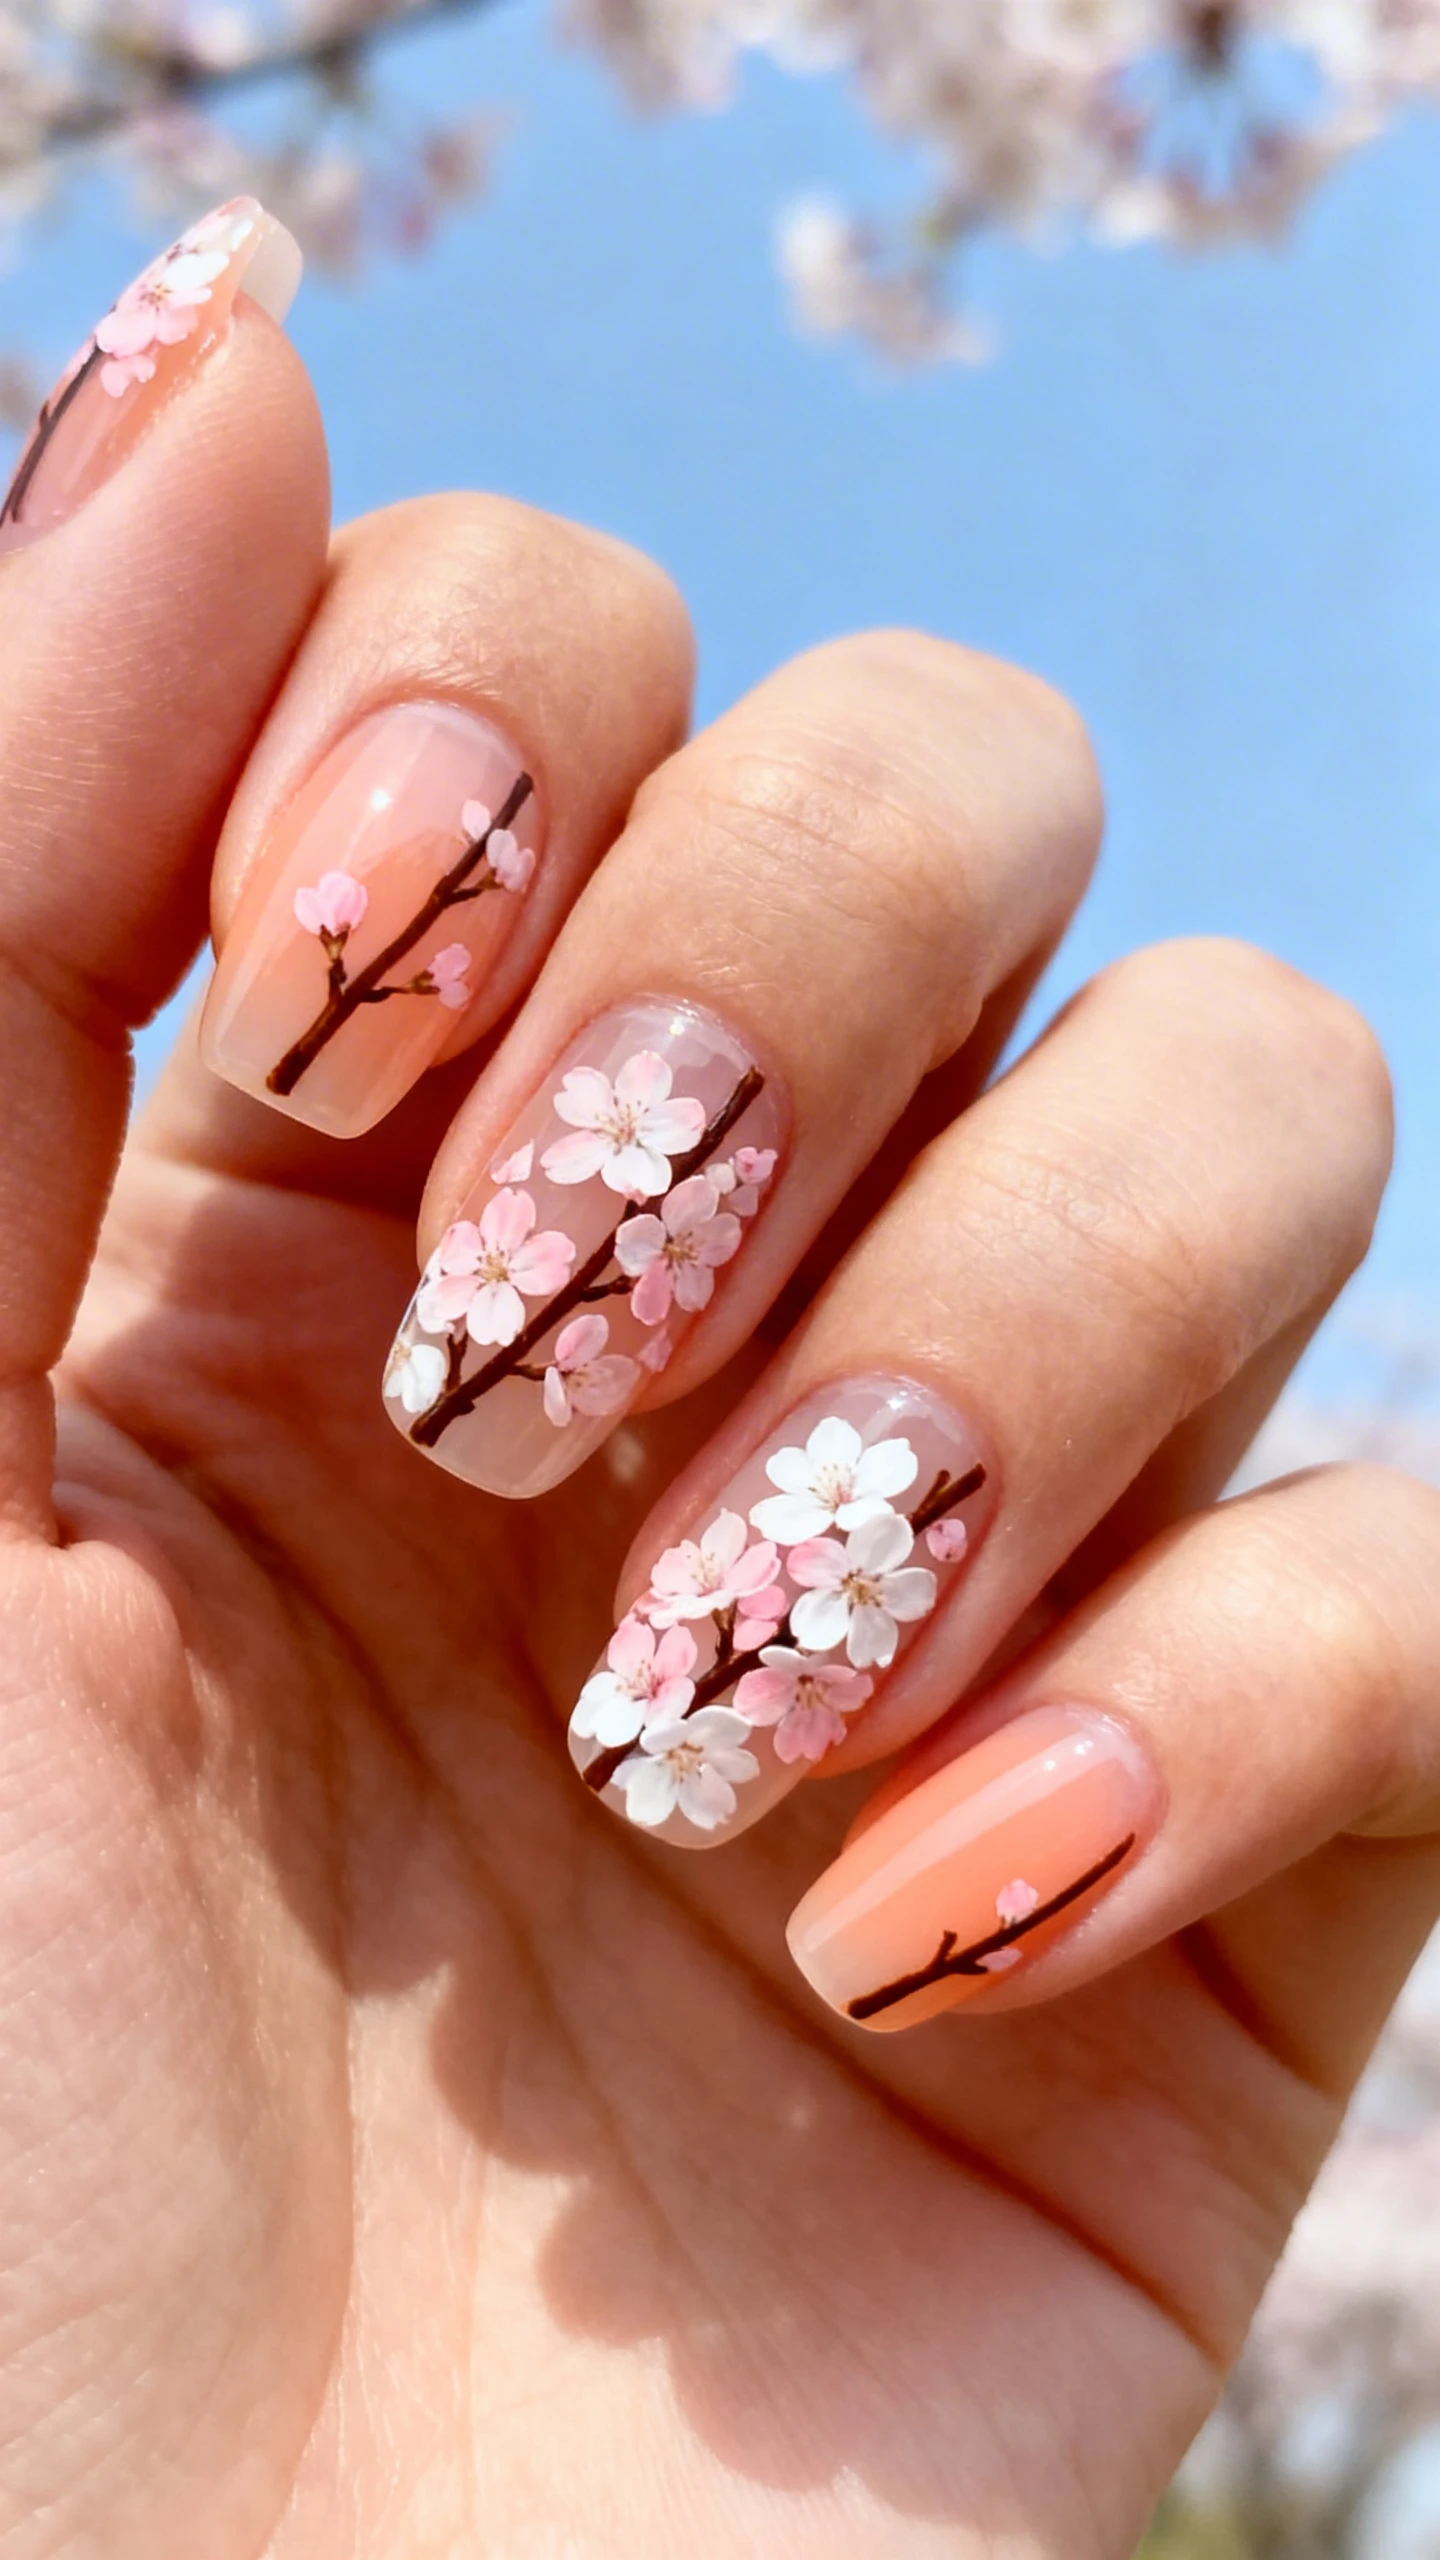
5 Detail Brushes for Easter Nails Design Spring
Spring is officially in the air, besties! Can you feel that shift in the breeze? It’s time to pack away the heavy winter knits and break out the pastel blazers, open-toed shoes, and, most importantly, the fresh manicures. Easter is the perfect excuse to get creative with your nail art, but let’s be real—sometimes those intricate designs feel impossible to achieve at home. That’s where the magic of the right tools comes in.
You might have the steadiest hand in the game, but if you’re trying to paint a microscopic bunny whisker with a standard polish brush, you’re going to have a bad time. The secret to salon-quality Easter nails isn’t just patience; it’s knowing which detail brushes transform a messy blob into a tiny masterpiece. Whether you are a total beginner or a DIY nail pro, upgrading your brush game is going to change everything.
Today, we are diving deep into the world of spring aesthetics. I’m sharing five gorgeous Easter-inspired designs and, more importantly, exactly which detail brush you need to pull them off. We are talking fluffy bunnies, abstract carrots, and dreamy florals. So, grab your top coat and let’s get into this festive nail art listicle!
1. The Long-Lined Bunny Hop

There is nothing quite as iconic for Easter as the fluffy bunny. This design is whimsical, adorable, and surprisingly versatile. It works for a full-blown Easter Sunday brunch or just a casual spring picnic. The key here is capturing the cuteness of the animal without making it look cartoonish or messy. We want a minimalist, aesthetic vibe that looks like it was painted by a professional artist.
To achieve those crisp, clean outlines for the bunny ears and those tiny, delicate whiskers, you absolutely need a long striper brush. This is a non-negotiable tool in your kit. A long striper brush has extra-long bristles that hold a generous amount of polish but come to a razor-sharp point. The length of the bristles actually helps with stability—think of it like the difference between writing with a tiny nub of a pencil versus a nice, long, sharp one. The long brush gives you the “float” you need to create smooth, continuous lines without shaking.
Mastering the Whiskers
When using a long striper brush for this design, less is definitely more. You want to load the brush with a very small amount of polish—wipe it on the side of your bottle or a palette until the bristle looks almost dry. This technique, known as “dry brushing,” prevents the polish from flooding and creating blobs.
- Stabilize Your Hand: Rest your pinky finger on the table or your other hand to create a pivot point. This stops the wiggles.
- The Single-Stroke Ear: Try to paint the outline of the bunny’s ear in one single, confident motion. If you stop and start, the line gets thicker and uneven.
- Whisker Magic: Use the very tip of the brush to flick out three tiny whiskers on each side. They should be barely there!

- High-Quality Press-On Nail Kit: All Glamnetic Press-On Nail Sets offer high-quality salon style and feature protective U…
- French Top Natural Almond Nails – Each nail features a tapered fit towards the cuticle to give you the most natural look…
- Premium Durability with Up To 2 Weeks Per Wear – High-quality is our middle name. This customizable nail set can be trim…
This design is all about the silhouette. By keeping the background a soft, creamy color, the white or beige bunny really pops. It’s a subtle nod to the holiday that feels chic rather than childish.
Nail Details: A soft lavender cream base color featuring minimalist, hand-painted bunny silhouettes. The bunnies are a matte white or cream shade with simple long ears, small triangular pink noses, and fine, black whisker lines. The design uses plenty of negative space, perhaps featuring just one or two accent nails per hand to keep it modern and airy.
2. The Dotting Tool Carrot Patch
If you aren’t confident with freehand drawing, I have the perfect Easter design for you. This look is playful, textured, and incredibly satisfying to create. It plays on the classic concept of a vegetable patch but turns it into a modern art piece using dots. It’s colorful, fun, and screams springtime freshness without all the stress of blending.
The hero of this specific design is the dotting tool. While technically not a “brush” in the traditional sense, a dotting tool is the most essential detail implement in your bag for this look. You can use the metal ball tips to create perfect circles of varying sizes. For this carrot patch, we are going to use the dots to build up the image of the carrots themselves. We are essentially doing pointillism! By grouping orange dots together in a triangle shape and adding a cluster of green dots at the top, you create the illusion of a carrot without drawing a single curved line.
Building Texture with Dots
The beauty of using a dotting tool is that you can control the density of the color. You can create a gradient effect by placing the dots closer together or further apart. This gives your carrots a textured, organic look that feels much more high-end than a flat sticker.
- Size Matters: Use a larger dotting tool for the body of the carrot to save time, and switch to the smallest tip for the green leaves at the top.
- Consistent Polish: Make sure your polish isn’t too thick or gloopy. If it’s too thick, the dots will have a little “peak” in the middle when you lift the tool. Thin, slightly runny polish works best for flat dots.
- The Random Pattern: Don’t line your carrots up in a grid. Scatter them across the nail in a random, organic pattern, like they are growing wild in a garden.
This is a fantastic design for experimenting with color palettes. You can stick to traditional orange and green, or go for a pastel “Easter egg” vibe with peach and mint carrots. It’s quirky, cute, and surprisingly easy to fix if you make a mistake—just scrape the dot off and try again!
Nail Details: A warm sand or neutral beige background. Scattered across the nail are abstract carrot shapes created entirely from clusters of vibrant orange polka dots. The tops of the carrots feature clusters of bright green or lime dots to represent leafy greens. The pattern is playful and geometric, using different sizes of dots to create depth and texture.
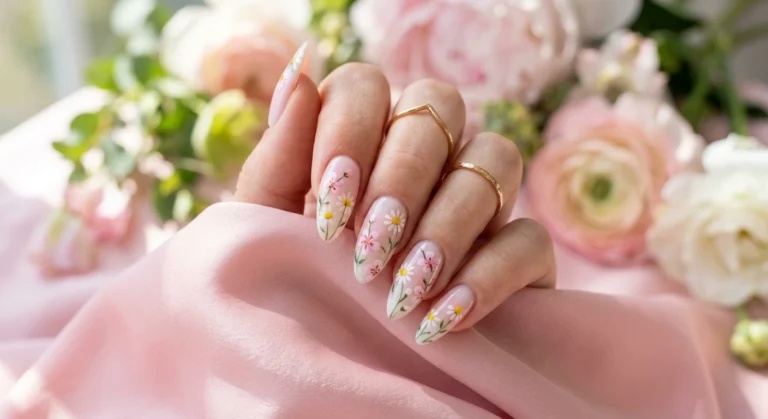
3. The Angled Brush Daisy Chain
Florals for spring? Groundbreaking, I know—but there is a reason this trend never dies. However, this season we are moving away from the thick, hand-painted roses of the past and embracing the delicate, razor-thin petals of the daisy chain. This design is romantic, feminine, and looks absolutely stunning on almond or coffin nail shapes.
To get those razor-thin petals that look like they could snap in the wind, you need an angled brush. An angled brush has bristles cut at a slant, which allows you to create multiple shapes with a single tool. You can use the flat side of the brush to stamp a color, or use the sharp corner of the angle to draw fine lines. For daisies, the angled brush is a miracle worker because you can pivot the brush to create a teardrop shape for each petal.
The Pivot Technique
Creating a flower petal with an angled brush is all about pressure and rotation. You aren’t “drawing” the petal; you are stamping it.
- Load the Brush: Dip just the very tip of the angled brush into your white polish. You want a clean edge.
- Place and Pivot: Place the sharp corner of the brush where the center of the flower will be. As you press the brush down onto the nail, gently rotate your wrist so the brush fans out slightly, creating a petal shape that is wide at the outside and narrow at the center.
- Building the Flower: Repeat this process five times around a central yellow dot to create a full daisy. The angled brush ensures every petal is uniform in shape and thickness.

- High-Quality Press-On Nail Kit: All Glamnetic Press-On Nail Sets offer high-quality salon style and feature protective U…
- Everyone loves a classic french tip mani, but we’re all about changing it up with summer-approved hues! Our Confetti Pre…
- Premium Durability with Up To 2 Weeks Per Wear – High-quality is our middle name. This customizable nail set can be trim…
For an ultra-modern twist, try creating a “negative space” daisy chain where the petals climb out of the cuticle area, or wrap a chain of daisies around the tip of the nail like a French tip. The crisp lines achieved by the angled brush make this look sharp and editorial.
Nail Details: A pastel baby blue or sky blue jelly base. Intricate white daisy chains are painted winding across the nail. Each daisy features five distinct, sharp white petals created with an angled brush, surrounding a small yellow center. The design is delicate and airy, possibly featuring tiny leaves connecting the flowers in a chain pattern.
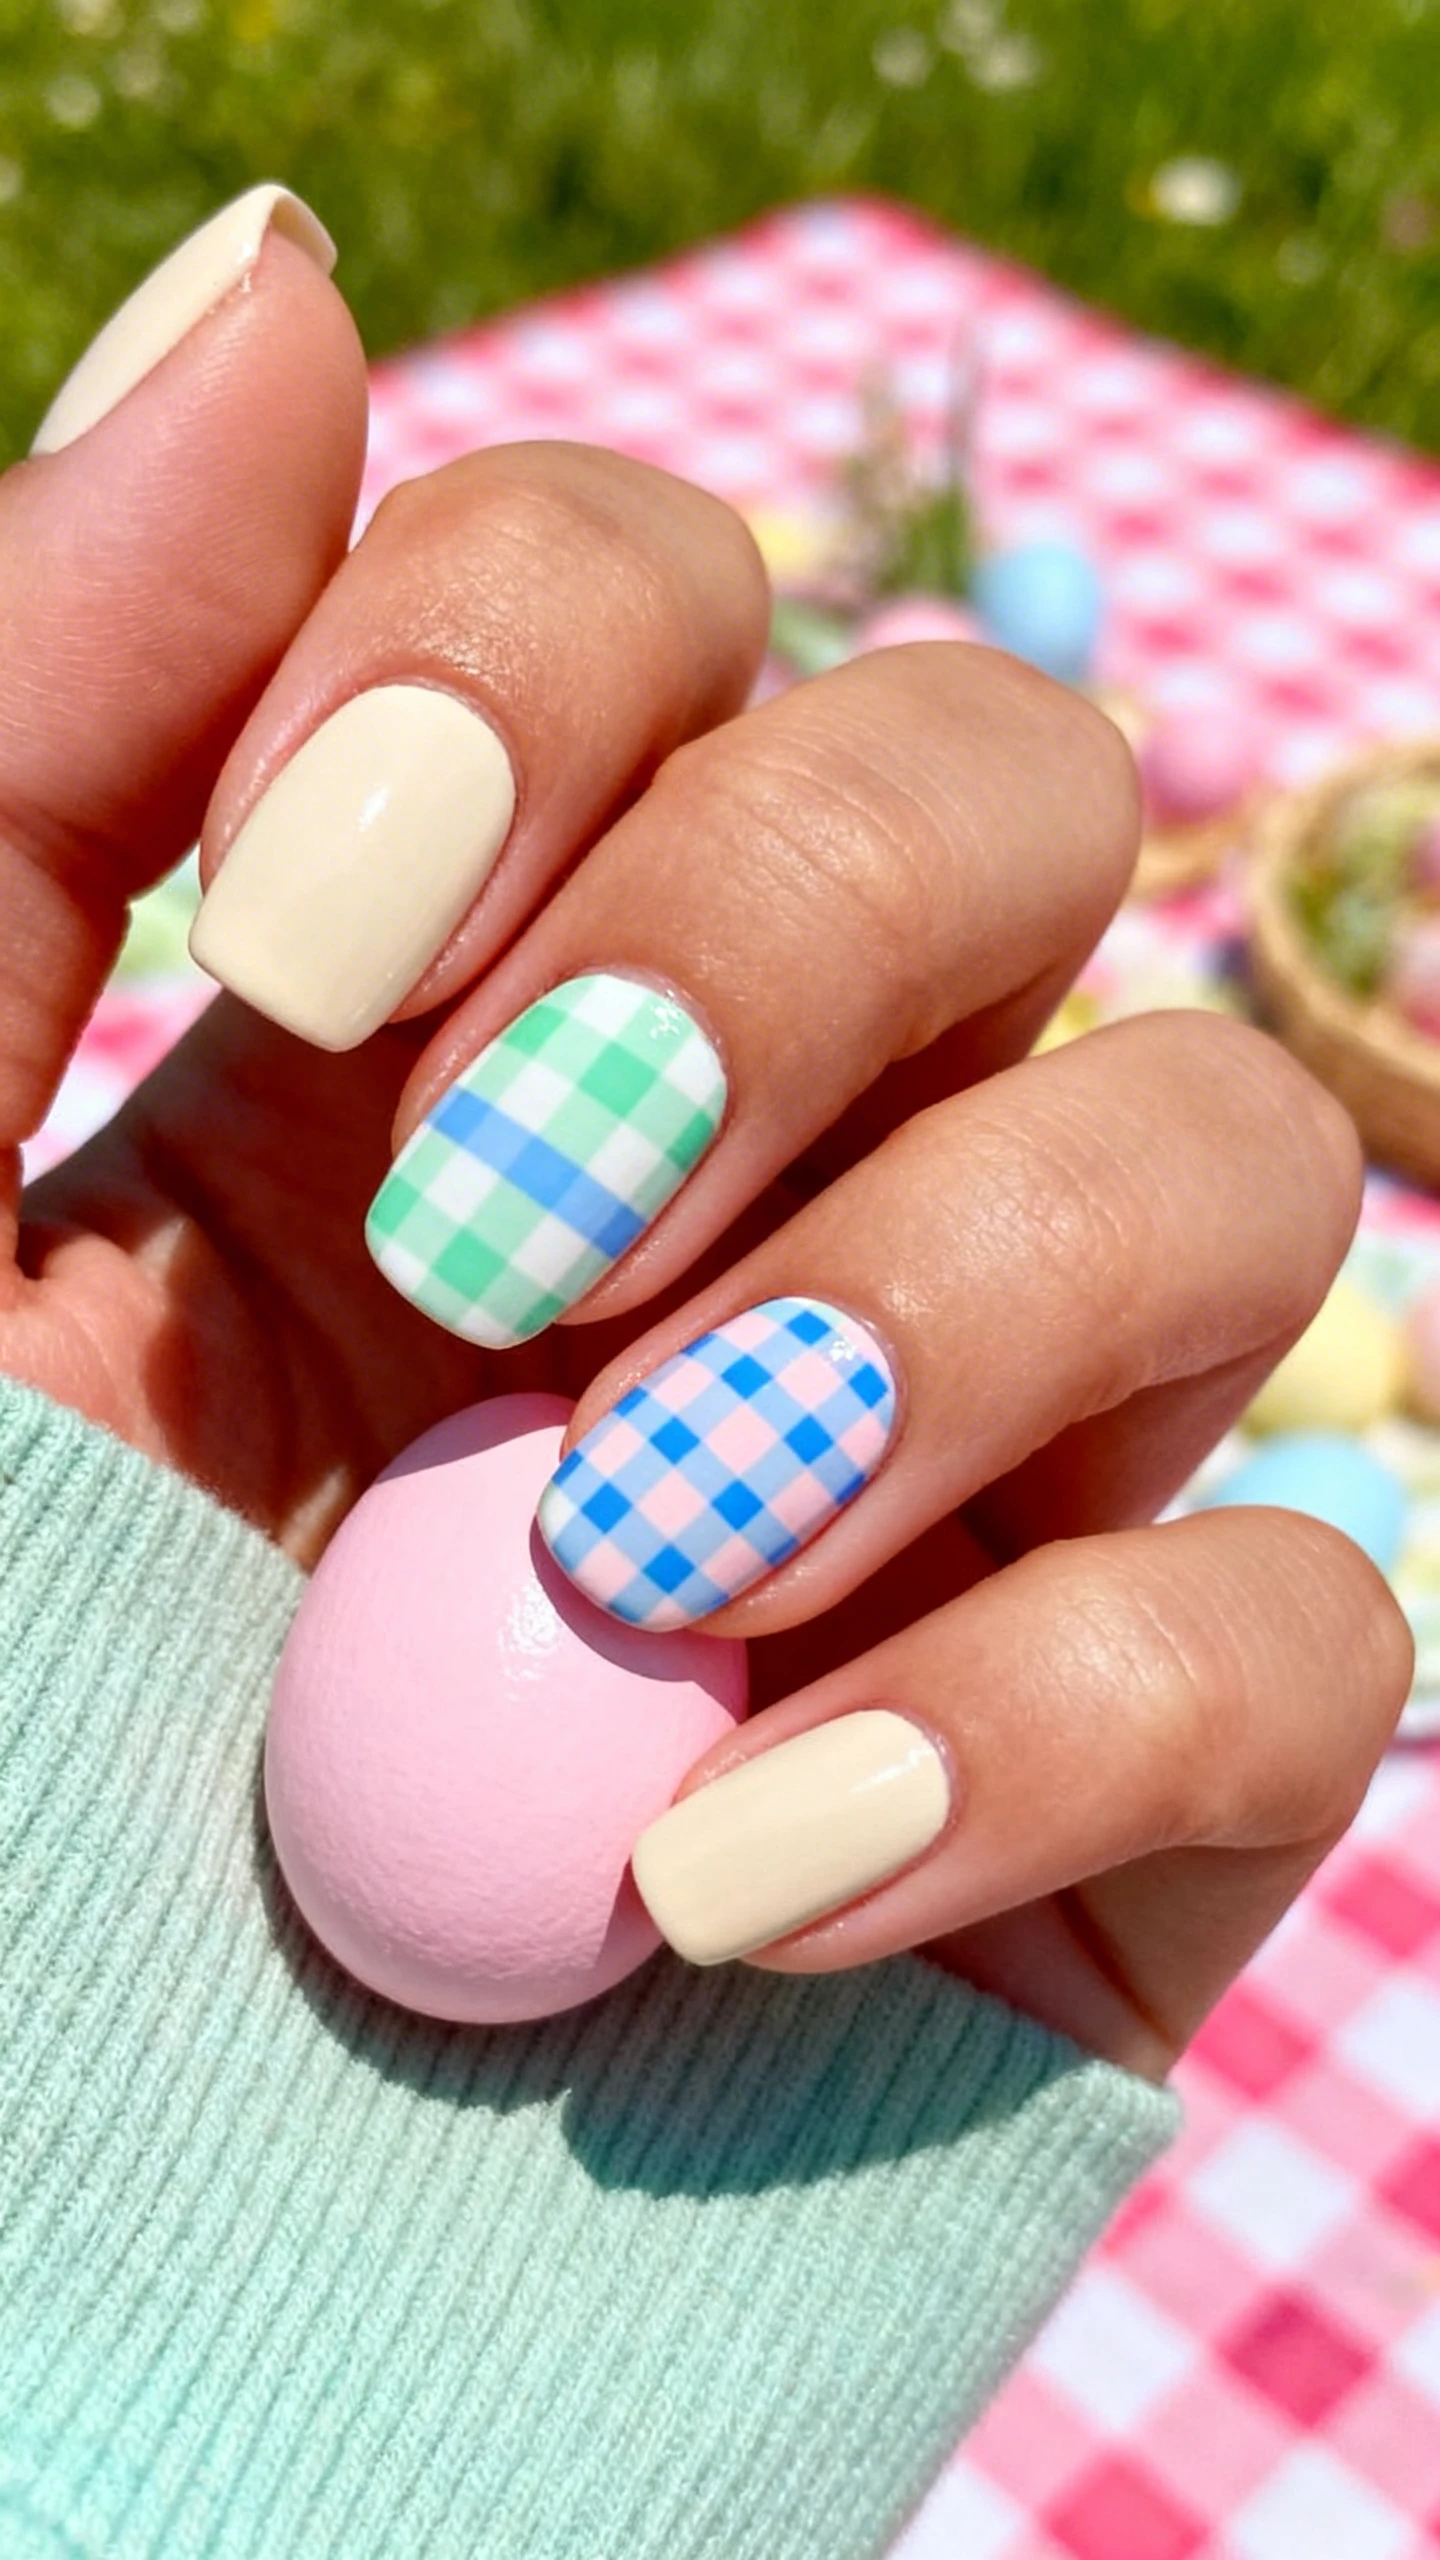
4. The Fine-Liner Plaid Egg
Preppy polish is having a major moment, and nothing says “Easter Sunday aesthetic” quite like a classic plaid pattern. But we aren’t doing a full plaid manicure—that can be a bit busy. Instead, we are painting plaid Easter eggs. This design is clever, textural, and showcases your ability to work with patterns. It looks like a tiny piece of fabric glued to your nails.
This is the ultimate test for a fine-liner brush. Unlike the long striper, a fine-liner brush usually has shorter bristles. This gives you more control and stiffness, which is crucial when you are painting a grid or a cross-hatch pattern. You need the brush to be obedient and go exactly where you tell it to go. Painting plaid requires a lot of lines—vertical, horizontal, and sometimes diagonal—and if your brush is too floppy, the lines will wobble, and the plaid will look messy.
Grid Work and Patience
Painting plaid eggs is a lesson in patience and layering. You cannot rush the drying time between layers, or the colors will bleed into each other and turn into a muddy mess.
- The Base Egg: Start by painting an oval shape in a pastel color (like pink or mint) in the center of the nail. This is your “canvas.”
- The Verticals: Once the base is dry, use your fine-liner brush and a darker shade (or white) to paint vertical stripes down the egg. Keep the spacing as even as possible.
- The Cross-Hatch: After the verticals dry, paint horizontal lines. For a true tartan plaid look, make some horizontal lines thinner and some thicker, or skip every other line to create a checkerboard effect.

- You Will Get:12 nail sizes 24 press on nails short ensure a totally custom fit, plus we give you everything needed just …
- Superior Quality: The short press on nails sticky tabs are made of high-grade ABS material, the fake nails press ons wit…
- Lasting Effect:Wear them weeks straight or a few days – You Decide!You can use the nail glue sticker we gave you. Howeve…
The fine-liner brush allows you to make these lines incredibly thin, which is the secret to making the pattern look sophisticated. If the lines are too thick, it looks like a kindergarten art project. Keep them hair-thin for that high-fashion look. This design pairs perfectly with a soft, neutral outfit to let the nails pop.
Nail Details: A sheer pink or peach jelly background. In the center of the nail, an oval Easter egg shape is painted in a pastel mint green. Over the mint egg, a fine-line buffalo plaid pattern is overlaid in creamy white and darker green. The lines are extremely thin and precise, creating a fabric-like texture. The rest of the nail remains sheer to highlight the central egg design.
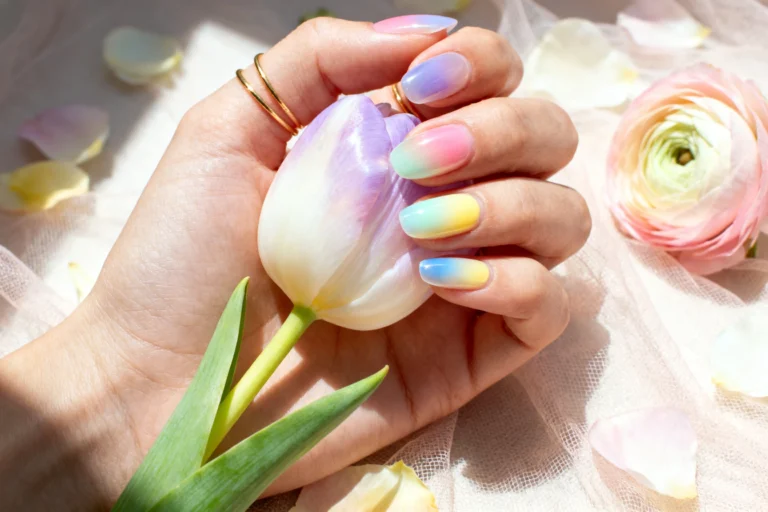
5. The Fan Brush Watercolor Bloom
We are ending this list with a showstopper. If you want a manicure that looks like a high-end art installation, the watercolor bloom is the way to go. This design is ethereal, soft, and dreamy. It doesn’t have hard outlines; instead, it relies on color washes and blending to create the impression of spring flowers. It’s the ultimate “aesthetic” nail look for Instagram.
The tool that makes this possible is the fan brush. A fan brush looks exactly like it sounds—the bristles are spread out like a fan. This unique shape is designed for sweeping and blending. In the nail art world, we use a technique called “dry brushing” with the fan brush. You dip the tips of the bristles into polish, wipe off almost all the wet product, and then sweep it across the nail. This leaves behind a wispy, sheer trail of color that looks exactly like watercolor paint on paper.
Blending the Spring Palette
The goal here is to layer colors without them mixing into a brown sludge. You want to see the distinct strokes of the brush, mimicking the movement of a paintbrush.
- Sheer Base: Start with a clear base coat or a very sheer white jelly to protect the nail and give the colors something to grip to.
- Color Blocking: Choose three spring colors—think lilac, soft yellow, and baby blue. Dip your fan brush into the lilac, wipe it thoroughly, and sweep it diagonally across the tip of the nail.
- Layering: Repeat with the yellow in the middle and the blue at the cuticle. The areas where the colors overlap should create a beautiful, soft new shade. Keep the layers light and airy.
- 【100 Colors gel nail polish Set】: The uv gel polish kit contains 100 nail colors carefully selected by us to cover the f…
- 【Diversified Nail Art Tools】: We also provide 5*Nail Swatch Palette,1*Color Number Stickers, 1*Bead Clasp and 1*Gel Poli…
- 【28+ Days Long Lasting】: Beetles 100 colors uv nail polish set has very high adhesion, with hard and durable quality, go…
This technique creates a “smoke” effect that is incredibly unique. No two nails will look exactly alike, which is part of the charm. It captures the essence of spring blooms—delicate, fleeting, and colorful. Finish it with a glossy top coat to make the colors shine and look wet, just like fresh paint.
Nail Details: A clear or sheer milky white base coat. The nail features an abstract watercolor design using a dry-brushing technique. Wispy, feathered strokes of pastel lilac, peach, and soft mint green sweep across the nail in an organic, diagonal pattern. The colors are blended softly at the edges, creating a dreamy, cloud-like floral effect with no hard outlines.
Final Thoughts on Your Spring Manicure
There you have it, five stunning ways to upgrade your Easter nail game this spring! Remember, the difference between “okay” nail art and “obsessed” nail art often comes down to the tools. Investing in a set of quality detail brushes—like a long liner, a dotting tool, an angled shader, a fine-liner, and a fan brush—will literally pay off forever. These tools allow you to express your creativity and achieve those crisp details that make a design look professional.
Don’t be afraid to experiment! Easter is the perfect time to try pastels, playful characters, and abstract floral art. Whether you go for the preppy plaid egg or the dreamy watercolor bloom, the most important thing is that you have fun with it. So, set up your nail station, put on your favorite spring playlist, and get painting. Happy Easter, and here’s to a season filled with fresh manicures and good vibes!