5 Base Coats for Long-lasting Easter Themed Nails
Spring’s biggest secret for chip-free, candy-colored nails? A powerhouse base coat. Before you layer on your bunnies, speckles, and pastel gradients, the right foundation keeps polish smooth, helps art last longer, and prevents stains from those punchy pinks and sunny yellows. Below, you’ll find five expertly chosen base coats paired with playful, Easter-ready design ideas—each look comes with clear, scannable details so you can set your manicure and your art up for success.
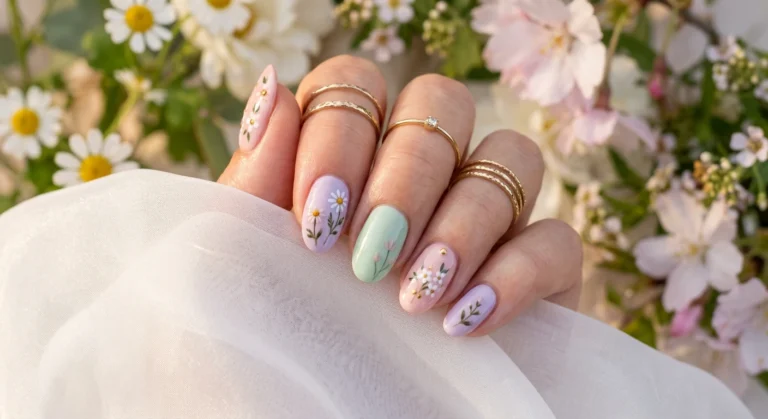
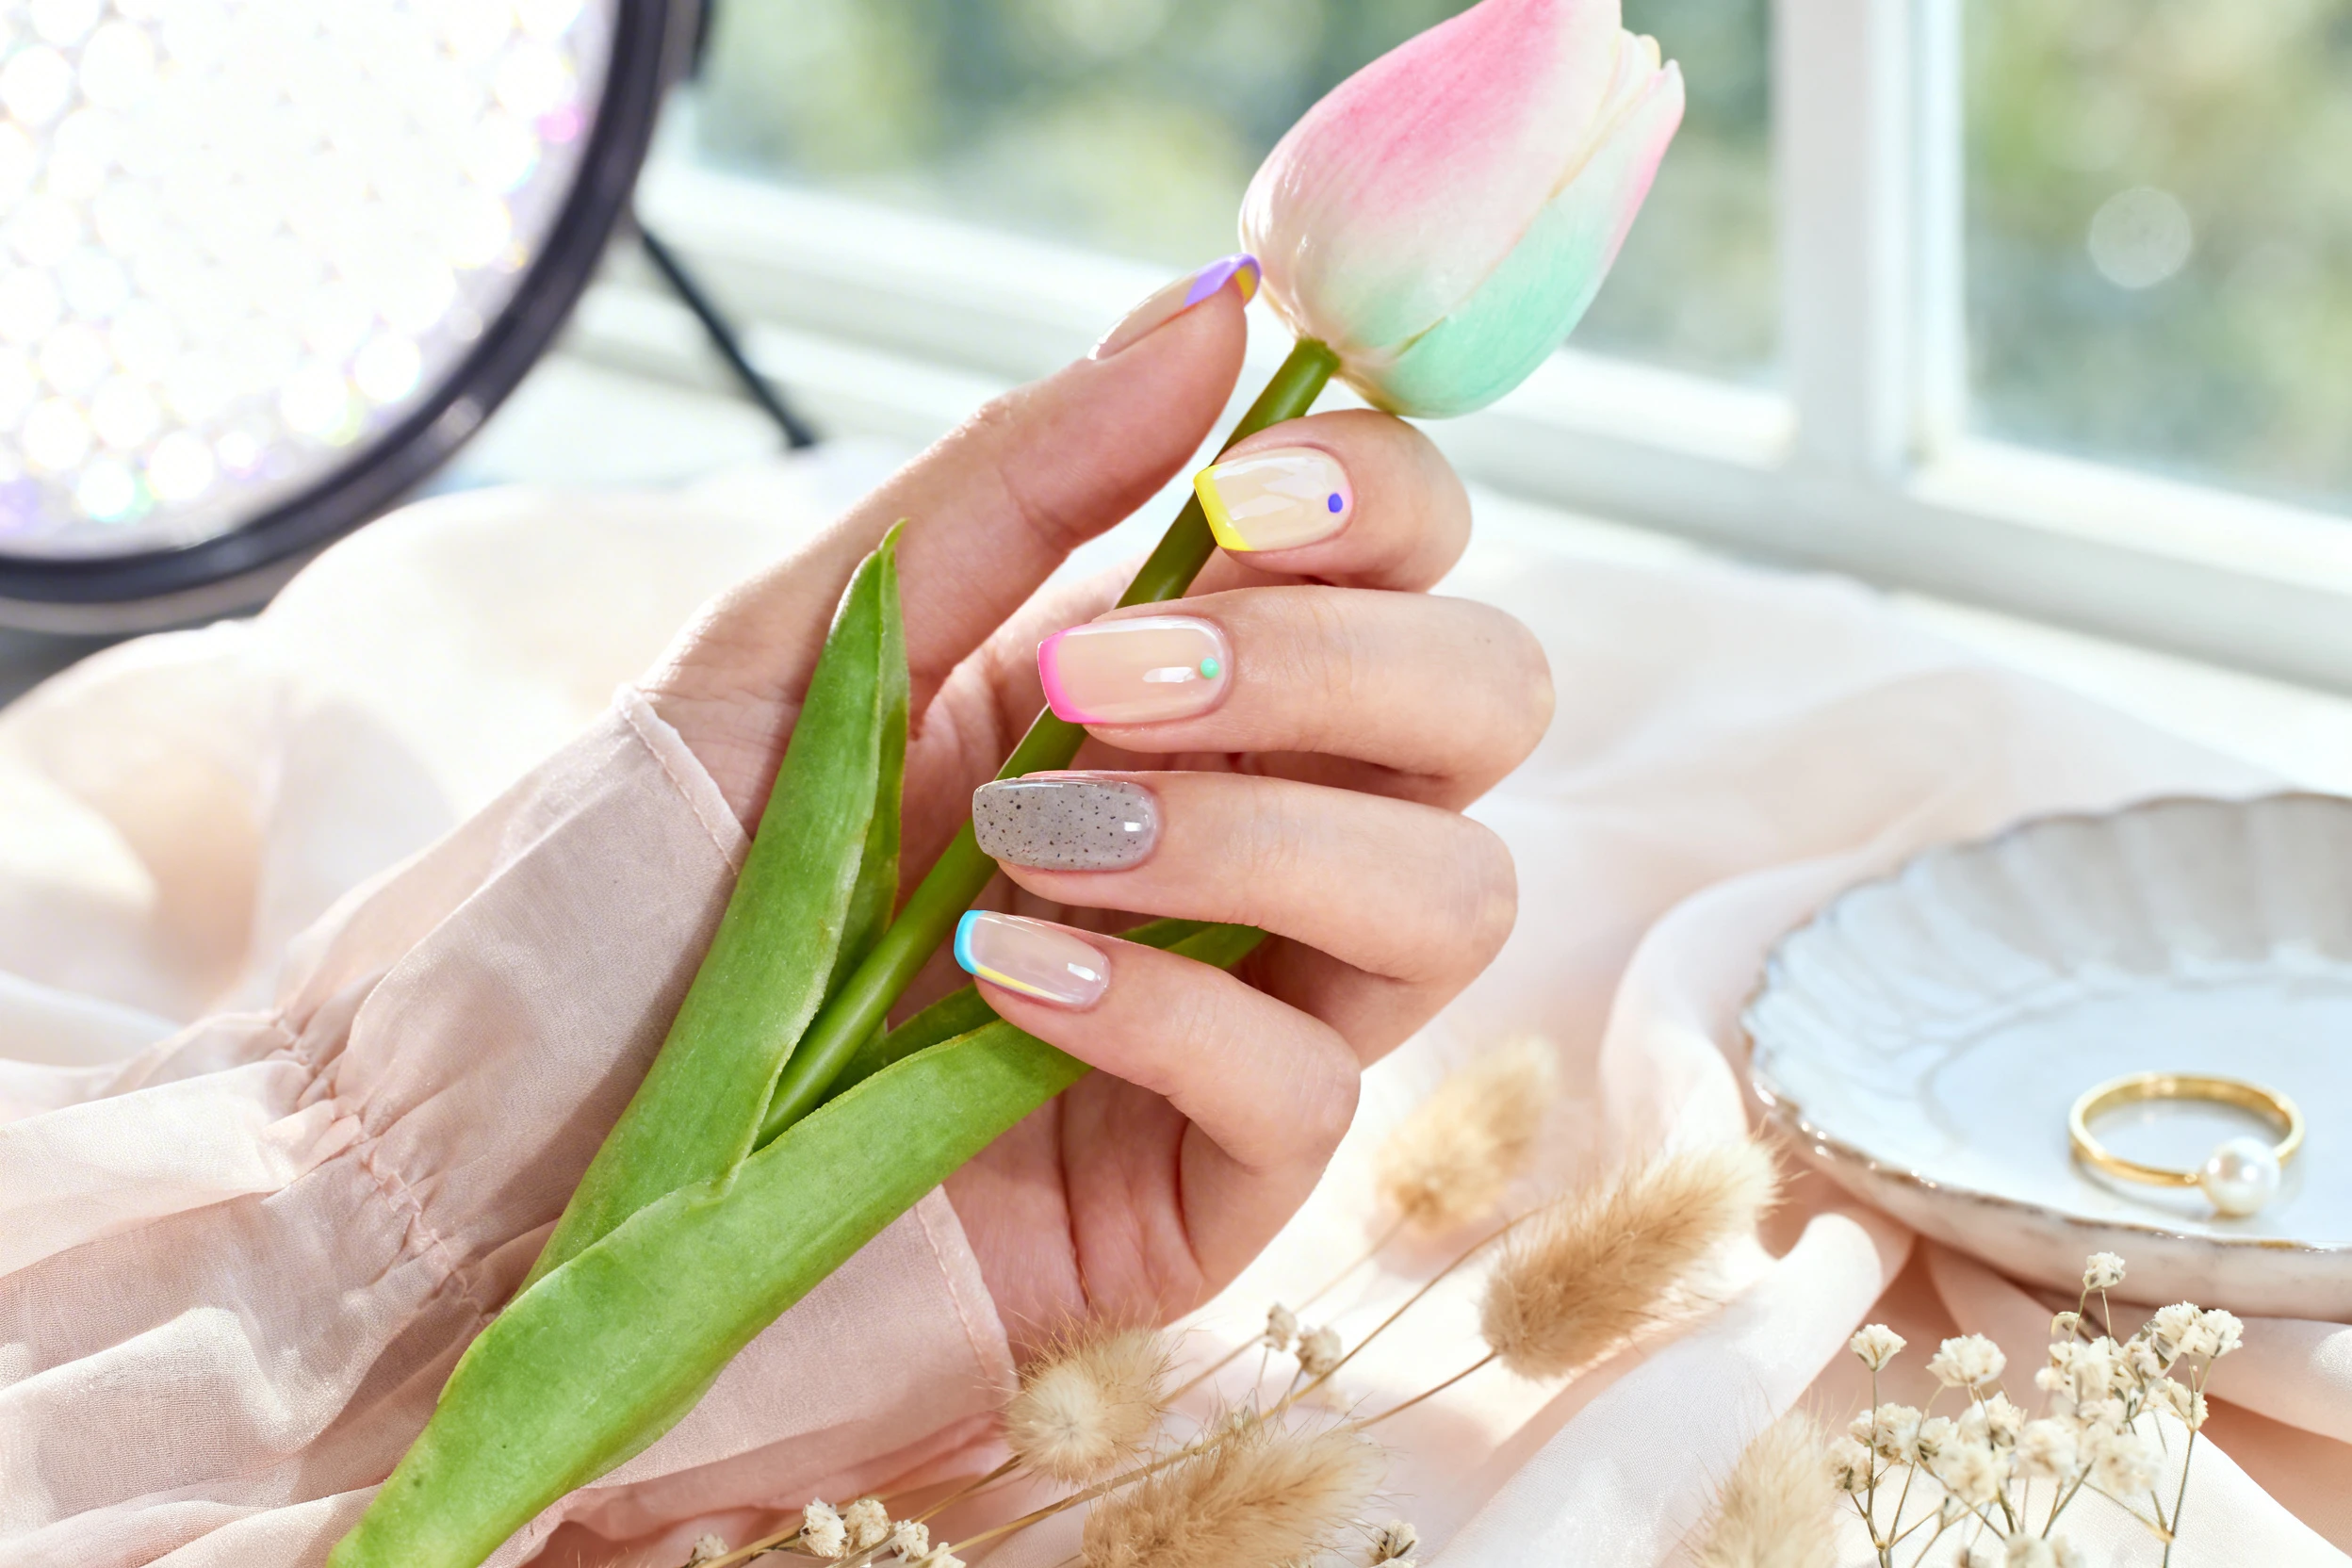
1) Jelly-Strong Pastel Garden (Bonding Base + Sheer Layers)
This look leans into glossy translucence and soft, floral pastels—the kind of manicure that feels like a sunlit greenhouse. A strong, rubberized or bonding base coat grips sheer polishes so your delicate tints don’t slide or pool. It also smooths out ridges, so your layered petals and airy gradients look high-end and glassy.
Why it’s great: Jelly finishes can chip fast on dry nails, but a high-adhesion base extends wear. It anchors your translucent colors without dulling brightness, and it lets you keep layers thin while building depth. Result: polished, petal-like shine that lasts through brunch and egg hunts.
Nail Details: Short to medium rounded or squoval nails with a glossy, translucent jelly effect. Use a bonding, rubberized base coat, then apply sheer pastel polishes: baby pink, lavender, mint, butter yellow, and sky blue. Create a soft vertical gradient on each nail by overlapping two sheer pastels (for example, pink and lavender, mint and blue). Add tiny hand-painted florals at the cuticle or along one side: five-dot daisies in white with pastel centers (yellow, pink, or blue). Include small leaf accents in pale mint. Finish with ultra-glossy top coat for a glassy, jelly-like surface. The overall vibe is airy, dewy, and garden-fresh with translucent pastel glow.
2) Sugar-Shell Speckles (Color-Correcting Base + Speckled Pastel Eggs)
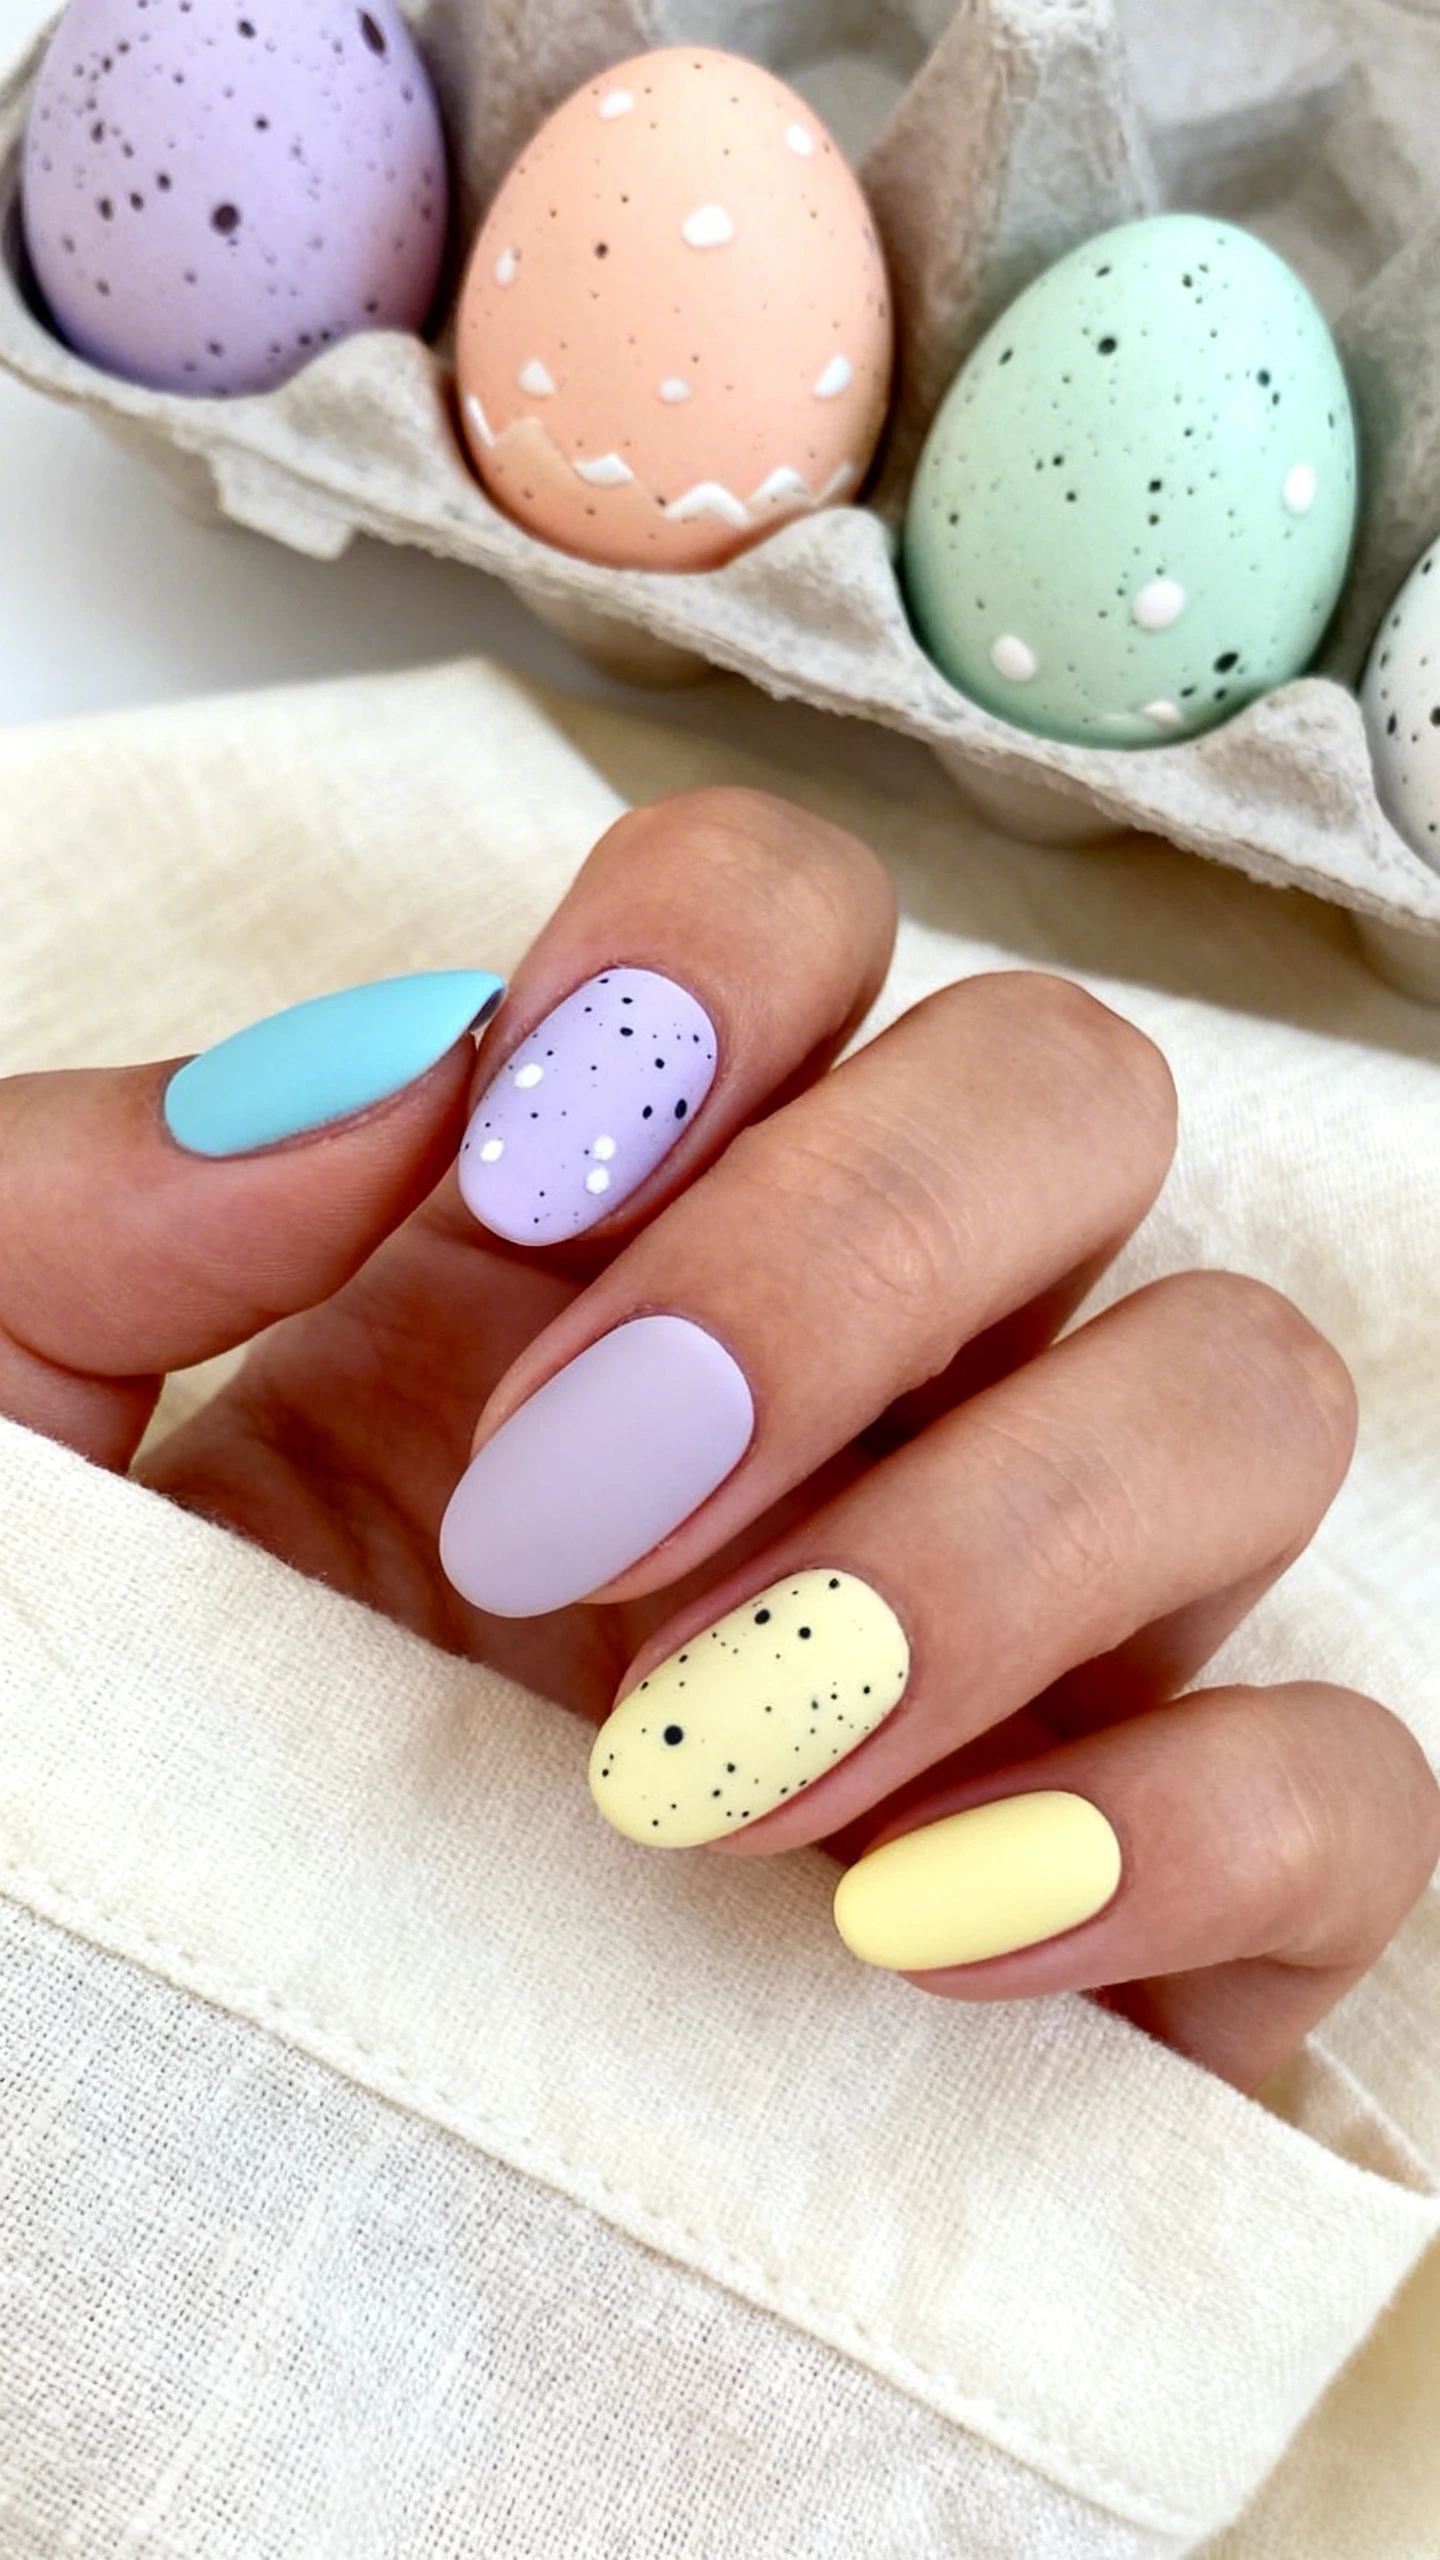
Meet the Easter classic: candy egg nails. A color-correcting base coat neutralizes stains and brightens pale shades, so your speckled pastels look like they were poured from a confectioner’s jar. Think freckles of cocoa-brown over soft, matte candies—adorable, cheerful, and surprisingly chic.
Why it’s great: Light polishes can appear streaky or dull if the canvas is uneven. A brightening or color-correcting base evens tone and boosts opacity, meaning fewer coats and cleaner speckles. It also grips matte top coats better, keeping the sugar-shell finish from polishing off too quickly.
Pro tip
Use a silicone tool or tiny fan brush to flick fine “speckles” for a natural candy-shell effect. Layer speckles lightly so it reads elegant, not messy.
Nail Details: Medium oval nails with a soft-matte finish. Start with a color-correcting base coat that slightly brightens. Apply creamy pastel shades: robin’s-egg blue, lilac, soft peach, mint, and light butter yellow—one color per nail for a candy assortment. After color dries, add ultra-fine speckles using thinned cocoa-brown and charcoal-gray polish: tiny, irregular dots and micro-flecks scattered across each nail, heavier near the cuticle and fading toward the tip. Seal with a matte top coat to mimic a chocolate-candy shell. Accent nail option: on one nail, paint a delicate white bow silhouette at the center for a “gifted egg” vibe without overpowering the speckles.
3) Velvet Bunny French (Ridge-Filling Base + Flocked Accents)
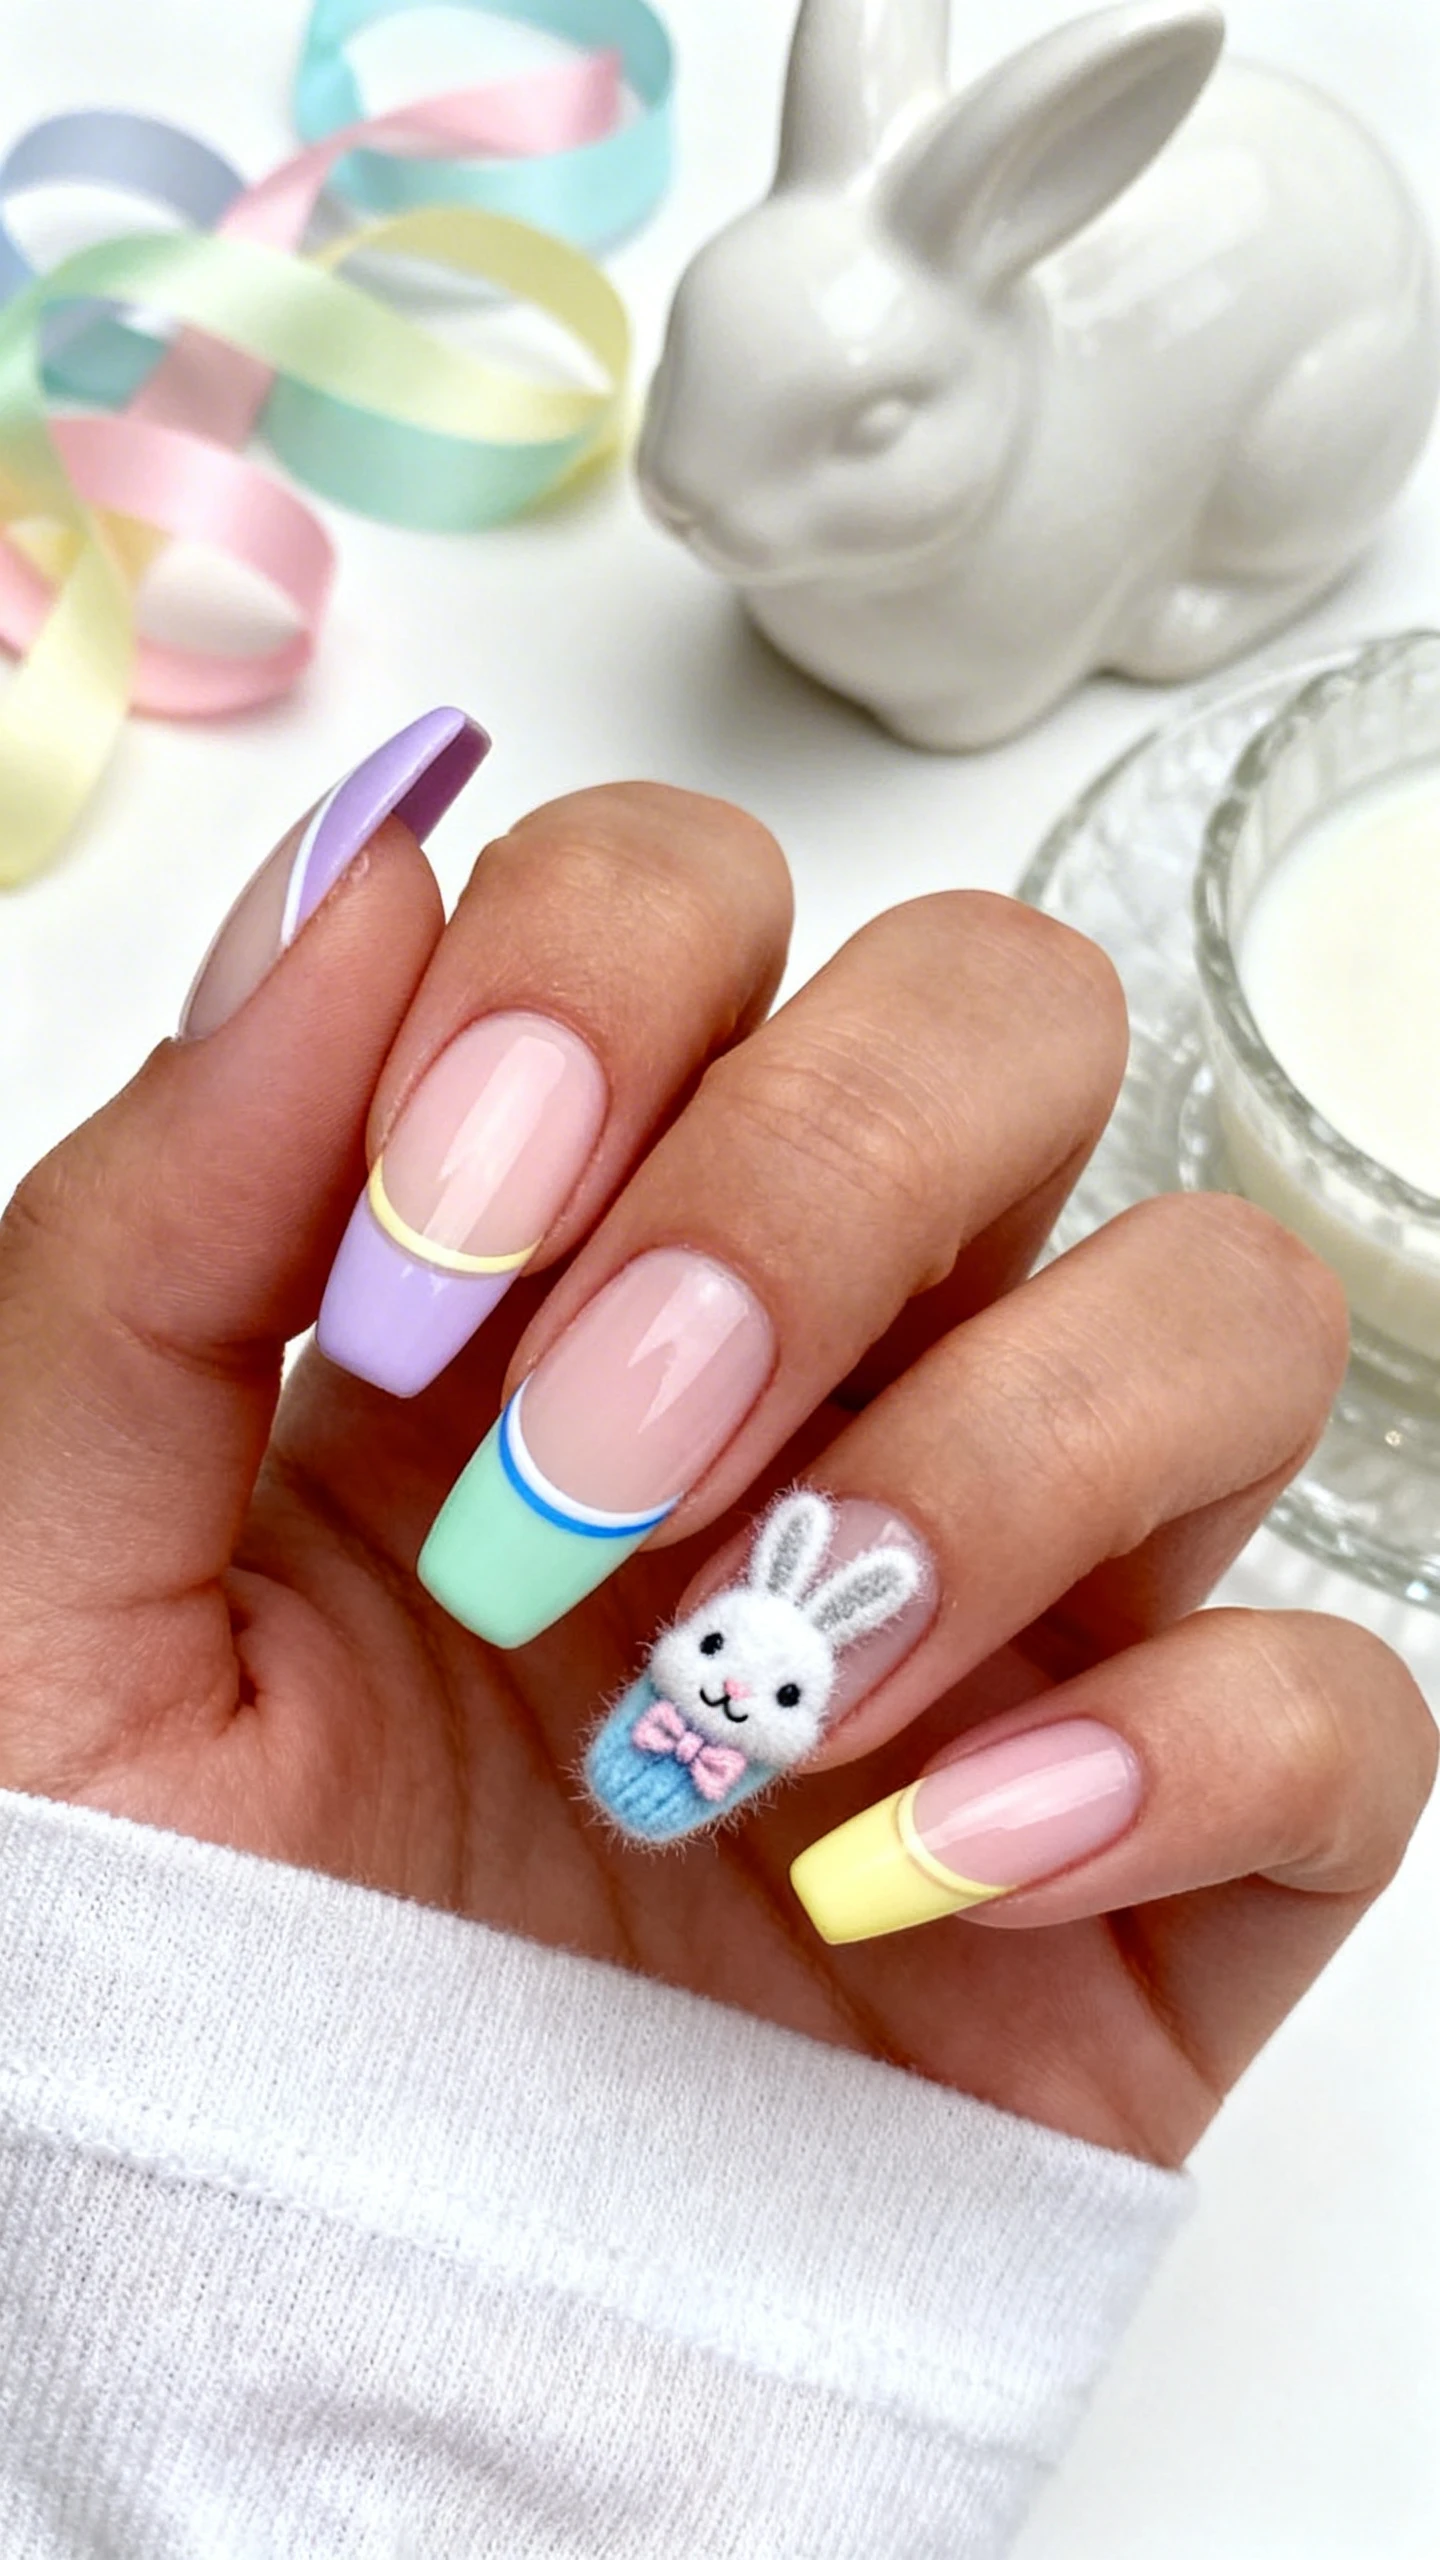
Soft-focus French tips get a playful upgrade with velvet-finished bunny ears. A ridge-filling base evens texture, so your French lines are crisp and your flocking (that fuzzy, velvet powder) looks plush without catching on bumps. This combo merges minimal elegance with whimsy—perfect for those who want festive art without a full-on pastel parade.
Why it’s great: Ridge fillers create a cushioned, uniform surface that keeps French curves smooth and resists tip wear. They also make pale tip colors pop cleanly against a semi-sheer base. Add a few velvet accent details, and you’ve got tactile charm that still reads sophisticated.
Keep it wearable
Limit flocking to one or two nails to prevent early wear. Use a long-wear top coat around (not over) the flocked sections to protect the rest of the design.
Nail Details: Medium almond nails with a soft, milky base and crisp pastel French tips. Apply a ridge-filling base coat, then a semi-sheer milky pink or cream to create a clean foundation. Paint slim French tips in alternating pastels: lavender, mint, sky blue, and butter yellow. On two accent nails (usually ring fingers), paint minimal bunny-ear silhouettes at the cuticle in white polish—two slim, tapered ovals. While the white is tacky, apply white flocking powder to create a fuzzy, velvet texture on the ears only. Add a micro-dot pastel bow at the base of one ear set using pink. Seal with glossy top coat on all non-flocked areas; avoid top coat on the fuzzy sections to preserve texture. The overall look is a soft French with tactile, white velvet bunny ears and delicate pastel accents.
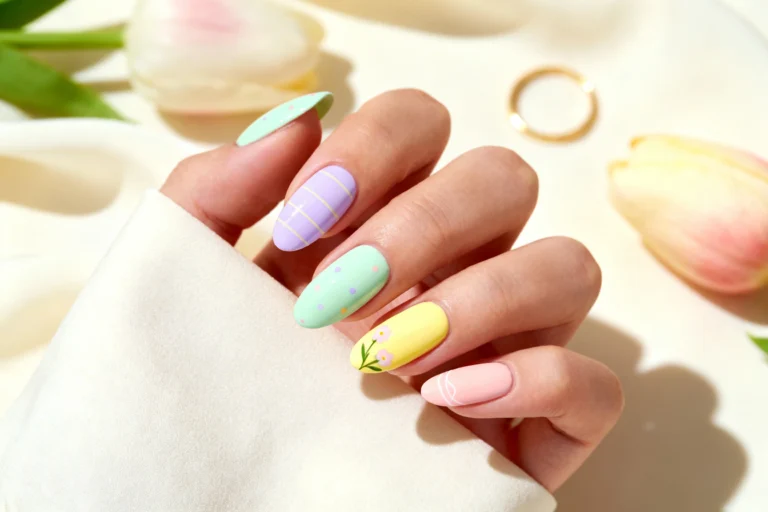
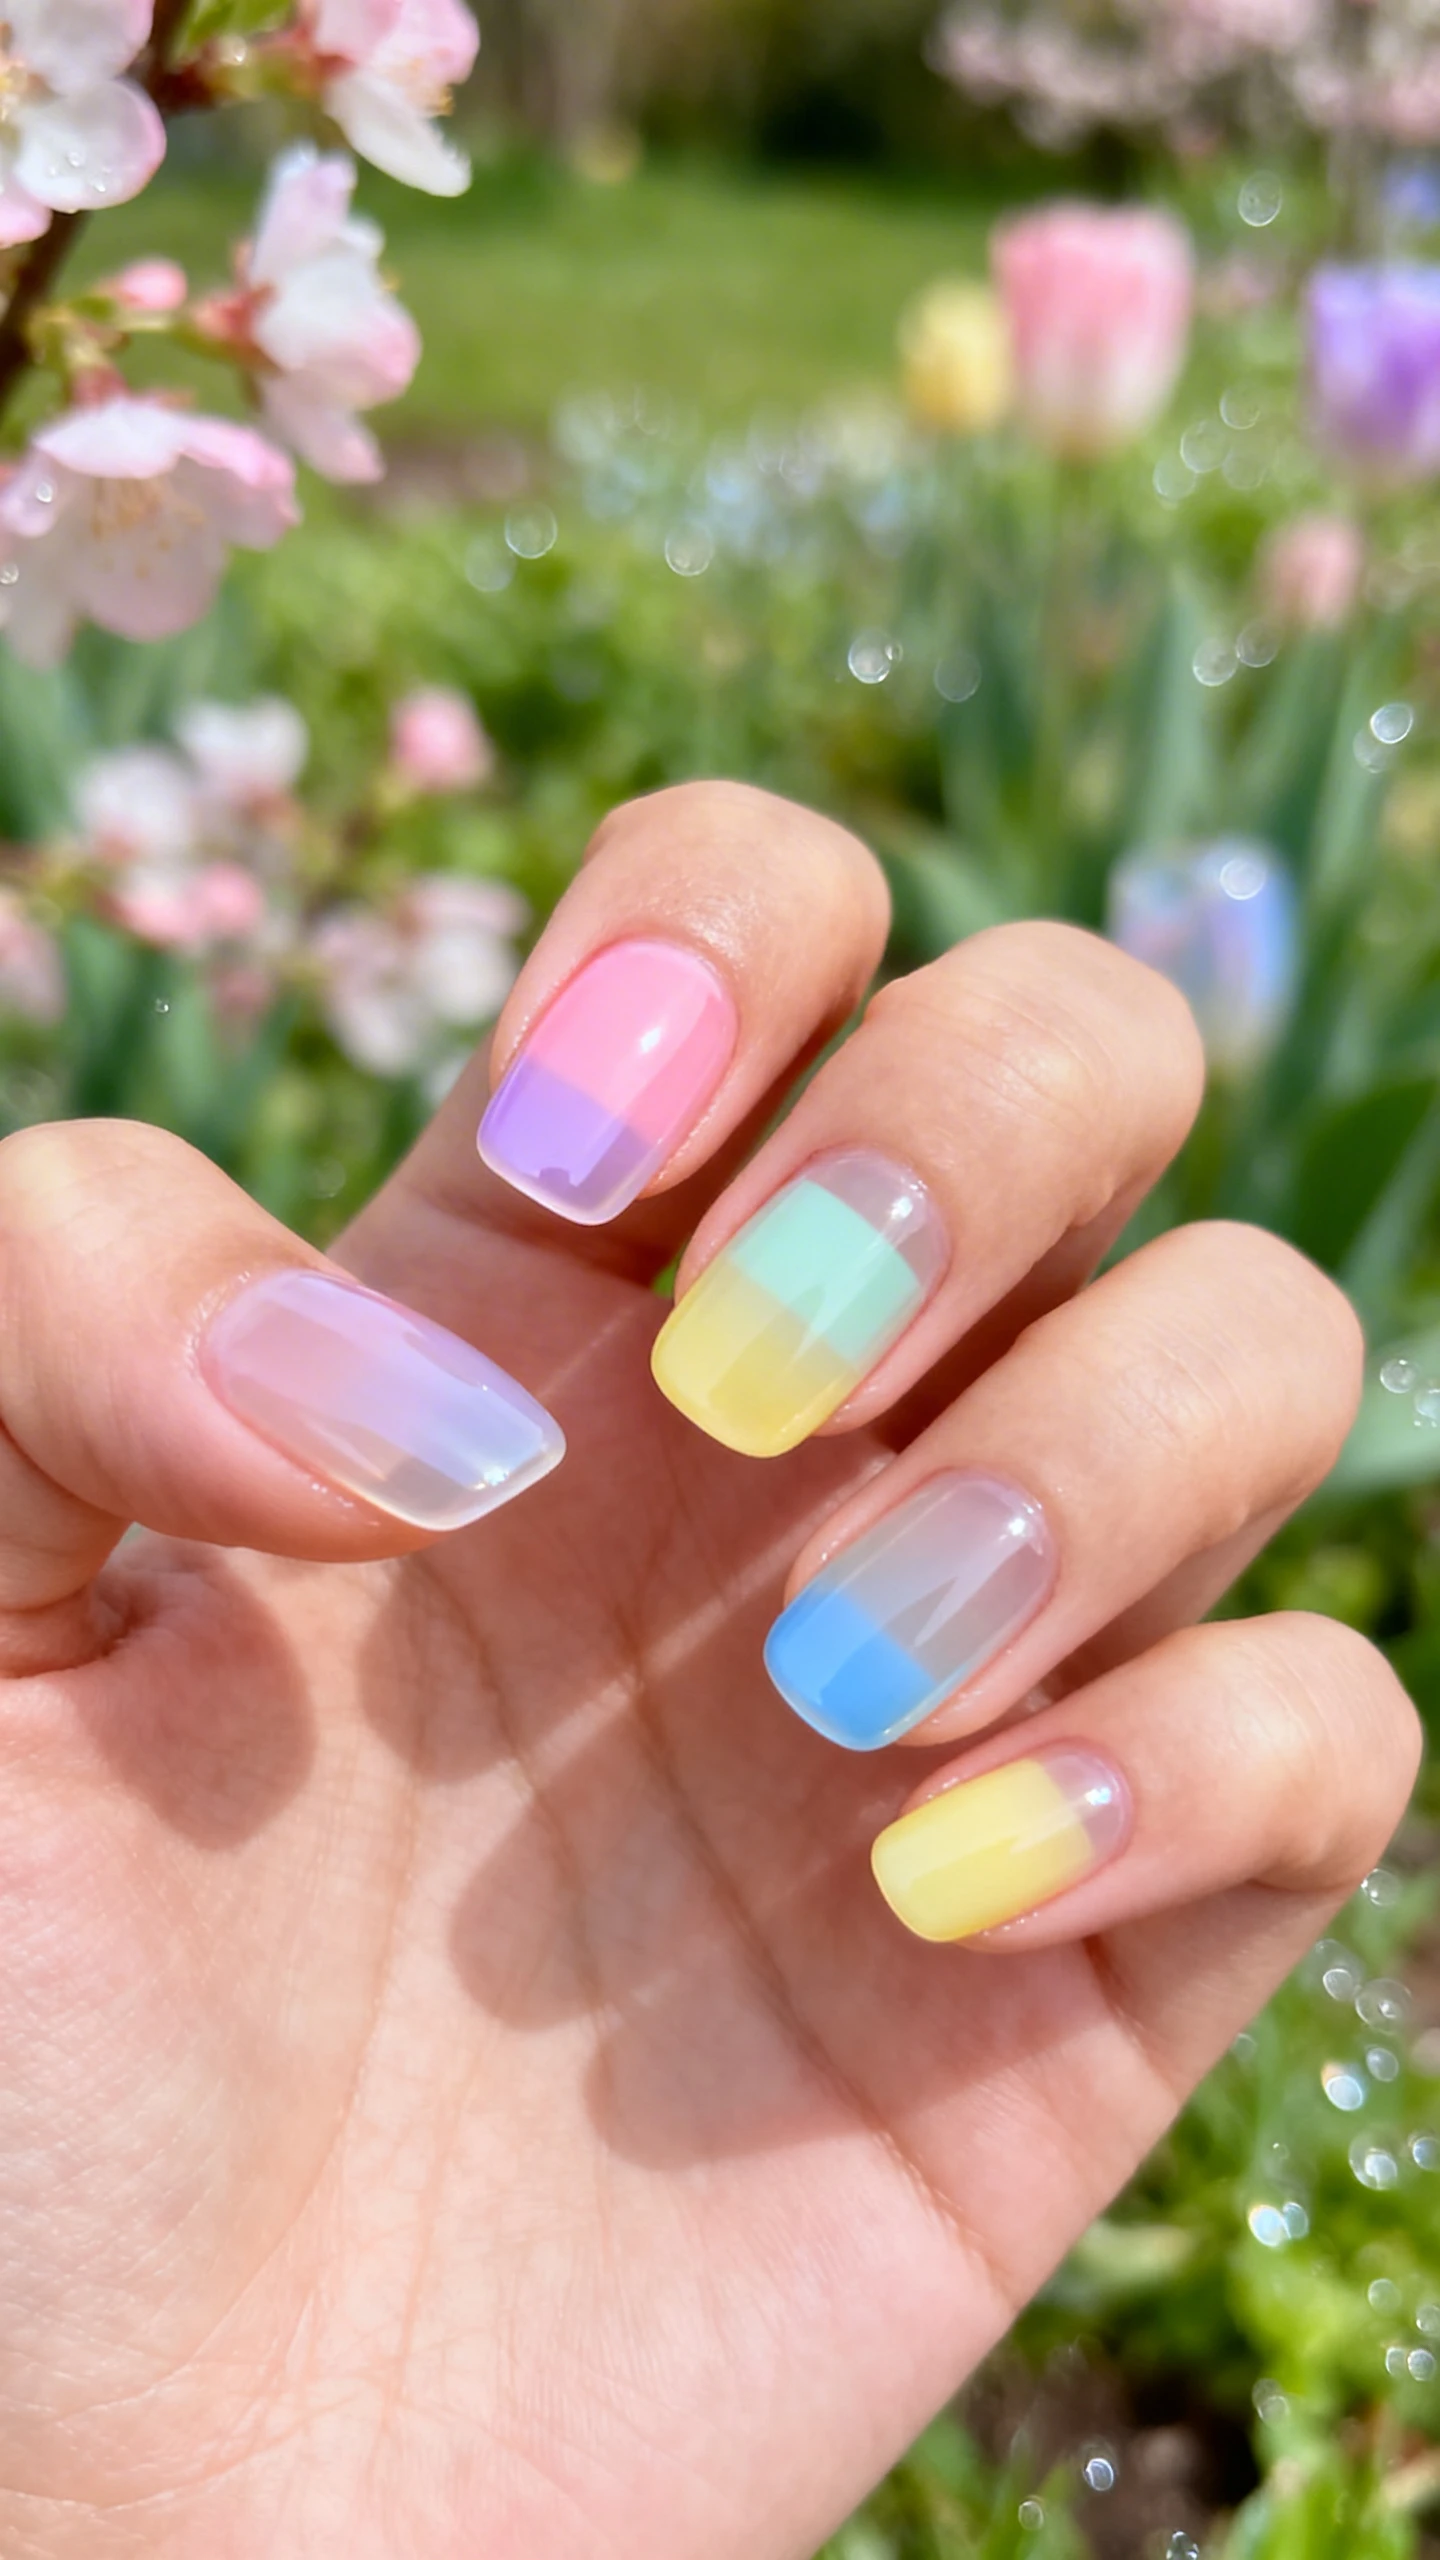
4) Pastel Plaid Picnic (Gripping Base + Line Art Stability)
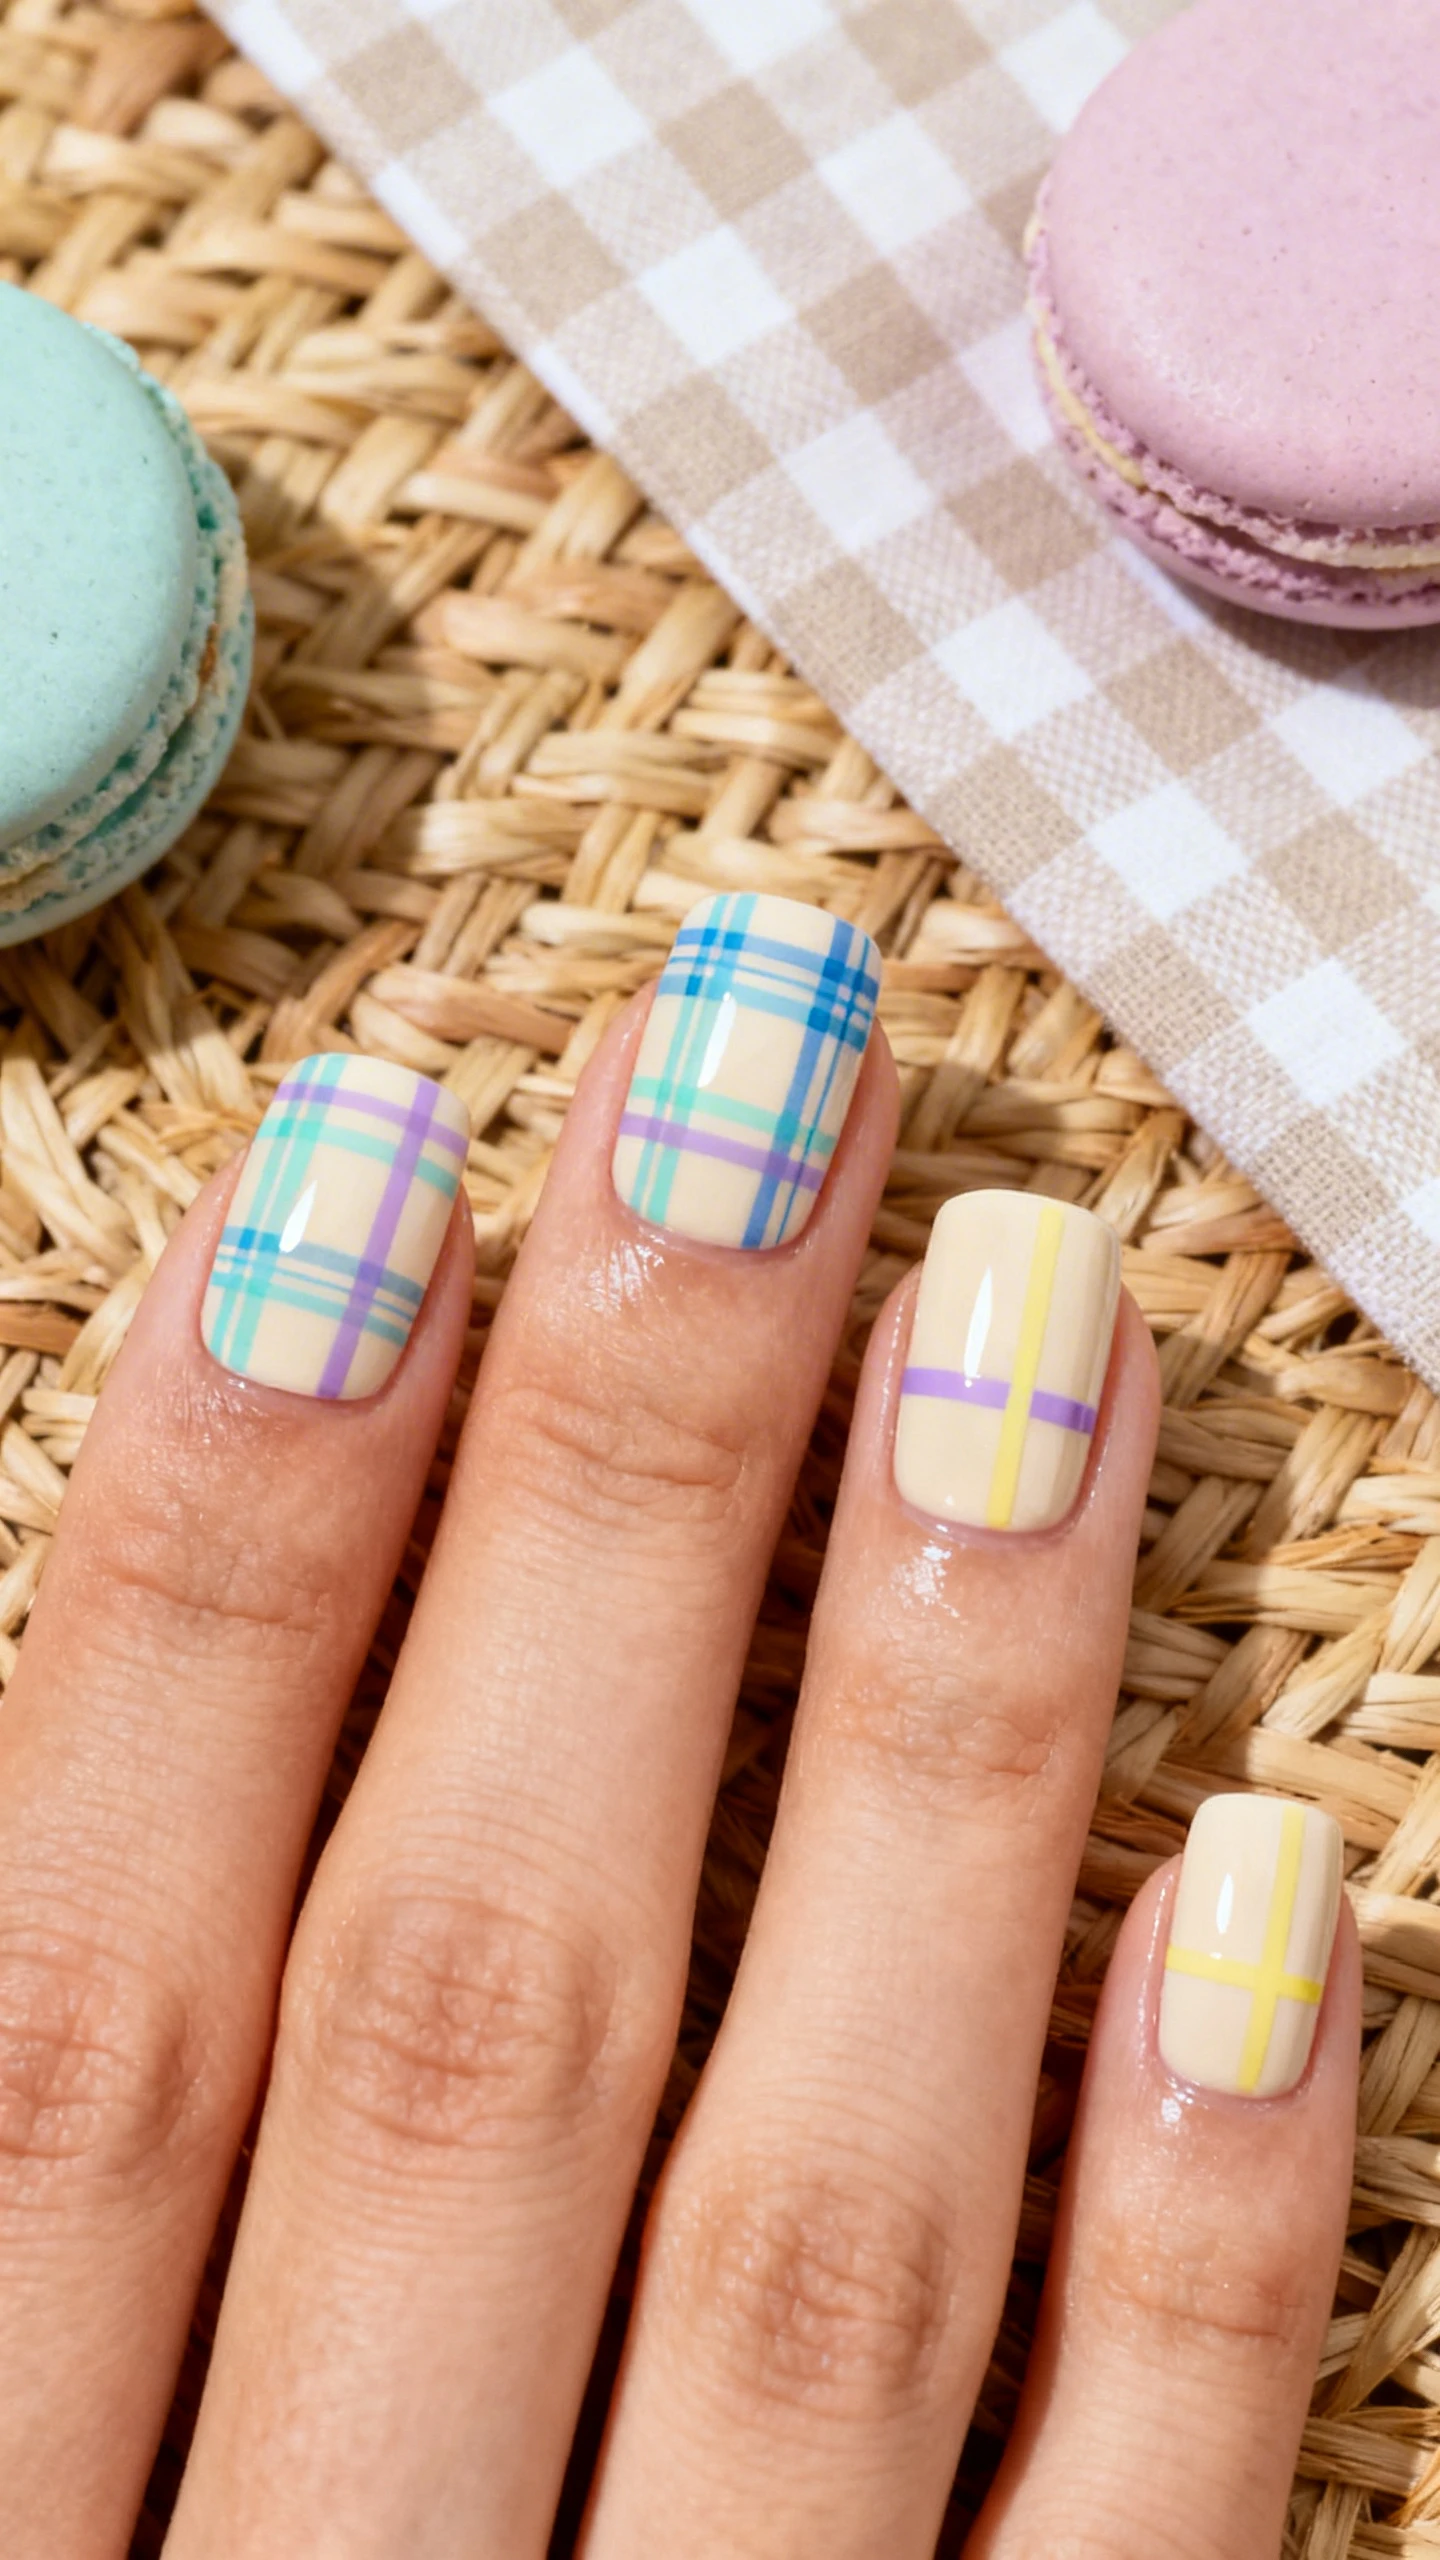
Plaid nails are the sartorial equivalent of a picnic blanket—timeless, preppy, and ideal for Easter gatherings. Precise lines need a base coat that keeps polish from sliding and supports thin, controlled strokes. A high-adhesion, fast-drying base will minimize smearing and help your striping tape release cleanly.
Why it’s great: Plaid requires thin layers and patience. A gripping base anchors color, so your sheer pastels don’t flood. It also protects from pigment transfer when layering lines, preserving crisp contrast. The payoff is a tailored, editorial plaid that still feels playful in spring hues.
Line art essentials
- Use long, fine-liner brushes and dilute polish slightly for smooth pulls.
- Flash-dry between layers to prevent color bleed.
- Peel striping tape back on itself for the sharpest edges.
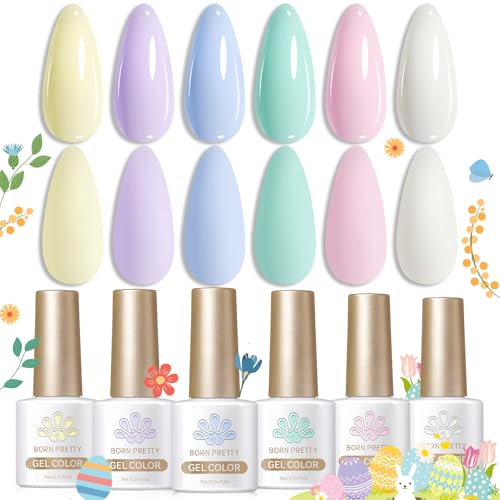
- PACKAGE CONTENTS:6 Bottles 7ml pastel macaroon gel nail polish gift set .Cool on their own but even better toghter,these…
- EASY APPLICATION AND GOOD TENACITY: The pastel gel nail polish set is long lasting for 21+ days with perfect shine under…
- HEALTHY GEL POLISH :Healthy ingredient with low odor! No harsh ingredients or adhesives that lead to damaged nails. Only…
Nail Details: Short to medium square or squoval nails with a glossy finish. Apply a high-adhesion base coat. Paint a soft cream or pale sand base over all nails. Create pastel plaid using thin vertical and horizontal lines: sky blue and mint as the primary grid, lavender as secondary accents, and a single butter-yellow line on each nail for warmth. Vary line weight: one thicker sky-blue vertical line off-center, intersected by a thinner mint horizontal near the middle. On one accent nail, add a small white silhouette of a bunny profile at the lower corner, facing inward, overlapping one plaid intersection for a layered, editorial moment. Seal with a high-gloss top coat so the lines look lacquered and dimensional.
5) Gelly Bloom Ombré Eggs (Peel-Off Base for Art Experiments)

If you love to swap designs often—or plan to test multiple colorways—use a peel-off base. It protects your natural nails and lets you remove intricate looks without harsh soaking. This is perfect for layered “bloom” effects and tonal ombrés that might otherwise be tough to redo. You’ll get maximal creativity with minimal commitment.
Why it’s great: Peel-off formulas create a barrier that saves your nails from dark pigment stains and acetone fatigue. They’re ideal for jelly layers and marbled blooms, where you may want to iterate. Plus, when Easter weekend ends, you can slide off the mani and pivot to your next trend in minutes.
Bloom effect basics
- Work on slightly tacky layers so colors diffuse smoothly.
- Keep each “bloom” small—like watercolor petals—so the design stays airy.
- Flash-cure or quick-dry between layers to control spread.

- High-Quality Press-On Nail Kit: All Glamnetic Press-On Nail Sets offer high-quality salon style and feature protective U…
- Everyone loves a classic french tip mani, but we’re all about changing it up with summer-approved hues! Our Confetti Pre…
- Premium Durability with Up To 2 Weeks Per Wear – High-quality is our middle name. This customizable nail set can be trim…
Nail Details: Medium coffin or almond nails with a dewy, high-gloss finish. Apply a peel-off base coat. Start with a translucent cream or pale beige jelly base. Create vertical ombrés by blending two sheer pastels per nail: pink-to-lavender, mint-to-sky blue, butter yellow-to-peach. Use a sponge for soft diffusion. Add little “bloom” flowers by placing a dot of white jelly polish and tapping at its edges so it softly spreads into a petal shape; layer 3–4 tiny blooms per nail. Add micro-centers in contrasting pastels (yellow in lavender blooms, mint in pink blooms). Scatter a few tiny white dots like confetti between blooms for a gentle egg-dye vibe. Seal with a glassy top coat for a wet-look shine. The final look reads like watercolor Easter eggs with soft, translucent petals and delicate color fades.
Choosing the Right Base Coat for Your Easter Nails
- For sheer or jelly looks: Choose a bonding or rubberized base to prevent pooling and extend shine.
- For pastel opacity and brightness: Opt for a color-correcting base that neutralizes stains.
- For French tips and smooth art: A ridge-filling base ensures crisp lines and even coverage.
- For line work and tape techniques: High-adhesion, fast-drying bases keep edges sharp.
- For frequent design changes: Peel-off bases protect nails and streamline removal.
Expert Wear-Extenders
- Clean slate: Swipe nails with alcohol or acetone before base coat to remove oils.
- Cap the free edge: Wrap base and color around the tip for chip resistance.
- Thin layers win: Multiple thin coats outlast thick ones and dry smoother.
- Top off mid-week: Refresh with a thin layer of top coat on day three to five.
- Glove love: Wear gloves for dish duty; hot water lifts polish faster than you think.
Palette Cues for Easter Aesthetics
Pastels are the main event, but balance is everything. Mix airy colors with crisp white accents or soft cream bases to keep designs clean and modern. Rotate finishes—matte candy shells one week, glassy jellies the next—so your manicure feels fresh with each wear.
Whichever design you choose, start with the right base coat and your Easter nails will go from “cute today” to “wow all week.” From speckled candies to velvet bunny accents, these looks are built to outlast brunch, backyard hunts, and every pastel moment in between. Happy painting—and may your base coat do the heavy lifting while your art steals the show.